PICTURE IMAGE

PICTURE IMAGE ADJUSTMENTS

1

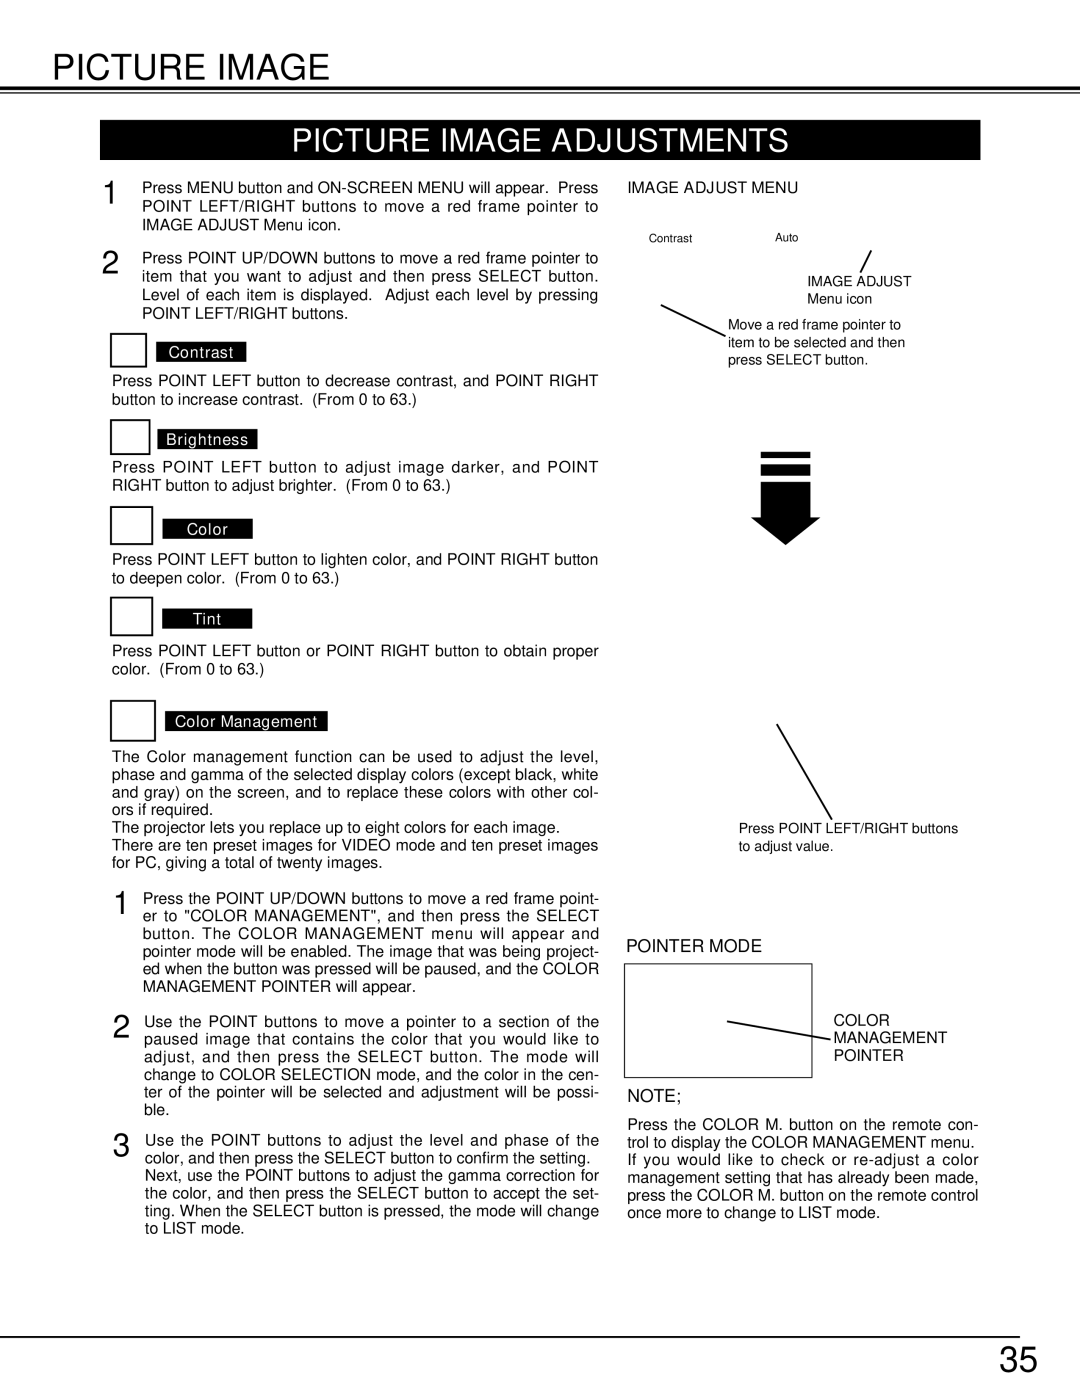
Press MENU button and ON-SCREEN MENU will appear. Press


POINT LEFT/RIGHT buttons to move a red frame pointer to


IMAGE ADJUST Menu icon.

2

Press POINT UP/DOWN buttons to move a red frame pointer to


item that you want to adjust and then press SELECT button.

Level of each item is displayed. Adjust each level by pressing POINT LEFT/RIGHT buttons.

Contrast

Press POINT LEFT button to decrease contrast, and POINT RIGHT button to increase contrast. (From 0 to 63.)

Brightness

Press POINT LEFT button to adjust image darker, and POINT RIGHT button to adjust brighter. (From 0 to 63.)

Color

Press POINT LEFT button to lighten color, and POINT RIGHT button to deepen color. (From 0 to 63.)

Tint

Press POINT LEFT button or POINT RIGHT button to obtain proper color. (From 0 to 63.)

Color Management

The Color management function can be used to adjust the level, phase and gamma of the selected display colors (except black, white and gray) on the screen, and to replace these colors with other col- ors if required.

The projector lets you replace up to eight colors for each image. There are ten preset images for VIDEO mode and ten preset images for PC, giving a total of twenty images.

1 Press the POINT UP/DOWN buttons to move a red frame point- er to "COLOR MANAGEMENT", and then press the SELECT button. The COLOR MANAGEMENT menu will appear and pointer mode will be enabled. The image that was being project- ed when the button was pressed will be paused, and the COLOR MANAGEMENT POINTER will appear.

2 Use the POINT buttons to move a pointer to a section of the paused image that contains the color that you would like to adjust, and then press the SELECT button. The mode will change to COLOR SELECTION mode, and the color in the cen- ter of the pointer will be selected and adjustment will be possi- ble.

3 Use the POINT buttons to adjust the level and phase of the color, and then press the SELECT button to confirm the setting. Next, use the POINT buttons to adjust the gamma correction for the color, and then press the SELECT button to accept the set- ting. When the SELECT button is pressed, the mode will change to LIST mode.

IMAGE ADJUST MENU

ContrastAuto

IMAGE ADJUST Menu icon

Move a red frame pointer to item to be selected and then press SELECT button.

Press POINT LEFT/RIGHT buttons to adjust value.

POINTER MODE

COLOR

MANAGEMENT

POINTER

NOTE;

Press the COLOR M. button on the remote con- trol to display the COLOR MANAGEMENT menu. If you would like to check or re-adjust a color management setting that has already been made, press the COLOR M. button on the remote control once more to change to LIST mode.

35

Page 35
Image 35
Eiki LC-W3 instruction manual Picture Image Adjustments, Image Adjust Menu

LC-W3 specifications

The Eiki LC-W3 is a high-performance LCD projector designed for both educational and corporate environments, offering a blend of advanced technologies and user-friendly features that make it a popular choice for presentations and multimedia content.

One of the standout characteristics of the Eiki LC-W3 is its impressive brightness level, boasting a high lumens output that ensures clear images even in well-lit rooms. This makes it ideal for large venues, classrooms, and conference rooms, where ambient light can often detract from projection quality. The projector also features a native WXGA resolution of 1280 x 800 pixels, providing a sharp and detailed image that enhances viewer engagement.

In terms of connectivity, the LC-W3 is equipped with a variety of input options, including HDMI, VGA, and USB ports. This versatility allows users to connect a range of devices such as laptops, Blu-ray players, and even USB drives for direct playback of multimedia files. The inclusion of network capabilities also empowers users to perform wireless presentations, making it convenient for tech-savvy audiences.

The projector also comes with advanced lens shift and zoom capabilities, making it easier to position the projector without sacrificing image quality. This is particularly valuable in dynamic presentation environments where the projector’s location might frequently change. With a 1.5x optical zoom, users can project large images from shorter distances, accommodating diverse room layouts.

Additionally, the Eiki LC-W3 integrates sophisticated image technologies, including digital keystone correction, which allows for easy adjustments to the image shape and ensures a perfect rectangle even when the projector is not perfectly aligned with the screen. This is particularly beneficial in environments with fixed projector placements or limited setup options.

The Eiki LC-W3 also emphasizes energy efficiency, utilizing a lamp life of up to 5,000 hours in eco mode. This not only contributes to lower operational costs but also minimizes downtime with less frequent lamp replacements.

Overall, the Eiki LC-W3 is characterized by its combination of brightness, resolution, connectivity, and user-friendly features. It is designed to meet the demanding needs of professional environments, making it an excellent choice for educators, corporate trainers, and anyone needing a reliable projection solution. Whether for delivering impactful presentations or showcasing detailed visuals, the LC-W3 stands out as a robust projector in its class.