Maintenance and Cleaning
Lamp Replacement
When the life of the projection lamp of this projector draws to an end, the LAMP REPLACE indicator emits a yellow light. If this indicator lights yellow, replace the lamp with a new one promptly.
| This indicator is yellow when |
WARNING: | the life of the projection lamp |
draws to an end. |
TURN OFF THE UV LAMP BEFORE
OPENING THE LAMP COVER
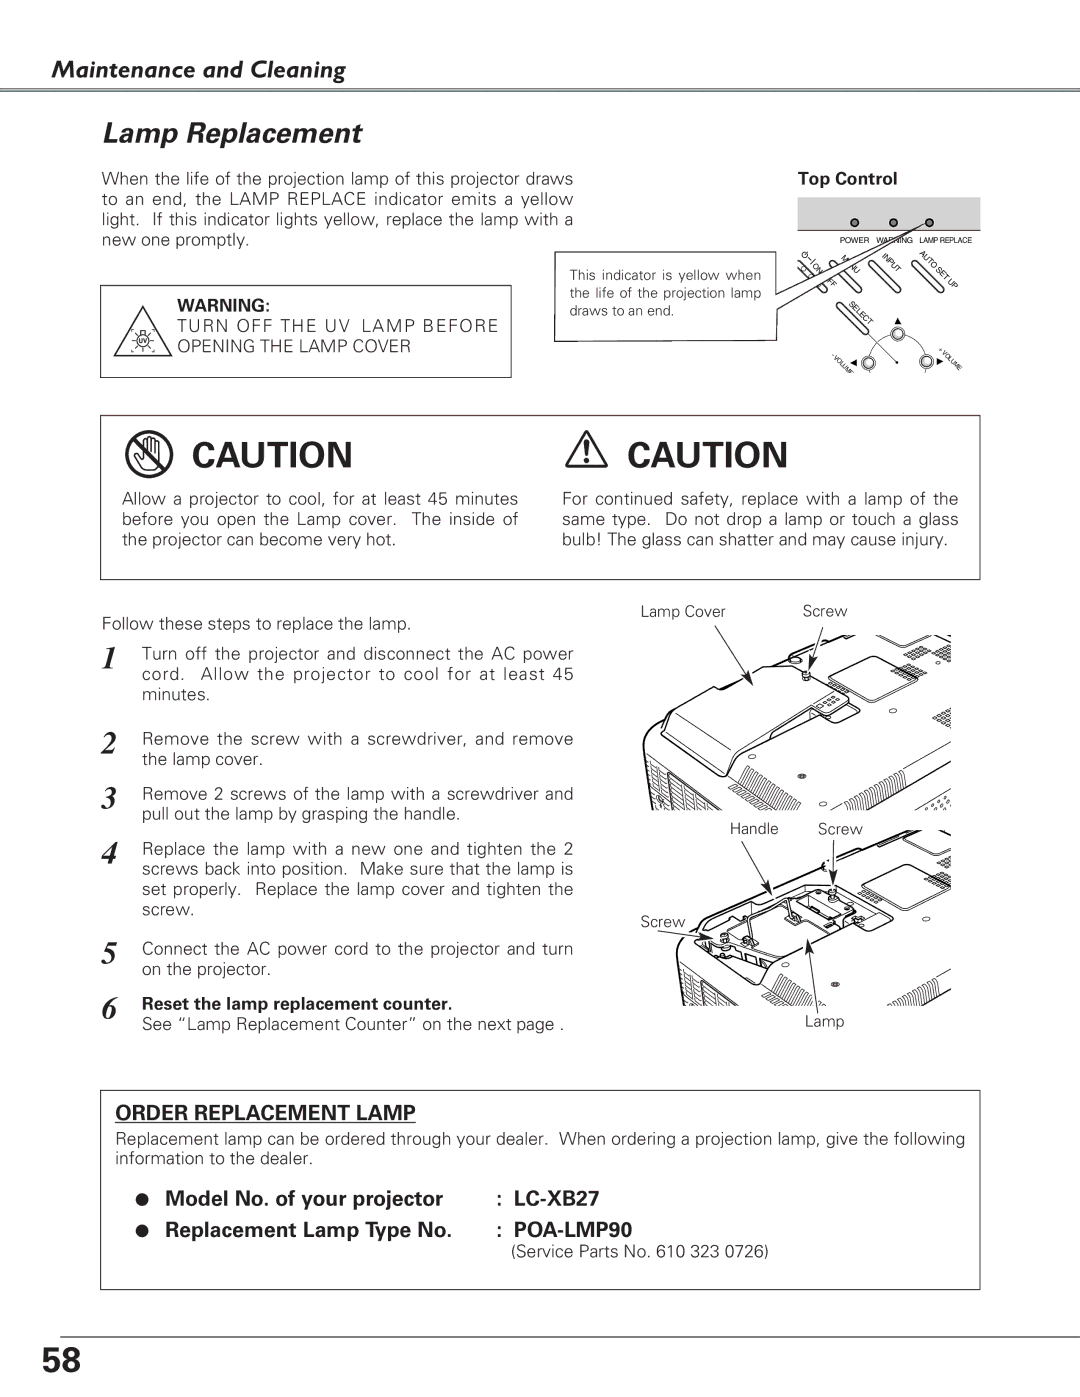
Top Control
POWER WLAMP REPLACE
ON | INPUT | AUTO |
|
| SET |
|
| UP |
| SELECT |
|
| VOLU | + |
| VOLUME | |
| - |
|
| ME |
|
![]() CAUTION
CAUTION
Allow a projector to cool, for at least 45 minutes before you open the Lamp cover. The inside of the projector can become very hot.
![]() CAUTION
CAUTION
For continued safety, replace with a lamp of the same type. Do not drop a lamp or touch a glass bulb! The glass can shatter and may cause injury.
| Lamp Cover | Screw |
Follow these steps to replace the lamp. |
| |
1 | Turn off the projector and disconnect the AC power |
|
| cord. Allow the projector to cool for at least 45 |
|
| minutes. |
|
2 | Remove the screw with a screwdriver, and remove |
|
| the lamp cover. |
|
3 | Remove 2 screws of the lamp with a screwdriver and |
|
| pull out the lamp by grasping the handle. | Screw |
4 | Handle | |
Replace the lamp with a new one and tighten the 2 |
| |
| screws back into position. Make sure that the lamp is |
|
| set properly. Replace the lamp cover and tighten the |
|
| screw. |
|
| Screw |
|
5
6
Connect the AC power cord to the projector and turn on the projector.
Reset the lamp replacement counter.
See “Lamp Replacement Counter” on the next page . | Lamp |
ORDER REPLACEMENT LAMP
Replacement lamp can be ordered through your dealer. When ordering a projection lamp, give the following information to the dealer.
● | Model No. of your projector | : |
● | Replacement Lamp Type No. | : |
|
| (Service Parts No. 610 323 0726) |
58