OPERATING INSTRUCTIONS
•Make sure that you have installed the 8 “AA” batteries or have connected the unit to your household AC outlet with the supplied AC adapter.
•Make sure that you have removed the clear plastic battery spacer tab from the remote control.
•Make sure that you have unwound the FM antenna wire and extended it to its full length.
Setting The Time
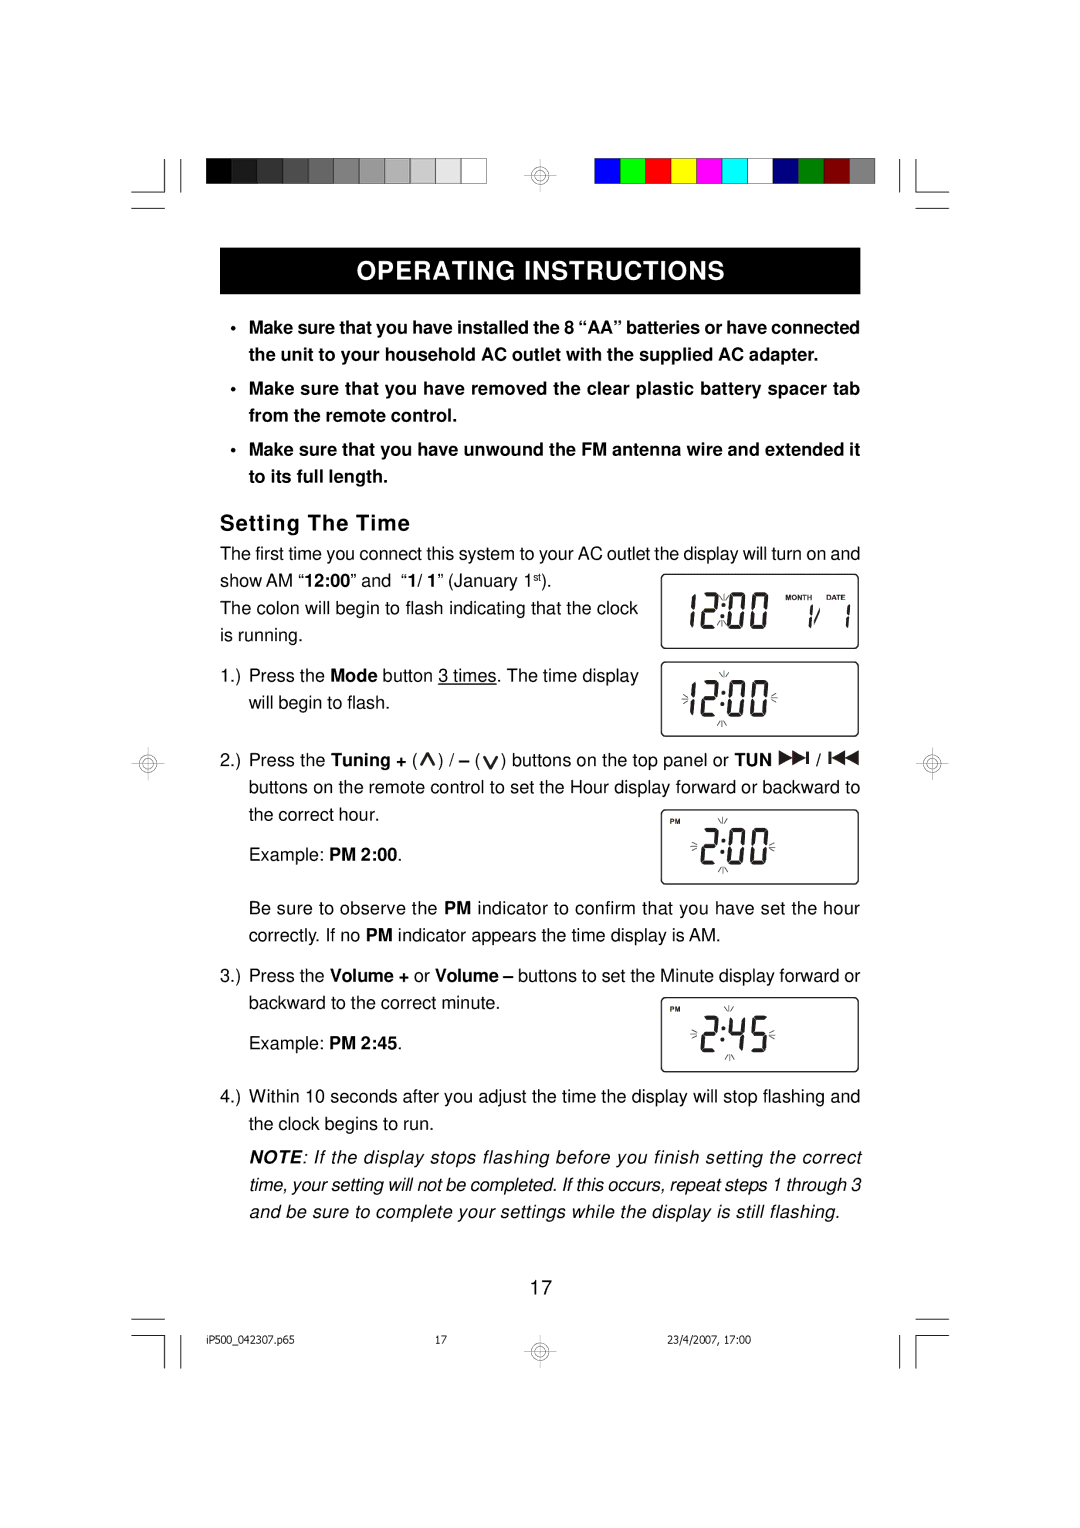
The first time you connect this system to your AC outlet the display will turn on and show AM “12:00” and “1/ 1” (January 1st).
The colon will begin to flash indicating that the clock is running.
1.) Press the Mode button 3 times. The time display will begin to flash.
2.) Press the Tuning + (![]() ) / – (
) / – (![]() ) buttons on the top panel or TUN
) buttons on the top panel or TUN ![]()
![]() /
/ ![]()
![]() buttons on the remote control to set the Hour display forward or backward to the correct hour.
buttons on the remote control to set the Hour display forward or backward to the correct hour.
Example: PM 2:00.
Be sure to observe the PM indicator to confirm that you have set the hour correctly. If no PM indicator appears the time display is AM.
3.) Press the Volume + or Volume – buttons to set the Minute display forward or backward to the correct minute.
Example: PM 2:45.
4.) Within 10 seconds after you adjust the time the display will stop flashing and the clock begins to run.
NOTE: If the display stops flashing before you finish setting the correct time, your setting will not be completed. If this occurs, repeat steps 1 through 3 and be sure to complete your settings while the display is still flashing.
17
iP500_042307.p65 | 17 |
23/4/2007, 17:00