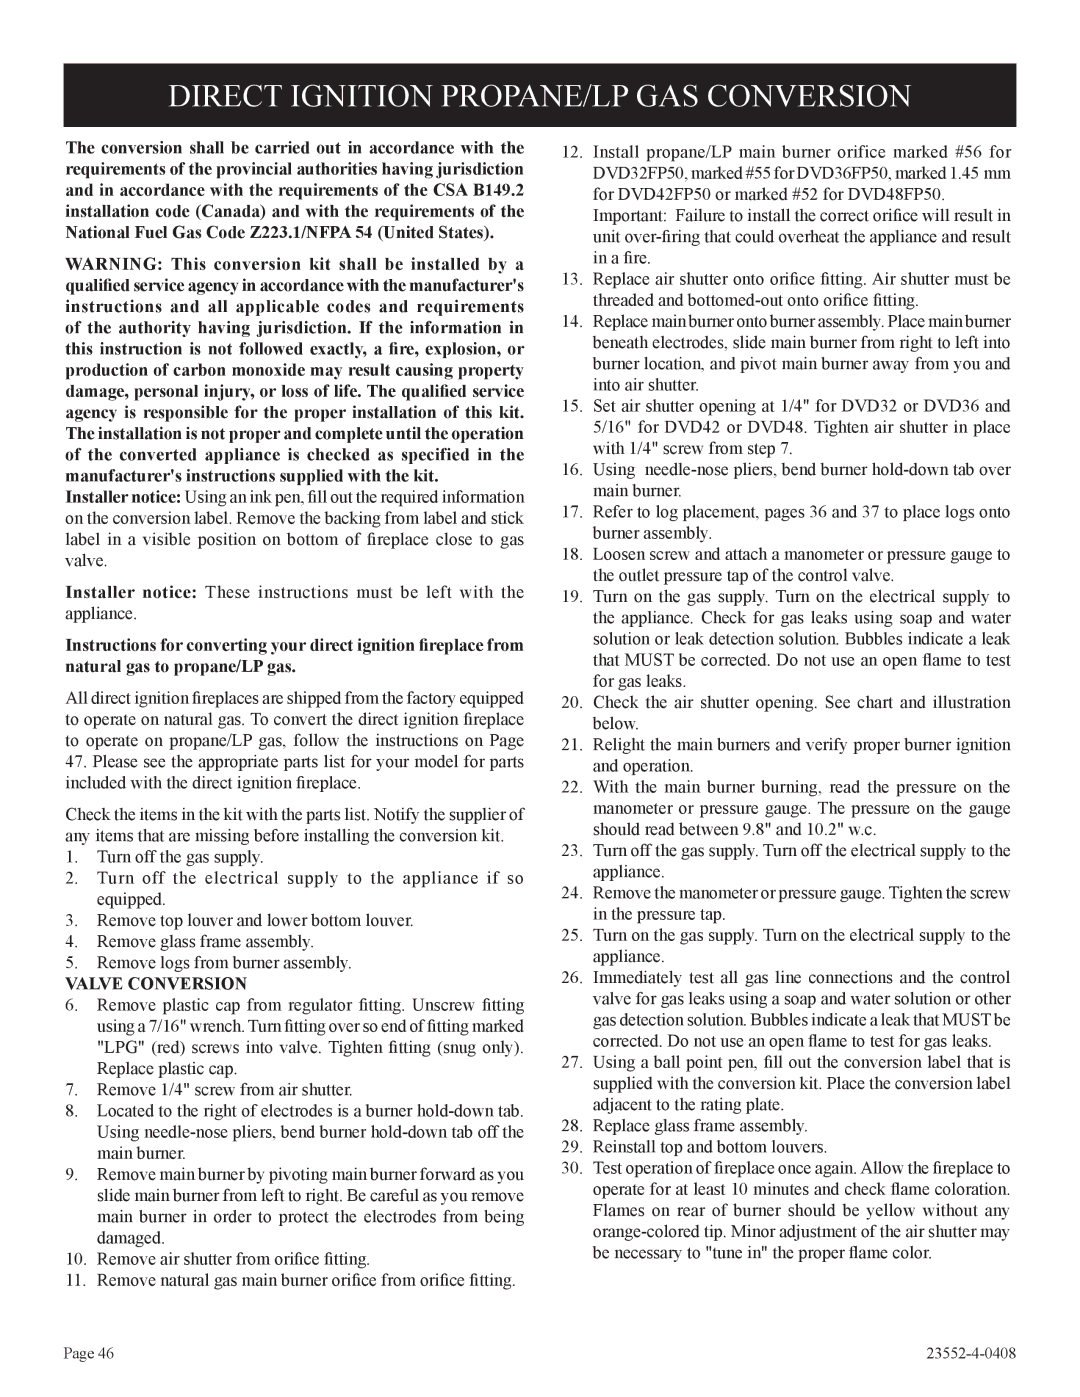
DIRECT IGNITION PROPANE/LP GAS CONVERSION

The conversion shall be carried out in accordance with the requirements of the provincial authorities having jurisdiction and in accordance with the requirements of the CSA B149.2 installation code (Canada) and with the requirements of the National Fuel Gas Code Z223.1/NFPA 54 (United States).

WARNING: This conversion kit shall be installed by a qualified service agency in accordance with the manufacturer's instructions and all applicable codes and requirements of the authority having jurisdiction. If the information in this instruction is not followed exactly, a fire, explosion, or production of carbon monoxide may result causing property damage, personal injury, or loss of life. The qualified service agency is responsible for the proper installation of this kit. The installation is not proper and complete until the operation of the converted appliance is checked as specified in the manufacturer's instructions supplied with the kit.

Installer notice: Using an ink pen, fill out the required information on the conversion label. Remove the backing from label and stick label in a visible position on bottom of fireplace close to gas valve.

Installer notice: These instructions must be left with the appliance.

Instructions for converting your direct ignition fireplace from natural gas to propane/LP gas.

All direct ignition fireplaces are shipped from the factory equipped to operate on natural gas. To convert the direct ignition fireplace to operate on propane/LP gas, follow the instructions on Page

47.Please see the appropriate parts list for your model for parts included with the direct ignition fireplace.

Check the items in the kit with the parts list. Notify the supplier of any items that are missing before installing the conversion kit.

1.Turn off the gas supply.

2.Turn off the electrical supply to the appliance if so equipped.

3.Remove top louver and lower bottom louver.

4.Remove glass frame assembly.

5.Remove logs from burner assembly.

VALVE CONVERSION

6.Remove plastic cap from regulator fitting. Unscrew fitting using a 7/16" wrench. Turn fitting over so end of fitting marked "LPG" (red) screws into valve. Tighten fitting (snug only). Replace plastic cap.

7.Remove 1/4" screw from air shutter.

8.Located to the right of electrodes is a burner hold-down tab. Using needle-nose pliers, bend burner hold-down tab off the main burner.

9.Remove main burner by pivoting main burner forward as you slide main burner from left to right. Be careful as you remove main burner in order to protect the electrodes from being damaged.

10.Remove air shutter from orifice fitting.

11.Remove natural gas main burner orifice from orifice fitting.

12.Install propane/LP main burner orifice marked #56 for DVD32FP50, marked #55 for DVD36FP50, marked 1.45 mm for DVD42FP50 or marked #52 for DVD48FP50.

Important: Failure to install the correct orifice will result in unit over-firing that could overheat the appliance and result in a fire.

13.Replace air shutter onto orifice fitting. Air shutter must be threaded and bottomed-out onto orifice fitting.

14.Replace main burner onto burner assembly. Place main burner beneath electrodes, slide main burner from right to left into burner location, and pivot main burner away from you and into air shutter.

15.Set air shutter opening at 1/4" for DVD32 or DVD36 and 5/16" for DVD42 or DVD48. Tighten air shutter in place with 1/4" screw from step 7.

16.Using needle-nose pliers, bend burner hold-down tab over main burner.

17.Refer to log placement, pages 36 and 37 to place logs onto burner assembly.

18.Loosen screw and attach a manometer or pressure gauge to the outlet pressure tap of the control valve.

19.Turn on the gas supply. Turn on the electrical supply to the appliance. Check for gas leaks using soap and water solution or leak detection solution. Bubbles indicate a leak that MUST be corrected. Do not use an open flame to test for gas leaks.

20.Check the air shutter opening. See chart and illustration below.

21.Relight the main burners and verify proper burner ignition and operation.

22.With the main burner burning, read the pressure on the manometer or pressure gauge. The pressure on the gauge should read between 9.8" and 10.2" w.c.

23.Turn off the gas supply. Turn off the electrical supply to the appliance.

24.Remove the manometer or pressure gauge. Tighten the screw in the pressure tap.

25.Turn on the gas supply. Turn on the electrical supply to the appliance.

26.Immediately test all gas line connections and the control valve for gas leaks using a soap and water solution or other gas detection solution. Bubbles indicate a leak that MUST be corrected. Do not use an open flame to test for gas leaks.

27.Using a ball point pen, fill out the conversion label that is supplied with the conversion kit. Place the conversion label adjacent to the rating plate.

28.Replace glass frame assembly.

29.Reinstall top and bottom louvers.

30.Test operation of fireplace once again. Allow the fireplace to operate for at least 10 minutes and check flame coloration. Flames on rear of burner should be yellow without any orange-colored tip. Minor adjustment of the air shutter may be necessary to "tune in" the proper flame color.

Page 46

23552-4-0408

Page 46
Image 46
Empire Comfort Systems DVD32FP3, 1, 3)(N Direct Ignition PROPANE/LP GAS Conversion, Valve Conversion

2, 1, DVD32FP3, 3)(N specifications

Empire Comfort Systems has long been a staple in the heating industry, offering innovative solutions for home heating needs. Among their impressive lineup, the Empire Comfort Systems 3)(N,1,2,DVD32FP3 stand-out model highlights a blend of traditional craftsmanship and modern technology. This fireplace insert is designed to provide warmth and an inviting atmosphere to any living space.

One of the primary features of the DVD32FP3 is its impressive efficiency. The unit is fueled by natural gas, which not only ensures a dependable heat source but also provides relatively lower operational costs. This model boasts a high efficiency rating, allowing homeowners to enjoy significant savings on utility bills while keeping the environment in mind. Its design allows for efficient heat distribution, ensuring that warmth fills the room without excessive energy consumption.

The Empire 3)(N,1,2,DVD32FP3 also emphasizes user convenience with its innovative controls. It features an adjustable thermostat that allows users to set their desired temperature easily, enhancing comfort levels within the home. A remote control option is also available, adding an extra layer of convenience for adjusting the fireplace settings from anywhere in the room.

Aesthetic appeal is another highlight of this model. With its sleek, contemporary design, the DVD32FP3 can blend seamlessly with various home decors. The unit is equipped with a large viewing window, providing a stunning visual of the flames while also giving a cozy ambiance to the space. The realistic log set enhances the appearance, mimicking the beauty of a traditional wood-burning fireplace without the hassle of wood maintenance.

Safety is of paramount importance with the Empire Comfort Systems 3)(N,1,2,DVD32FP3. It comes with a built-in safety sensor which ensures that the unit operates safely, providing peace of mind to homeowners. Additionally, its zero-clearance design allows for installation in various spaces without needing excessive modifications to existing structures.

Durability is a key characteristic of this fireplace insert, crafted from quality materials that promise longevity in performance. This makes it a reliable choice for home heating needs that can withstand the test of time and usage.

Overall, Empire Comfort Systems 3)(N,1,2,DVD32FP3 stands out for its combination of efficiency, aesthetic appeal, user-friendly features, and safety measures, making it an excellent choice for homeowners looking for comfort and reliability in their heating solutions. Whether you're nestled by the fire on a cold winter night or enhancing your living space, it's a perfect choice for warmth and style.