Installing the Device
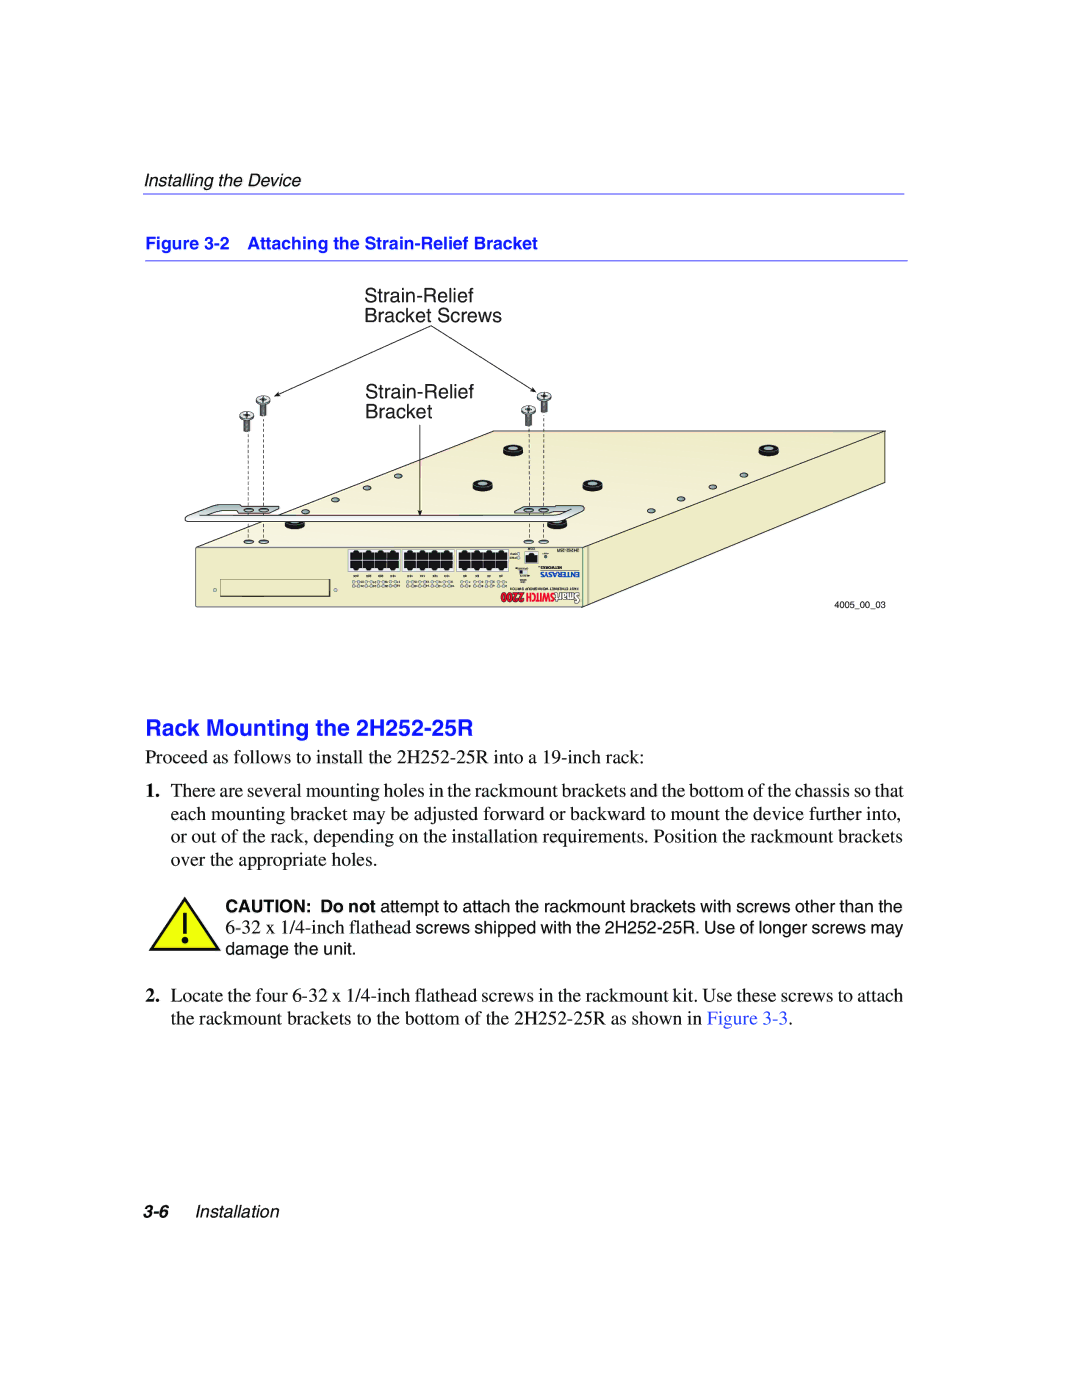
Figure 3-2 Attaching the Strain-Relief Bracket
Strain-Relief
Bracket Screws
Bracket
|
|
|
|
|
|
|
|
|
|
|
|
|
| COM | |
|
|
|
|
|
|
|
|
|
|
|
|
| CPU |
| |
|
|
|
|
|
|
|
|
|
|
|
|
| PWR |
|
|
|
|
|
|
|
|
|
|
|
|
|
|
|
|
| |
24X 22X |
| 20X | 18X | 16X | 14X | 12X | 10X | 8X | 6X | 4X | 2X |
|
|
| |
23 | 21 | 19 | 17 | 15 | 13 | 11 | 9 | 7 |
| 5 | 3 | 1 |
| MODE |
|
|
| LED |
| ||||||||||||
24 | 22 | 20 | 18 | 16 | 14 | 12 | 10 | 8 |
| 6 | 4 | 2 | SWITCH WORKGROUP ETHERNET FAST | ||
|
|
|
|
|
|
|
|
|
|
|
|
| |||
4005_00_03
Rack Mounting the 2H252-25R
Proceed as follows to install the
1.There are several mounting holes in the rackmount brackets and the bottom of the chassis so that each mounting bracket may be adjusted forward or backward to mount the device further into, or out of the rack, depending on the installation requirements. Position the rackmount brackets over the appropriate holes.
CAUTION: Do not attempt to attach the rackmount brackets with screws other than the
2.Locate the four