Basic Operation
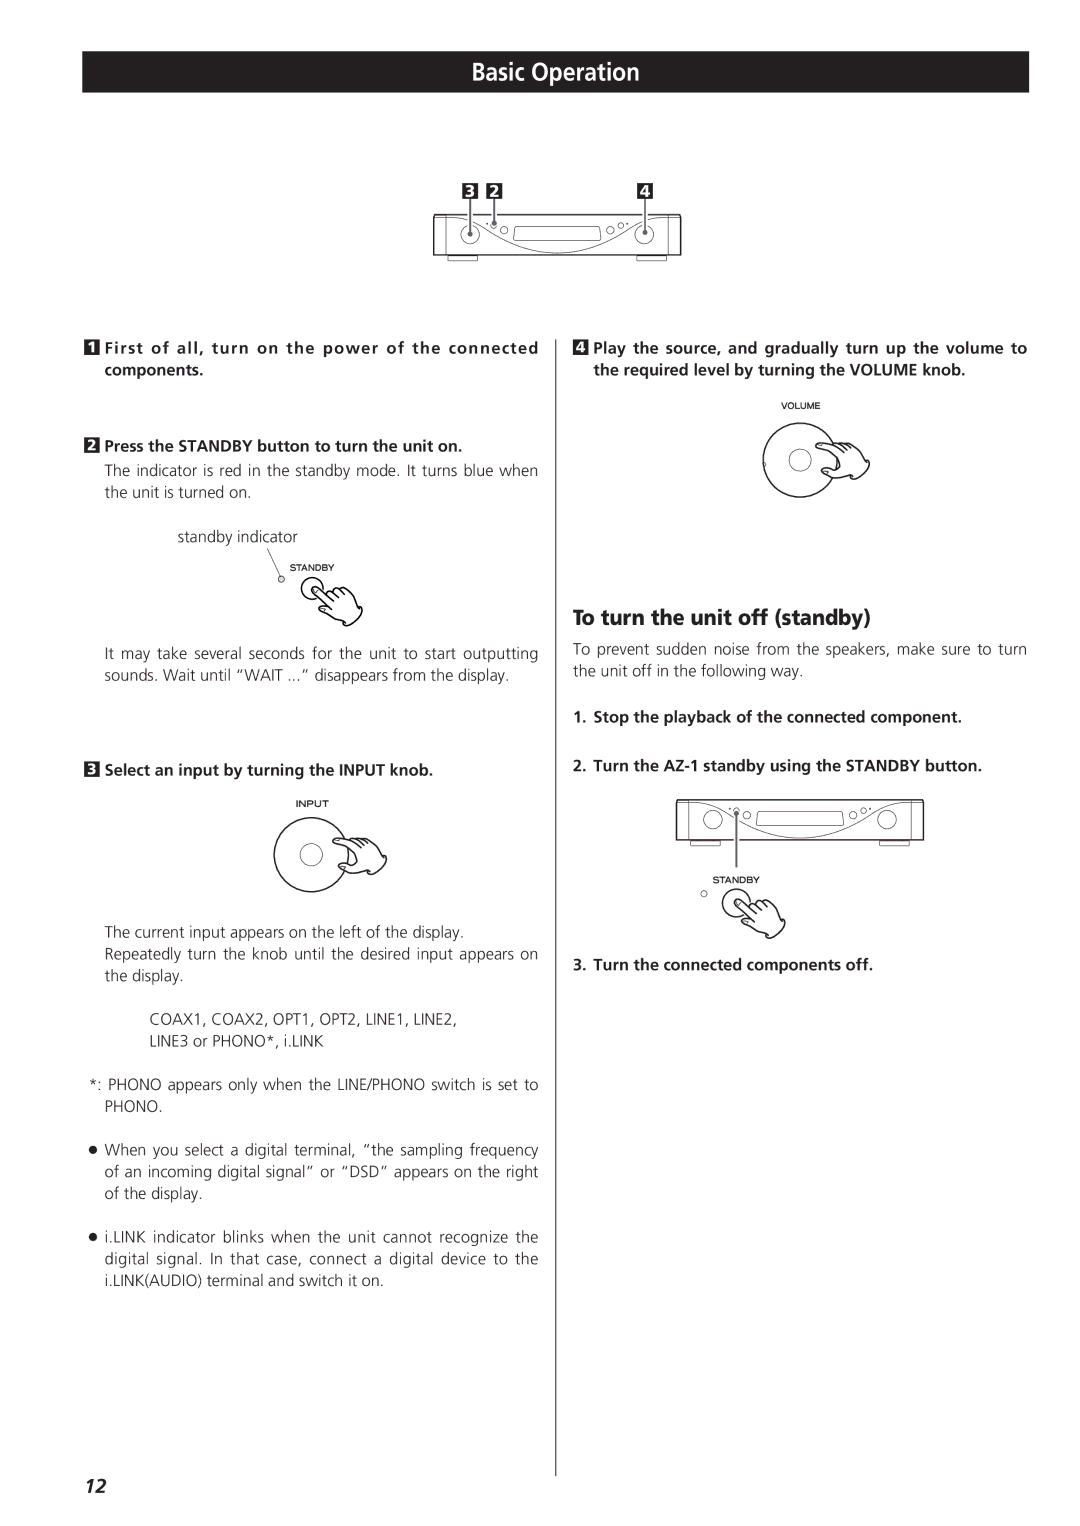
| 3 |
| 2 |
| 4 |
| |||
|
|
|
|
|
|
|
|
|
|
|
|
|
|
|
|
|
|
|
|
|
|
|
|
|
|
|
|
|
|
1First of all, turn on the power of the connected components.
2Press the STANDBY button to turn the unit on.
The indicator is red in the standby mode. It turns blue when the unit is turned on.
standby indicator
It may take several seconds for the unit to start outputting sounds. Wait until “WAIT ...” disappears from the display.
3Select an input by turning the INPUT knob.
The current input appears on the left of the display. Repeatedly turn the knob until the desired input appears on the display.
COAX1, COAX2, OPT1, OPT2, LINE1, LINE2,
LINE3 or PHONO*, i.LINK
*: PHONO appears only when the LINE/PHONO switch is set to
PHONO.
<When you select a digital terminal, “the sampling frequency of an incoming digital signal” or “DSD” appears on the right of the display.
<i.LINK indicator blinks when the unit cannot recognize the digital signal. In that case, connect a digital device to the i.LINK(AUDIO) terminal and switch it on.
4Play the source, and gradually turn up the volume to the required level by turning the VOLUME knob.
To turn the unit off (standby)
To prevent sudden noise from the speakers, make sure to turn the unit off in the following way.
1.Stop the playback of the connected component.
2.Turn the
3. Turn the connected components off.
12