DD602I, DD602 specifications
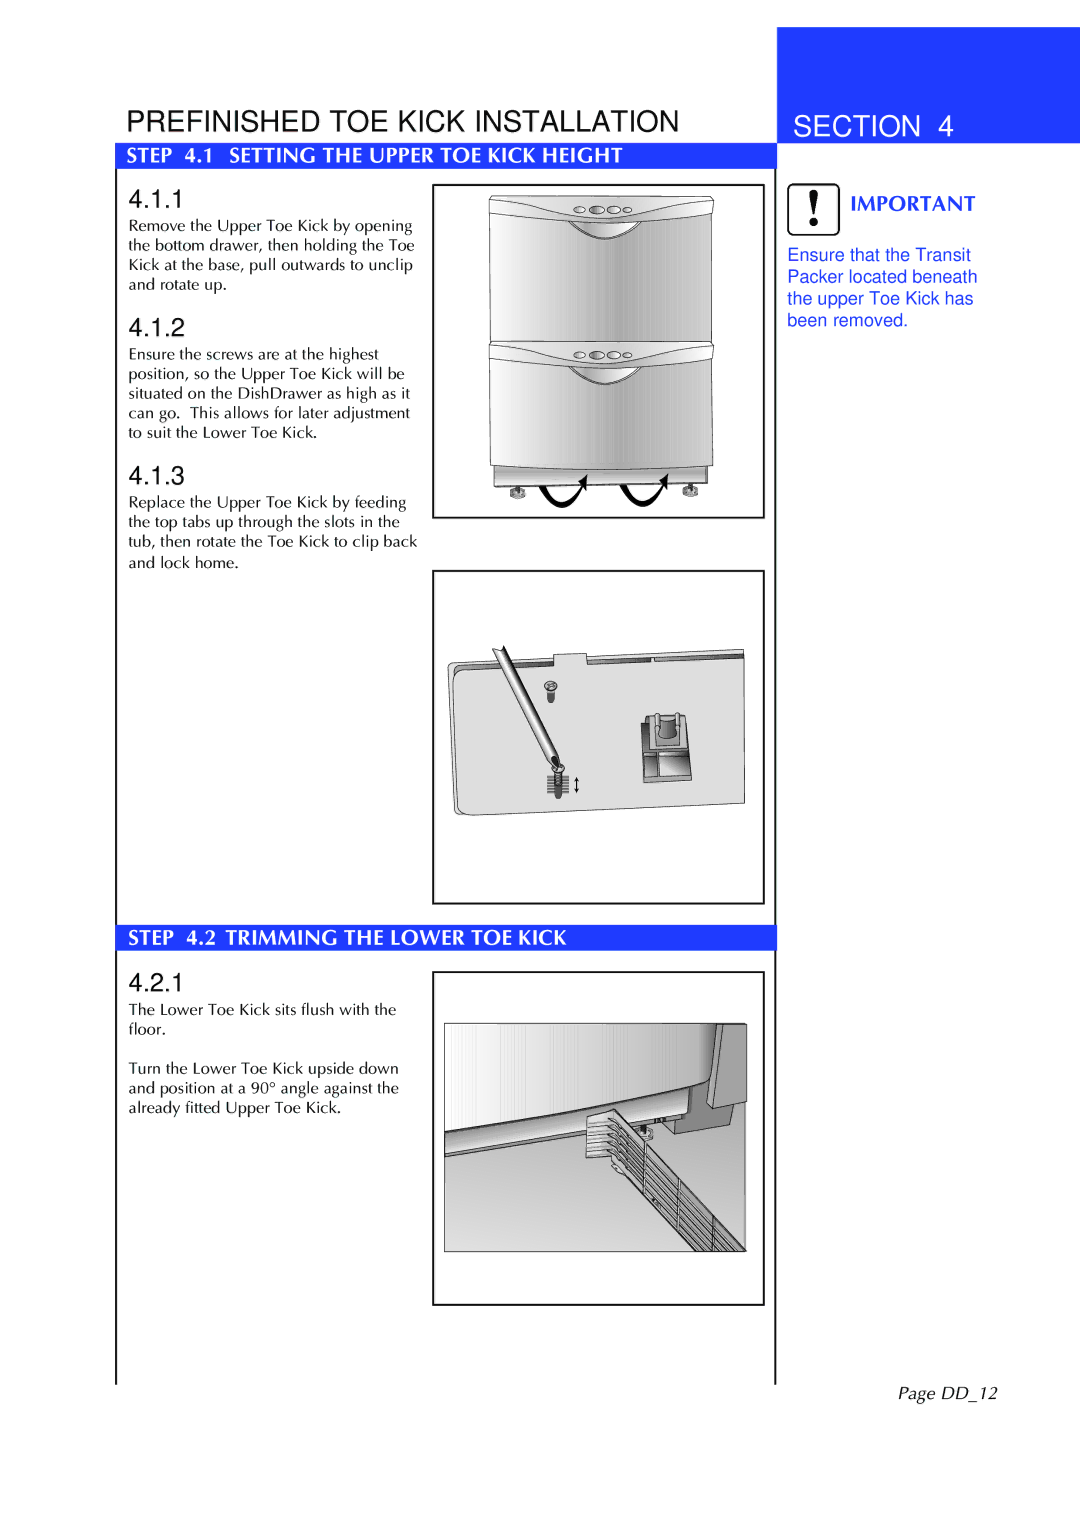
Fisher & Paykel, a renowned brand in the world of home appliances, has made a significant mark with its innovative and reliable dishwashing solutions. Among their popular offerings are the DD602 and DD602I models, which feature a blend of efficiency, design, and advanced technology.The Fisher & Paykel DD602 is a stylish, under-bench dishwasher designed to blend seamlessly with modern kitchen aesthetics. Its sleek design features a polished stainless steel front that adds a touch of elegance, while the DD602I comes with a customizable front panel that allows homeowners to match it perfectly to their cabinetry, offering a more integrated look. This versatility makes both models a favorite for homeowners looking to maintain a cohesive kitchen design.
One of the standout features of the DD602 and DD602I is their Smart Drive technology. This innovative system was developed to ensure superior washing performance, utilizing fewer moving parts, which enhances reliability and longevity. The intelligent sensing capabilities of the Smart Drive system allow the dishwasher to automatically adjust water usage and cycle time according to the load, optimizing efficiency and reducing energy consumption.
Both the DD602 and DD602I models boast a variety of wash programs tailored to different cleaning needs, including delicate, heavy, and fast cycles. Their spacious interior can comfortably accommodate up to 14 place settings, making them perfect for families or entertaining guests. The adjustable racks and foldable tines provide flexibility in loading, allowing for the safe washing of larger items and stemware.
In terms of quiet operation, these dishwashers stand out with a low decibel rating, ensuring a peaceful home environment while in use. The built-in safety features, such as a triple filter system, prevent food particles from recontaminating the dishes, while a child lock function adds peace of mind for families.
Fisher & Paykel's commitment to sustainability is also reflected in these models. Both the DD602 and DD602I are designed to minimize water and energy consumption, making them a responsible choice for eco-conscious consumers.
Overall, the Fisher & Paykel DD602 and DD602I dishwashers combine modern design and cutting-edge technology to deliver exceptional washing performance, reliability, and efficiency, making them an excellent choice for any kitchen.

