Model
Basic Operation (recording)
As explained above, there are four recordable tracks.
The
10 | 11 |
|
|
7 |
|
| |
| 4 |
| |
|
|
| |
|
| 1 | 6 |
9 | 2 |
|
10 12
3
11
5
8
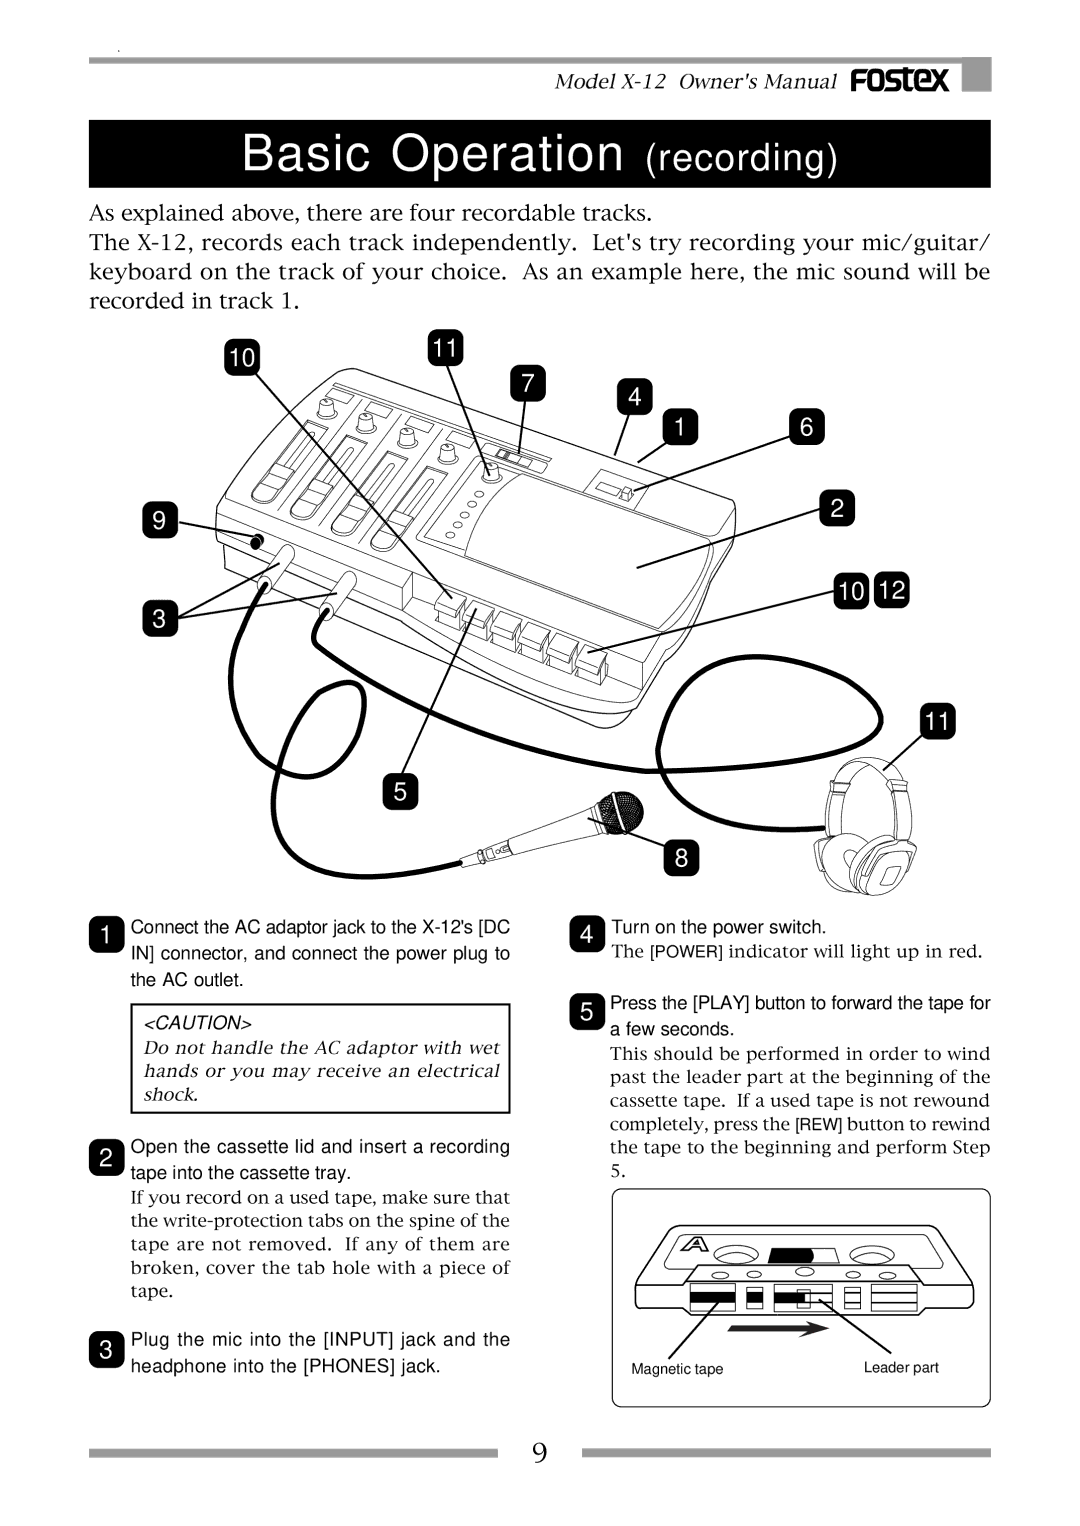
1Connect the AC adaptor jack to the
the AC outlet.
<CAUTION>
Do not handle the AC adaptor with wet hands or you may receive an electrical shock.
2Open the cassette lid and insert a recording tape into the cassette tray.
If you record on a used tape, make sure that the
3Plug the mic into the [INPUT] jack and the headphone into the [PHONES] jack.
4Turn on the power switch.
The [POWER] indicator will light up in red.
5Press the [PLAY] button to forward the tape for a few seconds.
This should be performed in order to wind past the leader part at the beginning of the cassette tape. If a used tape is not rewound completely, press the [REW] button to rewind the tape to the beginning and perform Step 5.
Magnetic tape | Leader part |
9