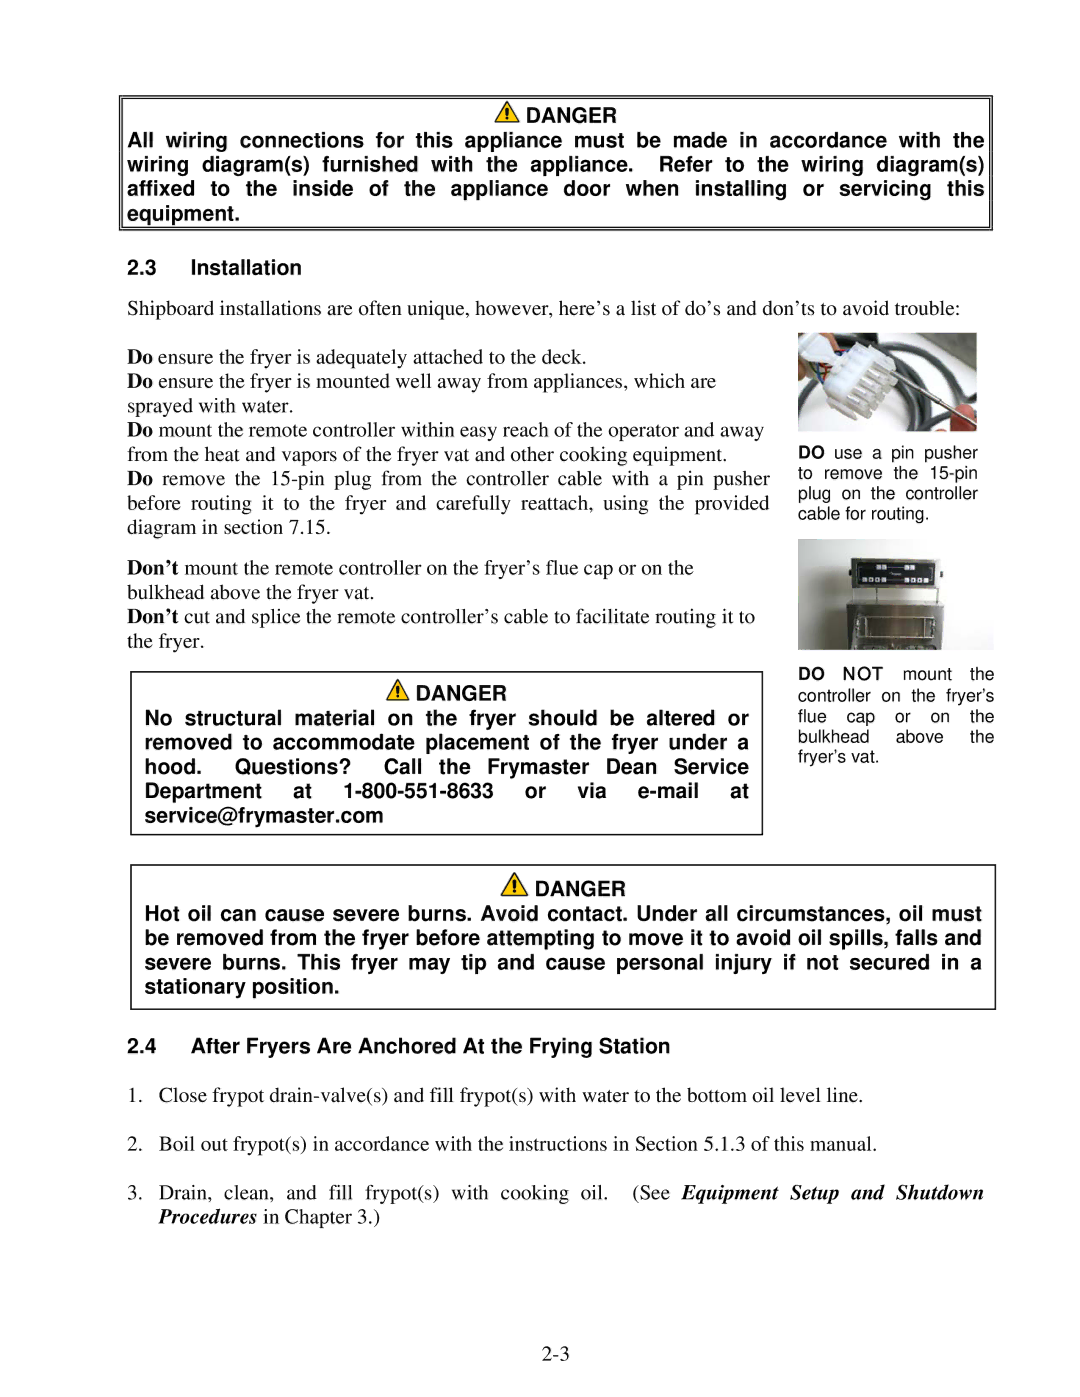
E4 specifications
The Frymaster E4 is an advanced fryer that represents the cutting edge of commercial frying technology. Designed for efficiency and performance, it is favored by restaurants and fast-food chains looking to optimize their cooking processes while maintaining exceptional food quality.One of the standout features of the Frymaster E4 is its programmable controls. With an intuitive digital interface, operators can easily adjust cooking temperatures, times, and even recipes with just a few taps. This level of precision ensures that food is consistently cooked to perfection every time, reducing waste and improving overall efficiency in the kitchen.
The E4 is equipped with high-performance burners that ensure rapid heating and recovery times. This means that cooking oil reaches the desired temperatures quickly, allowing for faster frying cycles. Thus, busy kitchens can meet high-demand periods without compromising quality or service speed. The fryer also features a high-efficiency oil filtration system that automatically removes contaminants and prolongs the life of the frying oil, resulting in a significant reduction in operating costs over time.
Another notable technology in the Frymaster E4 is its oil level management system, which actively monitors oil levels and alerts the operator when replenishment is necessary. This feature prevents overfilling or underfilling, both of which can negatively impact cooking performance and food quality.
Safety is also a top priority with the E4, as it incorporates features such as a built-in safety shut-off mechanism that activates if the temperature exceeds safe levels. Additionally, the fryer's robust construction minimizes the risks of spills and accidents in the kitchen, making it a reliable choice for high-traffic environments.
The Frymaster E4 also emphasizes energy efficiency, designed to meet stringent energy-saving standards without compromising performance. This is crucial in the current market, where energy costs can significantly impact overall profitability.
In conclusion, the Frymaster E4 offers an impressive combination of innovative technology, safety, and efficiency. Its programmable controls, high-performance frying capabilities, and advanced filtration and oil management systems make it an essential tool for any commercial kitchen aiming to enhance productivity and food quality. As the demands of the food industry continue to grow, the E4 stands out as a reliable partner for chefs looking to elevate their frying operations.

