
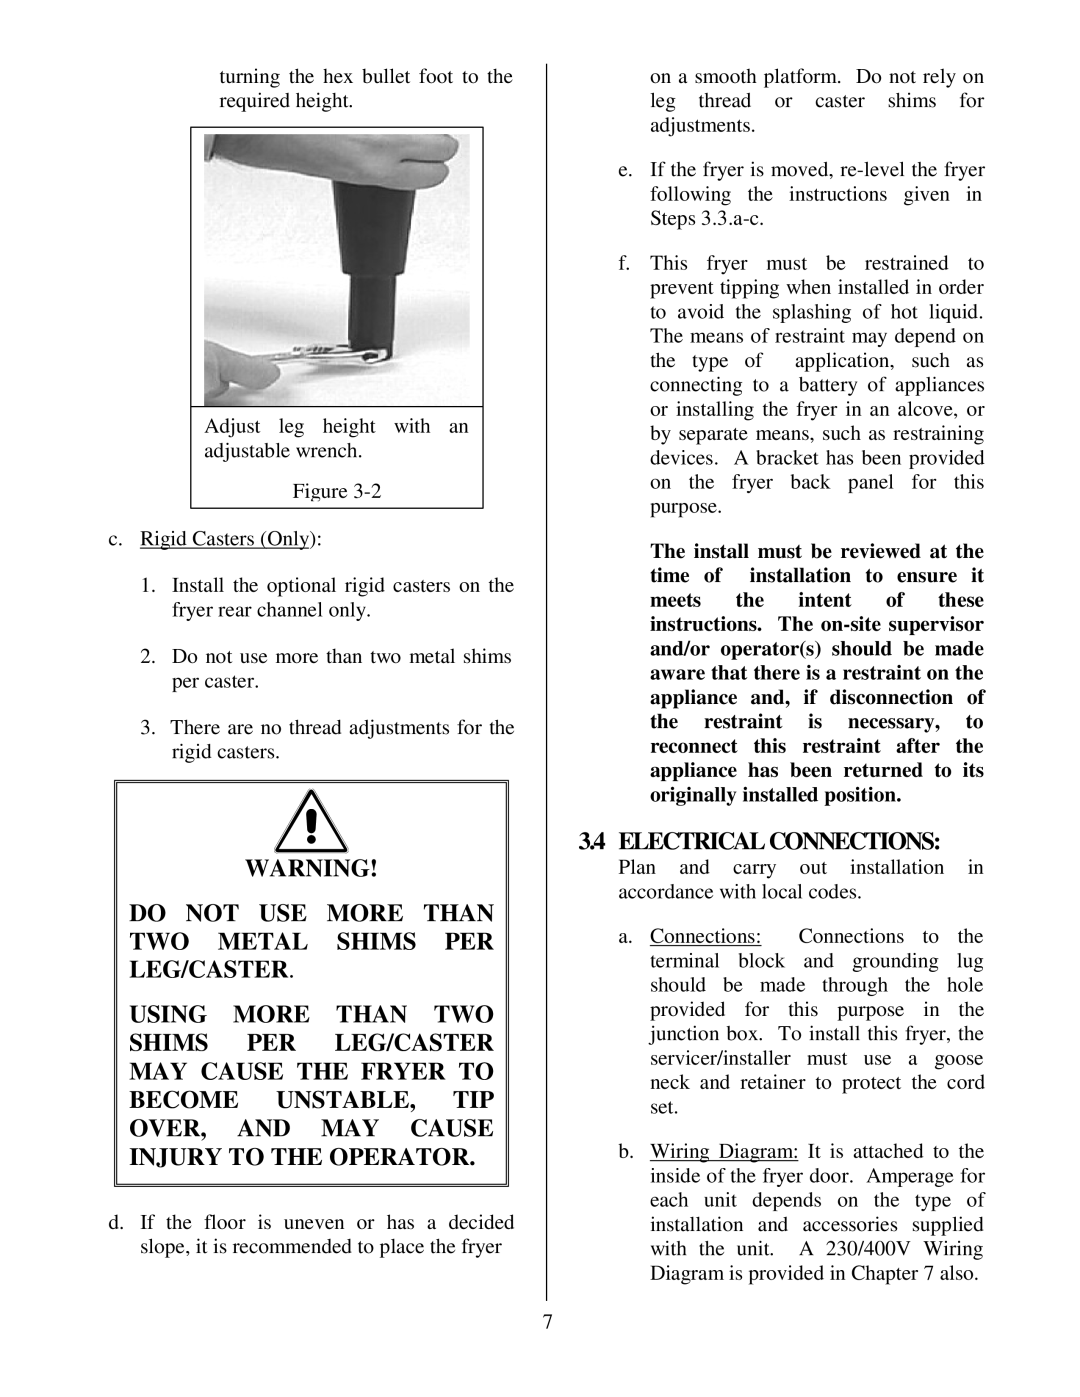
Electric Fryer specifications
Frymaster Electric Fryers are a cornerstone in commercial kitchens, renowned for their efficiency, durability, and advanced technology that ensures the perfect fry every time. Engineered for high-demand environments, these fryers offer a variety of features designed to optimize frying performance and enhance food quality.One standout feature of Frymaster Electric Fryers is their ability to heat oil quickly and evenly, thanks to advanced heating elements. These elements are often designed with powerful wattage that allows for fast recovery times, ensuring that the oil temperature is consistent even during peak frying hours. This capability is crucial for maintaining the oil's optimal frying temperature, which directly affects the quality and taste of the food.
Another significant technology integrated into Frymaster Electric Fryers is the SmartSensing system. This innovative feature monitors the oil temperature and adjusts heating accordingly, preventing overheating and oil degradation. The result is a longer oil life, reduced oil costs, and a more consistent frying result. This system not only ensures the safety of the kitchen staff but also enhances the flavor profile of the food, making it a preferred choice for high-volume establishments.
Frymaster Electric Fryers also champion user-friendly designs with features such as touchscreen controls and programmable settings. This ensures ease of operation, allowing kitchen staff to quickly adapt to different frying needs and reduce the learning curve for new employees. The programmable features give chefs the flexibility to pre-set temperature and timing for various foods, ensuring consistent results every time.
Moreover, these fryers prioritize safety with built-in mechanisms such as automatic shut-off and over-temperature protection. Built with durable and high-quality materials, Frymaster fryers are designed to withstand the rigors of busy restaurant environments, ensuring longevity and reliability.
Additionally, Frymaster offers energy-efficient models that comply with energy-saving regulations, making them an environmentally friendly choice for restaurants looking to lower their operational costs. These fryers not only cook efficiently but also use energy judiciously, aligning with sustainability efforts in the foodservice industry.
In conclusion, Frymaster Electric Fryers combine high performance, innovative technology, and user-friendly design, making them an indispensable tool in any commercial kitchen. They are tailored to meet the demands of professional chefs while producing high-quality fried products, ensuring customer satisfaction and operational efficiency. Whether for bustling fast-food outlets or upscale restaurants, Frymaster fryers set the gold standard in frying technology.