STILL PHOTOGRAPHY MODE
TAKING PICTURES (aAUTO MODE)
USING VIEWFINDER
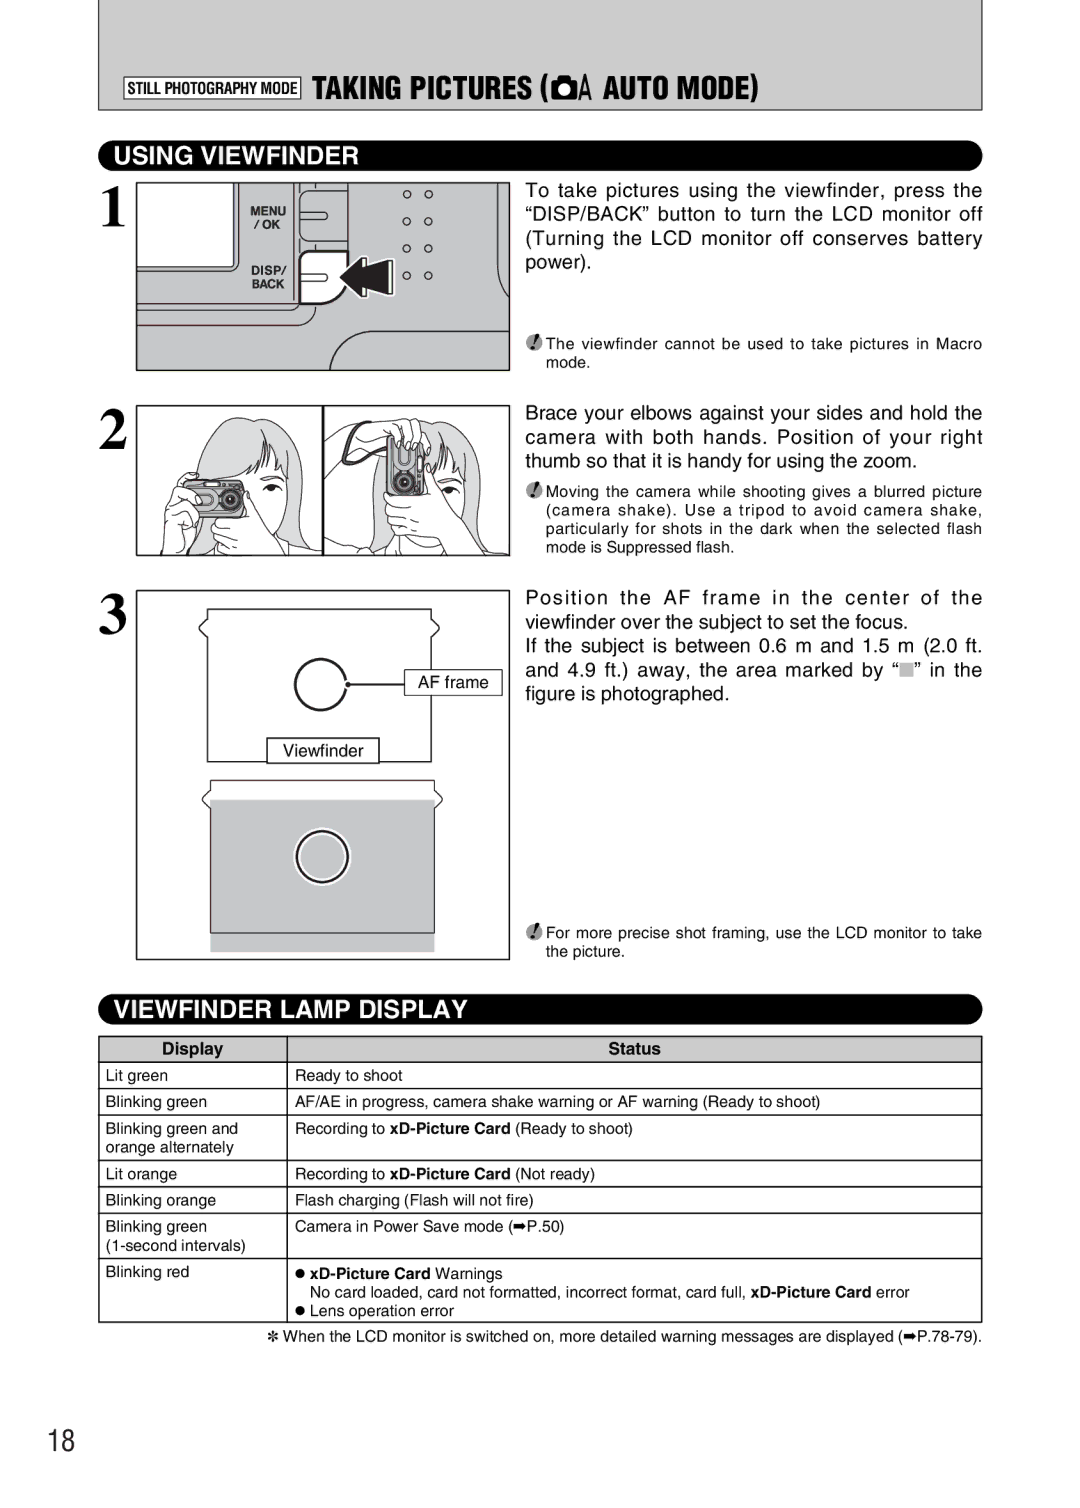
1 |
To take pictures using the viewfinder, press the “DISP/BACK” button to turn the LCD monitor off (Turning the LCD monitor off conserves battery power).
●! The viewfinder cannot be used to take pictures in Macro mode.
2
Brace your elbows against your sides and hold the camera with both hands. Position of your right thumb so that it is handy for using the zoom.
●! Moving the camera while shooting gives a blurred picture (camera shake). Use a tripod to avoid camera shake, particularly for shots in the dark when the selected flash mode is Suppressed flash.
3 |
AF frame |
Viewfinder |
Position the AF frame in the center of the viewfinder over the subject to set the focus.
If the subject is between 0.6 m and 1.5 m (2.0 ft. and 4.9 ft.) away, the area marked by “■” in the figure is photographed.
●! For more precise shot framing, use the LCD monitor to take the picture.
VIEWFINDER LAMP DISPLAY
Display | Status |
Lit green | Ready to shoot |
|
|
Blinking green | AF/AE in progress, camera shake warning or AF warning (Ready to shoot) |
|
|
Blinking green and | Recording to |
orange alternately |
|
|
|
Lit orange | Recording to |
|
|
Blinking orange | Flash charging (Flash will not fire) |
|
|
Blinking green | Camera in Power Save mode (➡P.50) |
| |
|
|
Blinking red | h |
| No card loaded, card not formatted, incorrect format, card full, |
| h Lens operation error |
✽When the LCD monitor is switched on, more detailed warning messages are displayed
18