Color monitor 4612 FA
Monitor settings using the OSD menu
You can use the buttons on the control panel to set the screen display via an integrated OSD menu
The OSD menu is available in different languages. The English menu names are used in i the following description (default setting). The language can be set in the OSD menu
(Language Select ).
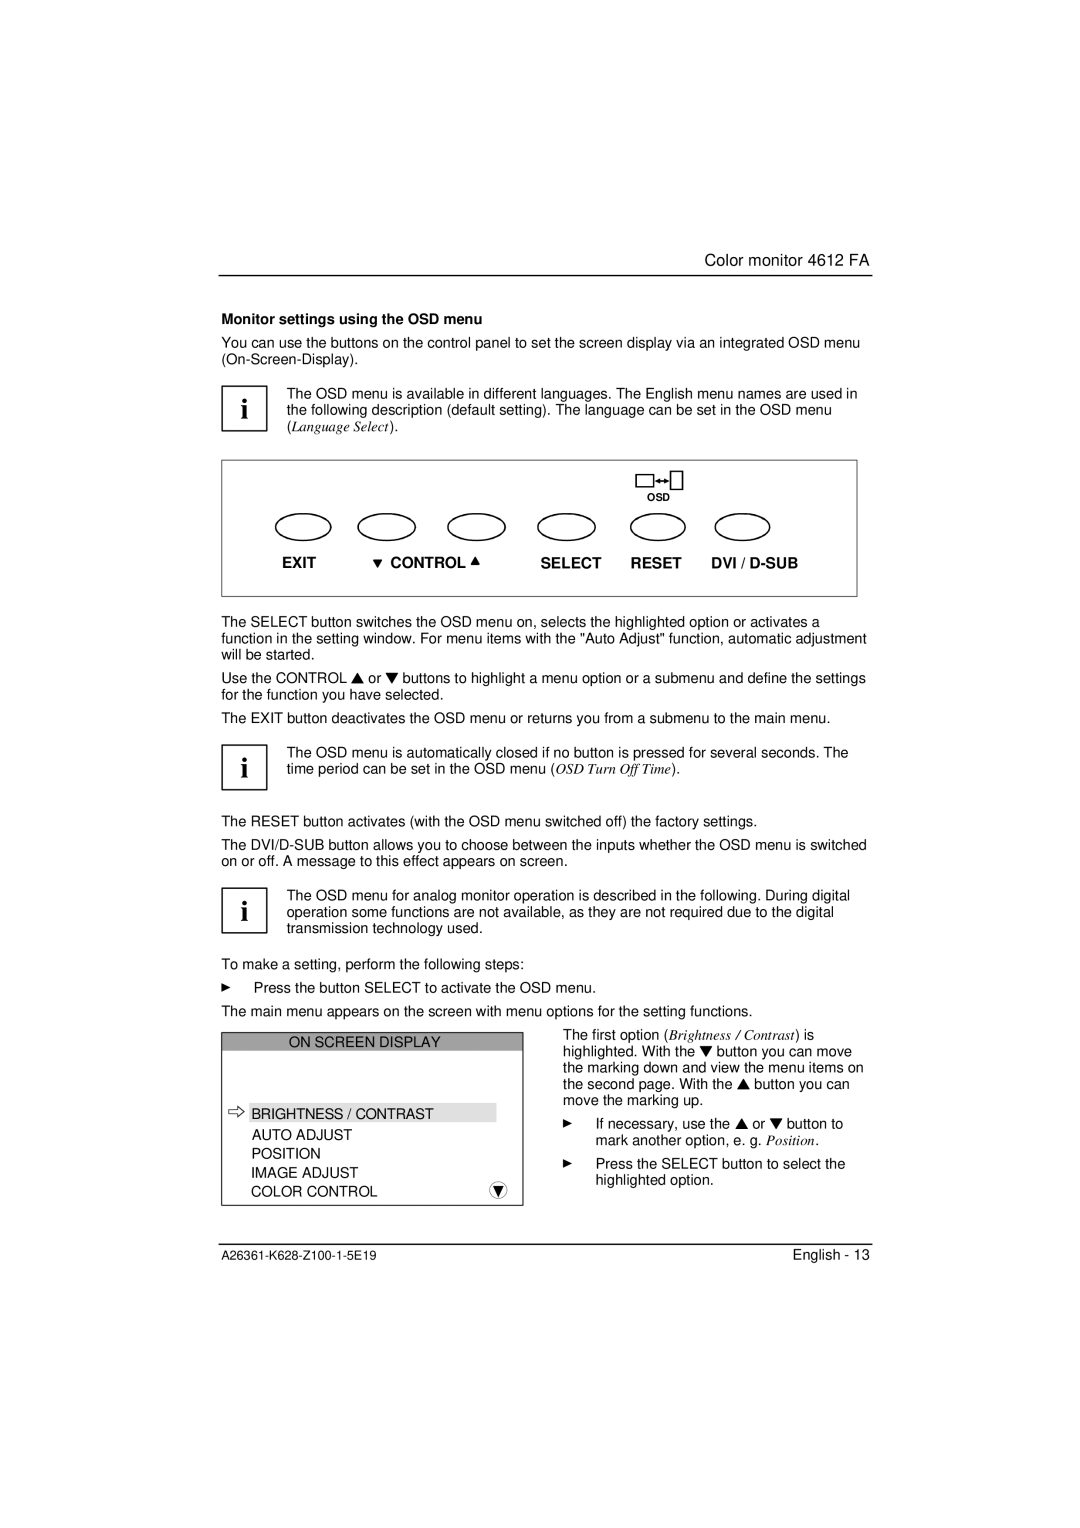
|
| OSD |
EXIT | CONTROL | SELECT RESET DVI / |
The SELECT button switches the OSD menu on, selects the highlighted option or activates a function in the setting window. For menu items with the "Auto Adjust" function, automatic adjustment will be started.
Use the CONTROL ▲ or ▼ buttons to highlight a menu option or a submenu and define the settings for the function you have selected.
The EXIT button deactivates the OSD menu or returns you from a submenu to the main menu.
i | The OSD menu is automatically closed if no button is pressed for several seconds. The |
time period can be set in the OSD menu (OSD Turn Off Time). |
The RESET button activates (with the OSD menu switched off) the factory settings.
The
The OSD menu for analog monitor operation is described in the following. During digital i operation some functions are not available, as they are not required due to the digital
transmission technology used.
To make a setting, perform the following steps:
ÊPress the button SELECT to activate the OSD menu.
The main menu appears on the screen with menu options for the setting functions.
ON SCREEN DISPLAY
![]() BRIGHTNESS / CONTRAST
BRIGHTNESS / CONTRAST
AUTO ADJUST
POSITION
IMAGE ADJUST
COLOR CONTROL
The first option (Brightness / Contrast) is highlighted. With the ▼ button you can move the marking down and view the menu items on the second page. With the ▲ button you can move the marking up.
ÊIf necessary, use the ▲ or ▼ button to mark another option, e. g. Position.
ÊPress the SELECT button to select the highlighted option.
English - 13 |