1.6 Tuning the Receiver
The receiver can be tuned automatically or manu- ally. The default (factory setting) is automatic tun- ing.
Selecting tuning mode
1)Press the MENU key.
2)Select the INITIAL menu.
3)Press the ENTER/SELECT key.
Note: The above three steps can also be done by pressing and holding down the MENU key.
4)Select TUNE SET and press the ENTER/SE- LECT key.
5)Select AUTO (or MANUal).
6)Press the ENTER/SELECT key.
7)Press the MENU key.
Manual tuning
1)Select manual tuning by following "selecting tuning mode."
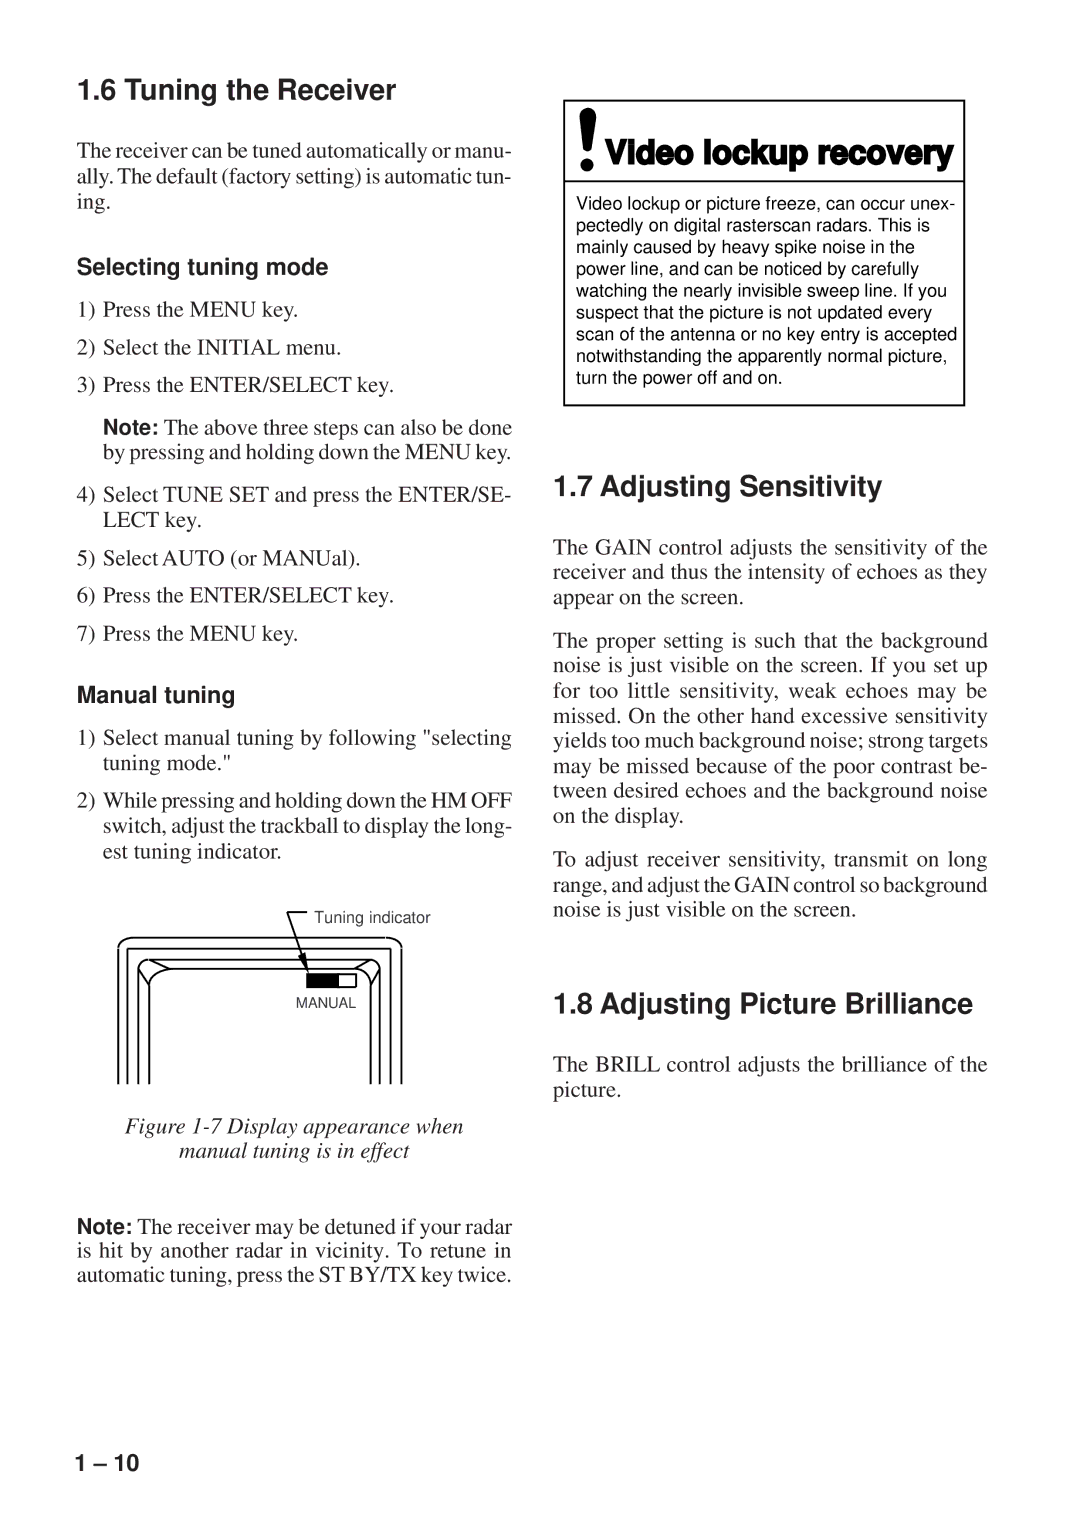
2)While pressing and holding down the HM OFF switch, adjust the trackball to display the long- est tuning indicator.
Tuning indicator
MANUAL
 Video lockup recovery
Video lockup or picture freeze, can occur unex- pectedly on digital rasterscan radars. This is mainly caused by heavy spike noise in the power line, and can be noticed by carefully watching the nearly invisible sweep line. If you suspect that the picture is not updated every scan of the antenna or no key entry is accepted notwithstanding the apparently normal picture, turn the power off and on.
1.7 Adjusting Sensitivity
The GAIN control adjusts the sensitivity of the receiver and thus the intensity of echoes as they appear on the screen.
The proper setting is such that the background noise is just visible on the screen. If you set up for too little sensitivity, weak echoes may be missed. On the other hand excessive sensitivity yields too much background noise; strong targets may be missed because of the poor contrast be- tween desired echoes and the background noise on the display.
To adjust receiver sensitivity, transmit on long range, and adjust the GAIN control so background noise is just visible on the screen.
1.8 Adjusting Picture Brilliance
The BRILL control adjusts the brilliance of the picture.
Figure 1-7 Display appearance when
manual tuning is in effect
Note: The receiver may be detuned if your radar is hit by another radar in vicinity. To retune in automatic tuning, press the ST BY/TX key twice.
1 – 10
