R40Li specifications
The Gardena R40Li and R70Li robotic lawn mowers represent the cutting-edge in garden maintenance technology, designed to simplify the lawn care process for homeowners. With their sleek design and innovative features, these mowers offer exceptional performance, reliability, and convenience.The R40Li is suitable for smaller gardens of up to 400 square meters, while the R70Li caters to medium-sized lawns of up to 700 square meters. Both models are powered by a robust lithium-ion battery, providing efficient and quiet operation while ensuring minimal disturbance to the surrounding environment.
One of the standout features of these robotic mowers is their intelligent navigation system. The R40Li and R70Li are equipped with a smart sensor technology that allows them to efficiently map and navigate the garden, avoiding obstacles and adjusting their mowing paths as needed. This ensures that every corner of the lawn is trimmed without missing patches or damaging plants.
Both mowers come with a programmable timer, which allows users to set specific days and times for mowing, ensuring that the lawn is always well-maintained. The rain sensor is another valuable feature, automatically detecting wet conditions and returning to the charging station to prevent unwanted damage to the lawn.
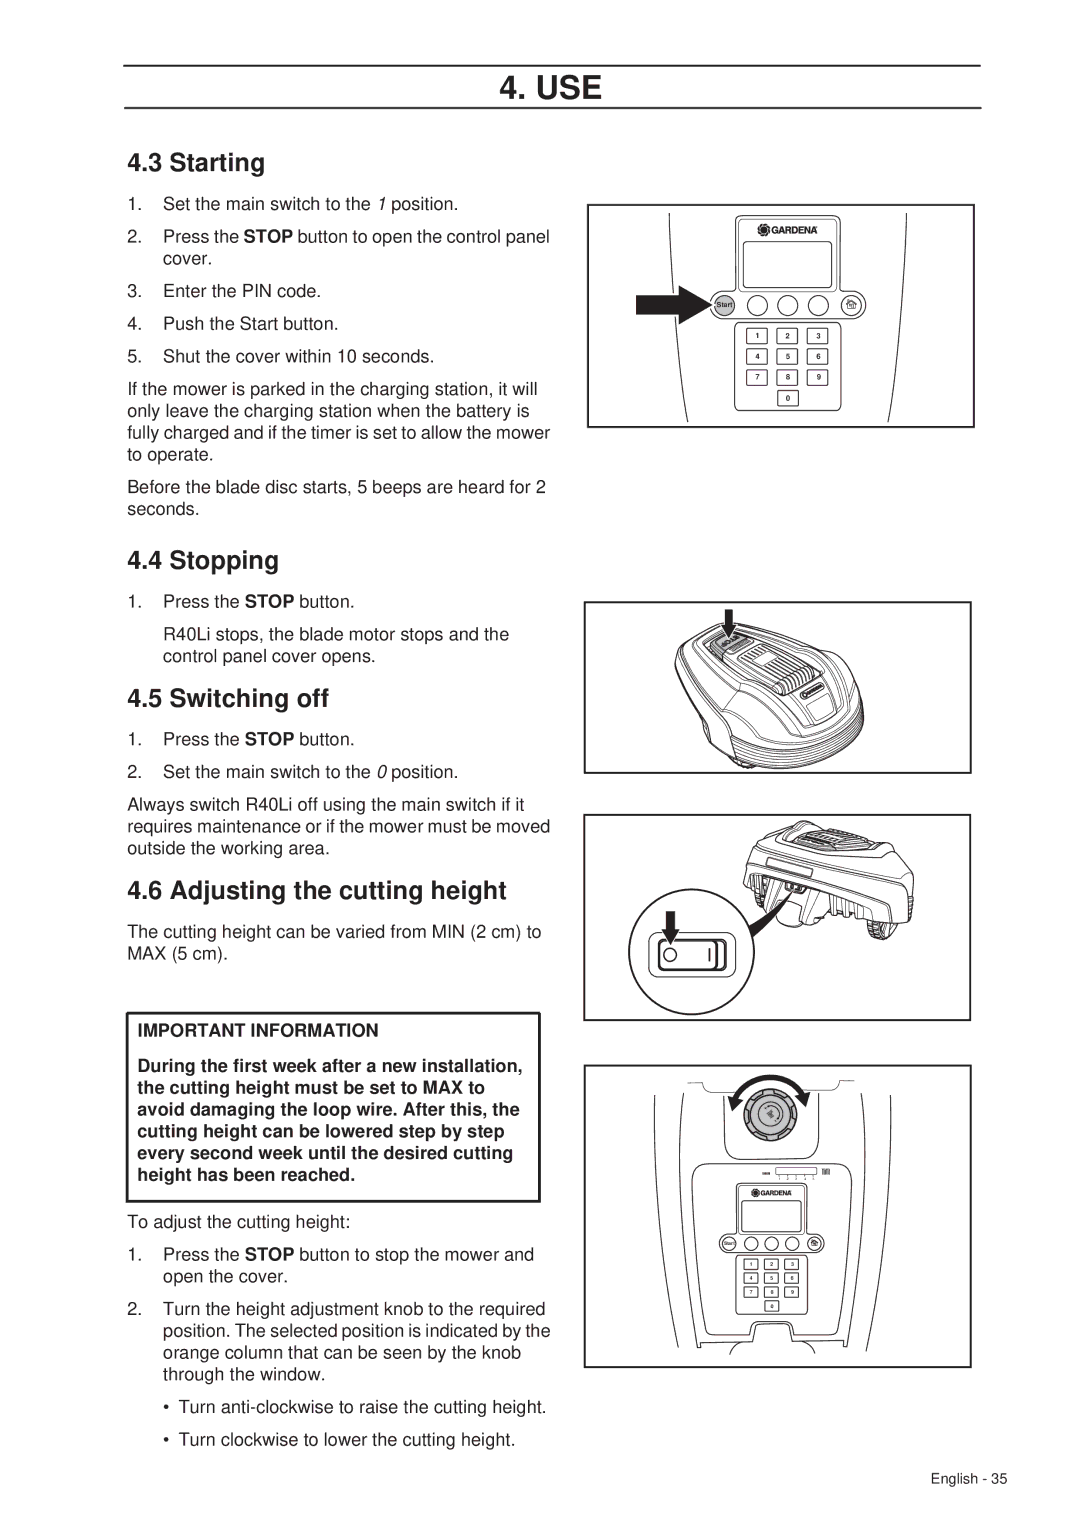
Ease of use is a priority with the Gardena R40Li and R70Li. They are equipped with intuitive controls, allowing users to easily customize settings and manage their mowing schedules. The mow height can be easily adjusted, giving homeowners the flexibility to achieve their desired grass length.
Safety is another critical aspect of these robotic mowers. Both models feature an emergency stop function and a lift sensor that halts operation if the mower is lifted or tilted, providing peace of mind to users with pets and children.
Moreover, the mowers' compact design and highly maneuverable nature allow them to operate in tight spaces and navigate narrow passages with ease. Their durable construction ensures reliability and longevity, making them a worthwhile investment for any garden enthusiast.
In summary, the Gardena R40Li and R70Li robotic lawn mowers provide an excellent combination of advanced technology, user-friendly features, and efficient performance, making lawn care effortless and enjoyable. With these mowers, homeowners can enjoy a pristine lawn without the time and effort typically required for traditional mowing methods.

