| Using Your Gateway Flat-Panel Monitor |
| | | | | | |
OSD Menu | Description |
| | | | | | |
Video Adjust menu | Unless otherwise indicated, these settings apply only to SD (standard definition) video at 480i and below. |
| Where “PC input” is indicated, the resolutions that apply are from 800 × 600 to 1920 × 1200. |
| Sharpness—Adjusts sharpness for video images. |
| Video Scaling—Sets video aspect ratios and scaling between Wide, Zoom, 1:1, and Panoramic modes. |
| PC input: Sets resolution aspect ratios and scaling between Wide, Zoom, and 1:1. |
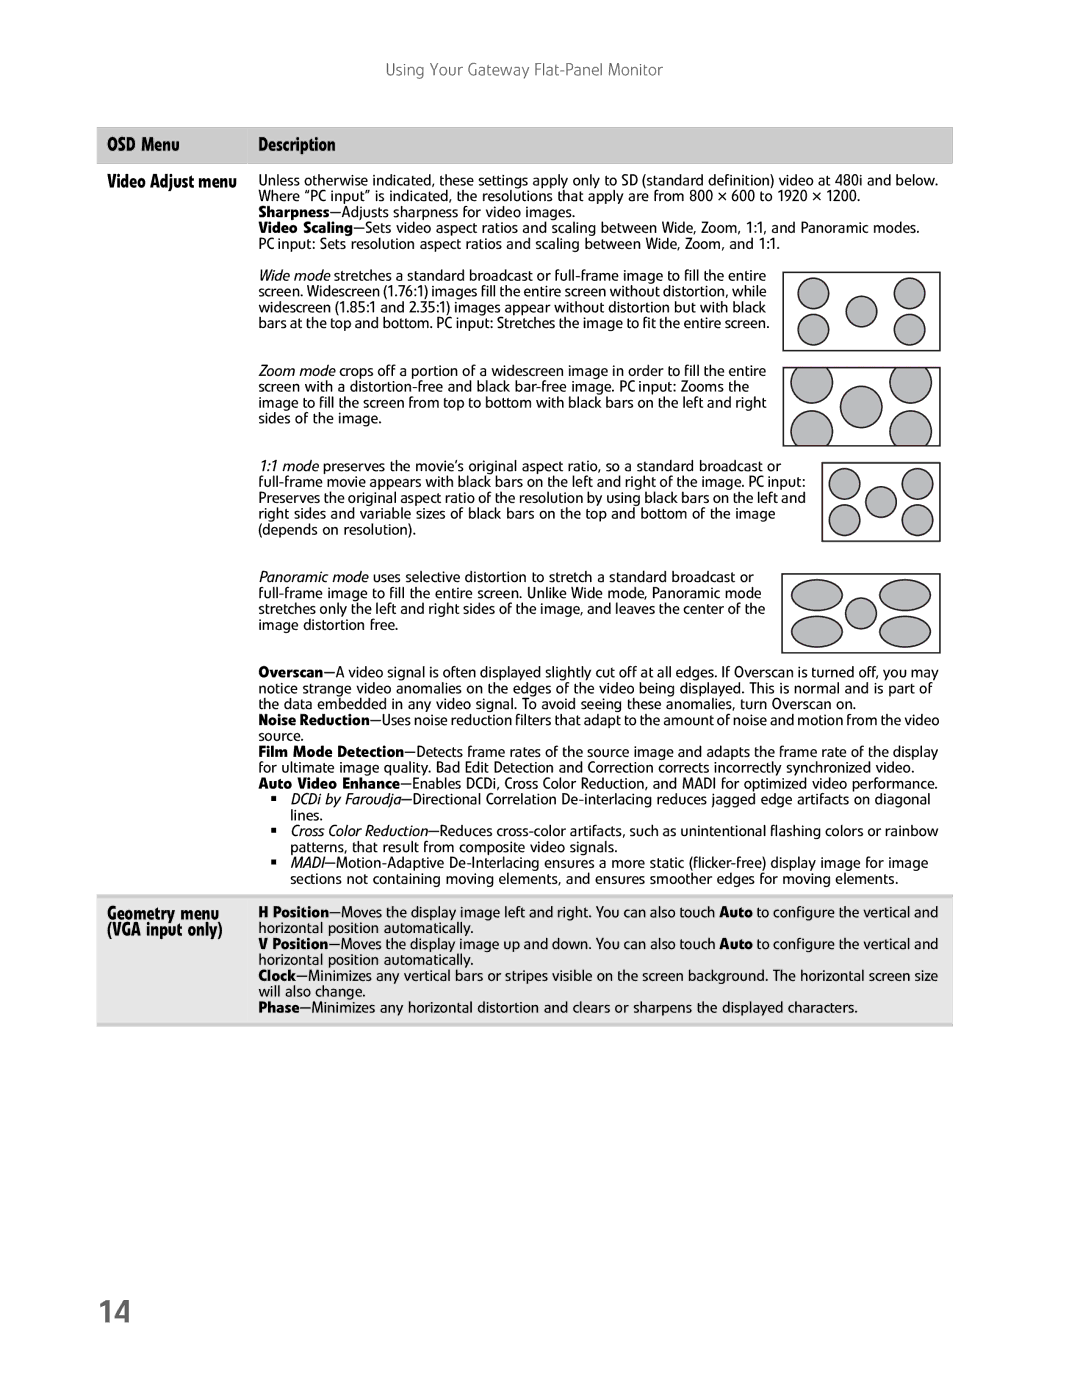
| Wide mode stretches a standard broadcast or full-frame image to fill the entire | | | | |
| | | | |
| screen. Widescreen (1.76:1) images fill the entire screen without distortion, while | | | | |
| widescreen (1.85:1 and 2.35:1) images appear without distortion but with black | | | | |
| bars at the top and bottom. PC input: Stretches the image to fit the entire screen. | | | | |
| | | | | | |
| Zoom mode crops off a portion of a widescreen image in order to fill the entire | | | |
| | | |
| screen with a distortion-free and black bar-free image. PC input: Zooms the | | | |
| image to fill the screen from top to bottom with black bars on the left and right | | | |
| sides of the image. | | | |
| | | | | |
| 1:1 mode preserves the movie’s original aspect ratio, so a standard broadcast or | | |
| | |
| full-frame movie appears with black bars on the left and right of the image. PC input: | | |
| Preserves the original aspect ratio of the resolution by using black bars on the left and | | |
| right sides and variable sizes of black bars on the top and bottom of the image | | |
| (depends on resolution). | | |
| Panoramic mode uses selective distortion to stretch a standard broadcast or | | | |
| | | | | |
| full-frame image to fill the entire screen. Unlike Wide mode, Panoramic mode | | | |
| stretches only the left and right sides of the image, and leaves the center of the | | | |
| image distortion free. | | | |
| | | | | | |
Overscan—A video signal is often displayed slightly cut off at all edges. If Overscan is turned off, you may notice strange video anomalies on the edges of the video being displayed. This is normal and is part of the data embedded in any video signal. To avoid seeing these anomalies, turn Overscan on.
Noise Reduction—Uses noise reduction filters that adapt to the amount of noise and motion from the video source.
Film Mode Detection—Detects frame rates of the source image and adapts the frame rate of the display for ultimate image quality. Bad Edit Detection and Correction corrects incorrectly synchronized video. Auto Video Enhance—Enables DCDi, Cross Color Reduction, and MADI for optimized video performance.
■DCDi by Faroudja—Directional Correlation De-interlacing reduces jagged edge artifacts on diagonal lines.
■Cross Color Reduction—Reduces cross-color artifacts, such as unintentional flashing colors or rainbow patterns, that result from composite video signals.
■MADI—Motion-Adaptive De-Interlacing ensures a more static (flicker-free) display image for image sections not containing moving elements, and ensures smoother edges for moving elements.
Geometry menu | H Position—Moves the display image left and right. You can also touch Auto to configure the vertical and |
(VGA input only) | horizontal position automatically. |
| V Position—Moves the display image up and down. You can also touch Auto to configure the vertical and |
| horizontal position automatically. |
| Clock—Minimizes any vertical bars or stripes visible on the screen background. The horizontal screen size |
| will also change. |
| Phase—Minimizes any horizontal distortion and clears or sharpens the displayed characters. |
| |

