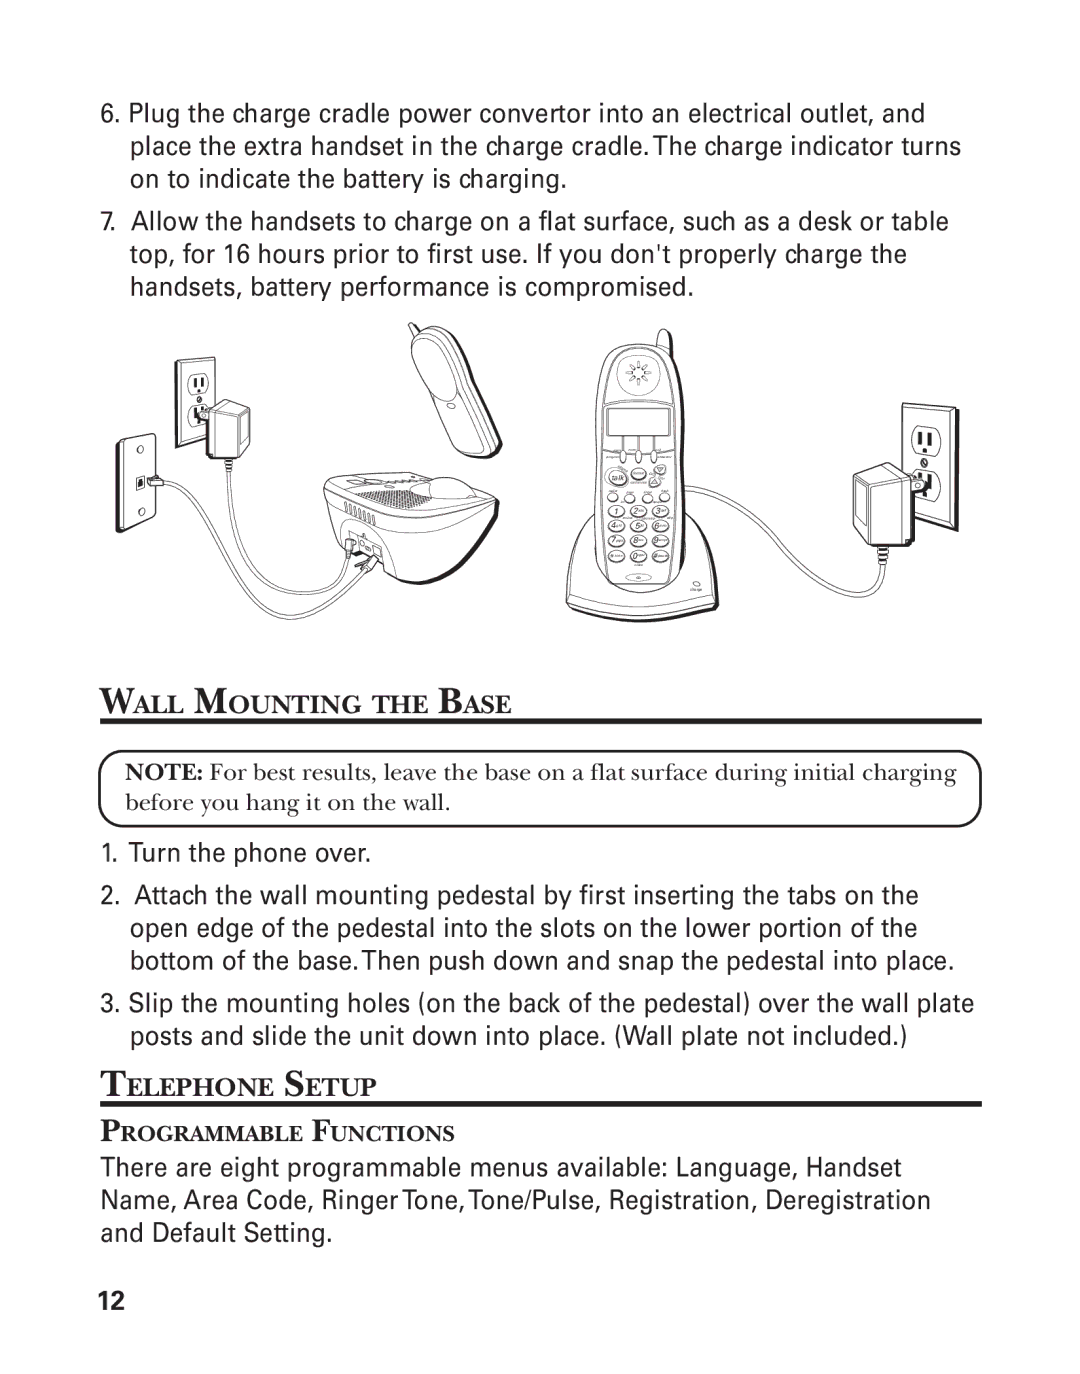
6.Plug the charge cradle power convertor into an electrical outlet, and place the extra handset in the charge cradle. The charge indicator turns on to indicate the battery is charging.
7.Allow the handsets to charge on a flat surface, such as a desk or table top, for 16 hours prior to first use. If you don't properly charge the handsets, battery performance is compromised.
mute mem | exit |
program | answerer |
callback
talk
format
conference
+ CID
Vol |
- |
redial page ringer | flash | |
int |
| delete |
1 | 2abc | 3def |
review | play/stop skip | |
4ghi | 5jkl | 6mno |
7pqrs | 8tuv | 9wxyz |
* tone | 0oper | #pause |
| erase |
|
charge
WALL MOUNTING THE BASE
NOTE: For best results, leave the base on a flat surface during initial charging before you hang it on the wall.
1.Turn the phone over.
2.Attach the wall mounting pedestal by first inserting the tabs on the open edge of the pedestal into the slots on the lower portion of the bottom of the base.Then push down and snap the pedestal into place.
3.Slip the mounting holes (on the back of the pedestal) over the wall plate posts and slide the unit down into place. (Wall plate not included.)
TELEPHONE SETUP
PROGRAMMABLE FUNCTIONS
There are eight programmable menus available: Language, Handset Name, Area Code, Ringer Tone, Tone/Pulse, Registration, Deregistration and Default Setting.
12