6. Place the handsets in the charging cradles.
Allow handsets to charge for 16 hours prior to first use. If you don’t properly charge the handsets, battery performance is compromised.
NOTE: If the battery is not properly installed in the handset, or if the battery pack is not properly connected to the jack inside the battery compartment. "NO BATTERY" shows in the display when the handset is placed in the charging cradle.
INSTALLING THE PHONE
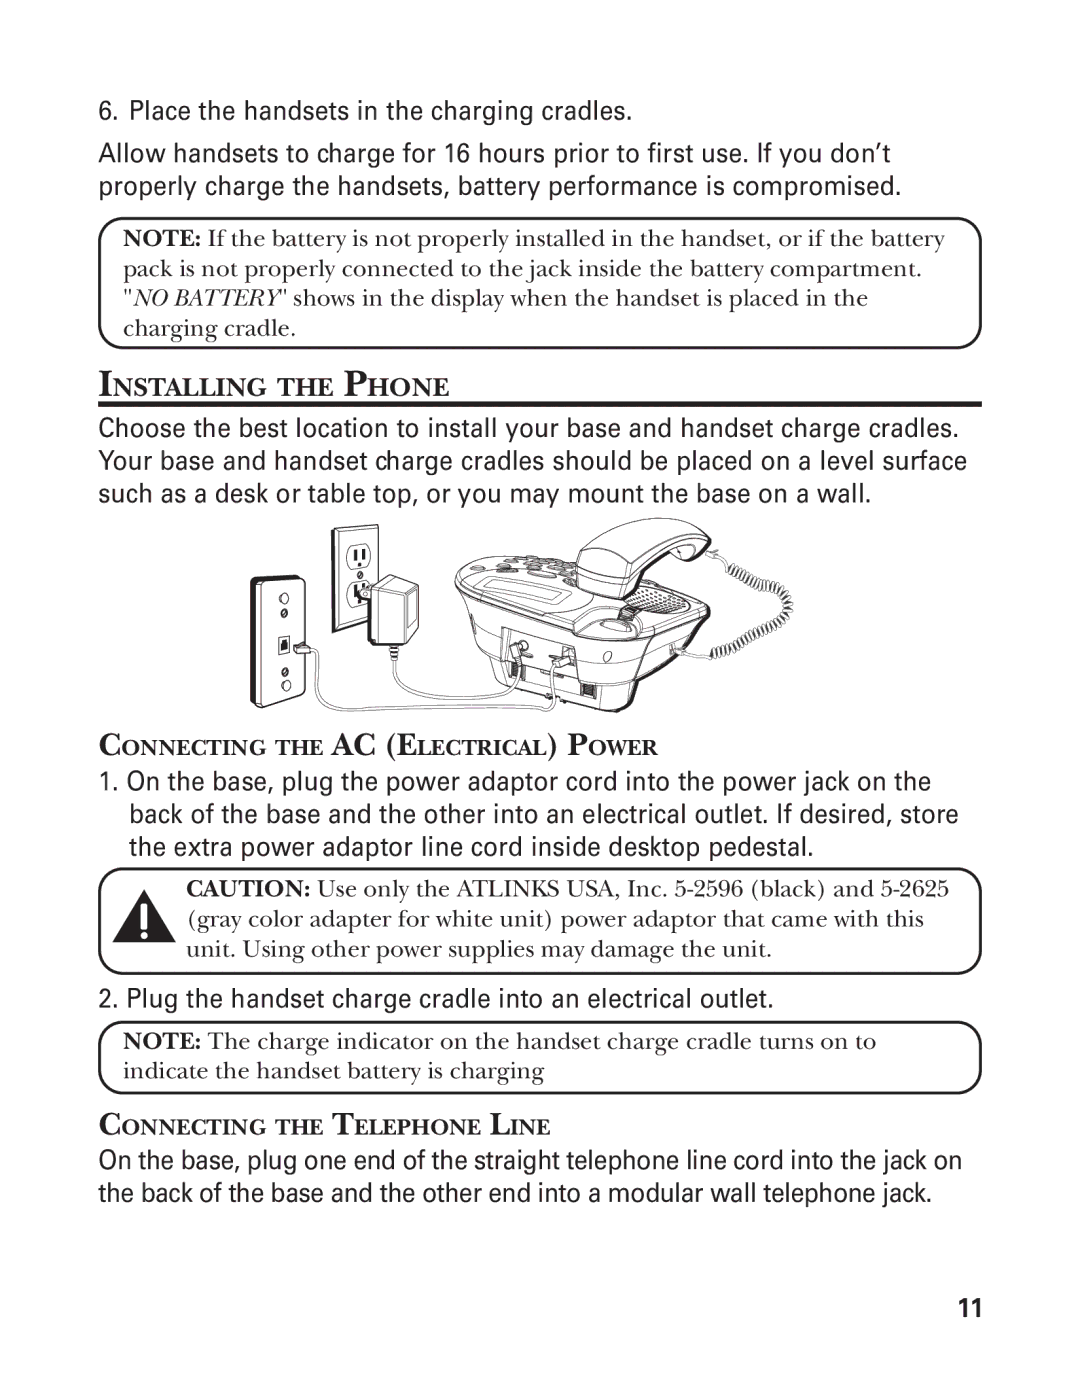
Choose the best location to install your base and handset charge cradles. Your base and handset charge cradles should be placed on a level surface such as a desk or table top, or you may mount the base on a wall.
CONNECTING THE AC (ELECTRICAL) POWER
1.On the base, plug the power adaptor cord into the power jack on the back of the base and the other into an electrical outlet. If desired, store the extra power adaptor line cord inside desktop pedestal.
CAUTION: Use only the ATLINKS USA, Inc.
2. Plug the handset charge cradle into an electrical outlet.
NOTE: The charge indicator on the handset charge cradle turns on to indicate the handset battery is charging
CONNECTING THE TELEPHONE LINE
On the base, plug one end of the straight telephone line cord into the jack on the back of the base and the other end into a modular wall telephone jack.
11
