Instructions
Using the self-cleaning oven.
If your model has a door latch, never force the latch handle. Forcing the handle will damage the door lock mechanism.
Operating Instructions Safety
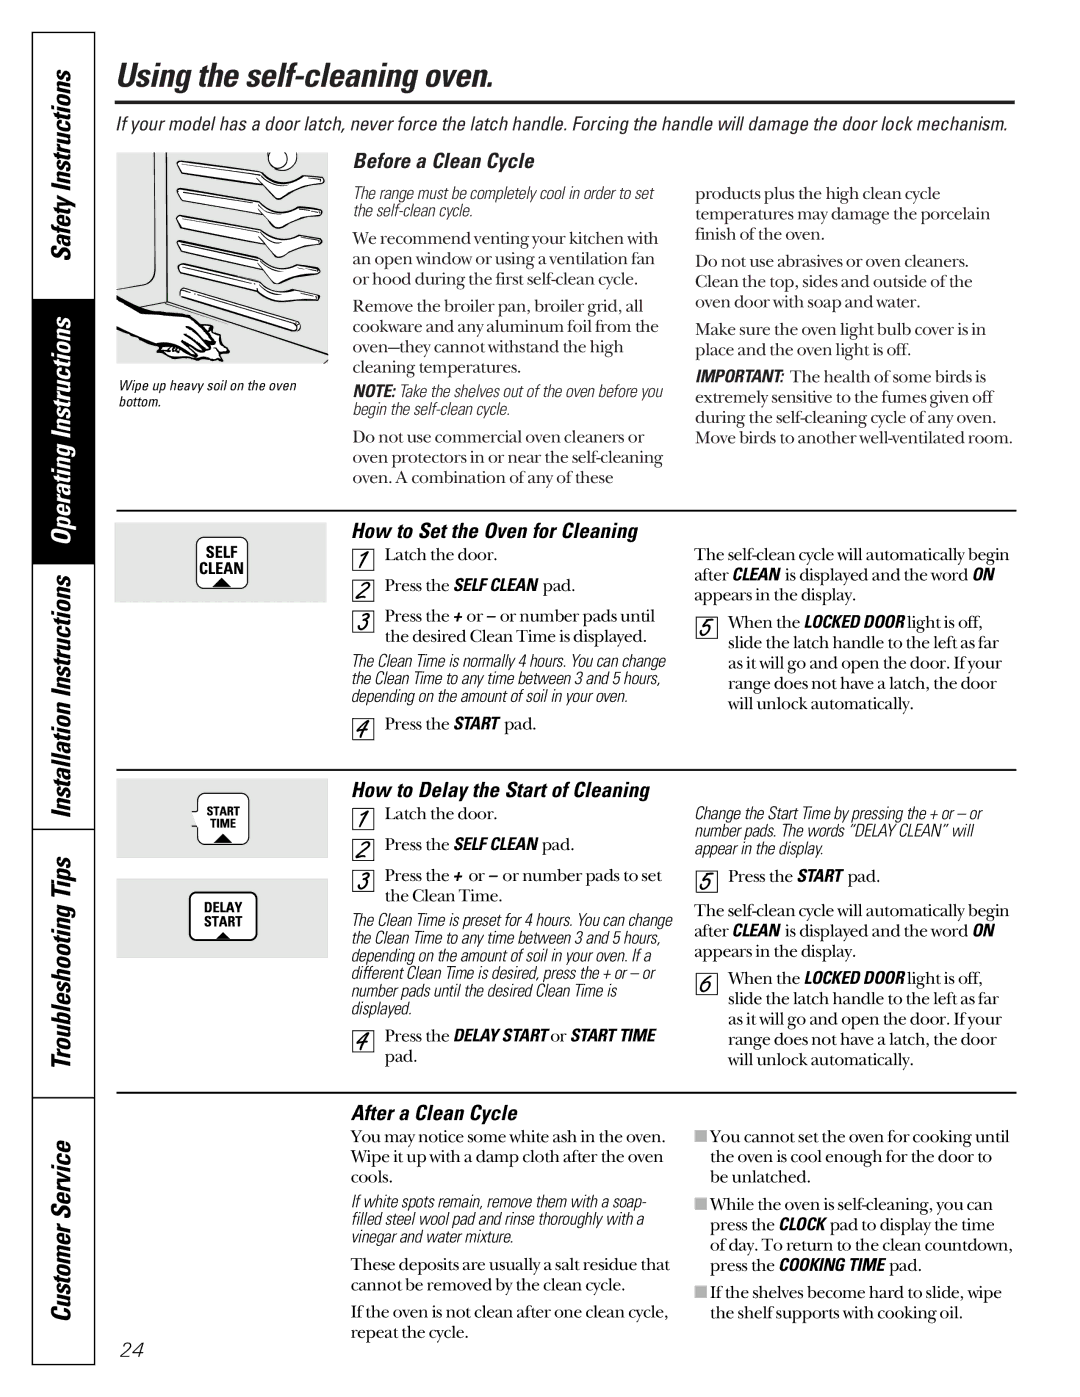
Wipe up heavy soil on the oven bottom.
Before a Clean Cycle
The range must be completely cool in order to set the
We recommend venting your kitchen with an open window or using a ventilation fan or hood during the first
Remove the broiler pan, broiler grid, all cookware and any aluminum foil from the
NOTE: Take the shelves out of the oven before you begin the
Do not use commercial oven cleaners or oven protectors in or near the
products plus the high clean cycle temperatures may damage the porcelain finish of the oven.
Do not use abrasives or oven cleaners. Clean the top, sides and outside of the oven door with soap and water.
Make sure the oven light bulb cover is in place and the oven light is off.
IMPORTANT: The health of some birds is extremely sensitive to the fumes given off during the
Move birds to another
Installation Instructions
How to Set the Oven for Cleaning
Latch the door.
Press the SELF CLEAN pad.
Press the + or – or number pads until the desired Clean Time is displayed.
The Clean Time is normally 4 hours. You can change the Clean Time to any time between 3 and 5 hours, depending on the amount of soil in your oven.
Press the START pad.
The
When the LOCKED DOOR light is off, slide the latch handle to the left as far as it will go and open the door. If your range does not have a latch, the door will unlock automatically.
Troubleshooting Tips
How to Delay the Start of Cleaning
Latch the door.
Press the SELF CLEAN pad.
Press the + or – or number pads to set the Clean Time.
The Clean Time is preset for 4 hours. You can change the Clean Time to any time between 3 and 5 hours, depending on the amount of soil in your oven. If a different Clean Time is desired, press the + or – or number pads until the desired Clean Time is displayed.
Press the DELAY START or START TIME pad.
Change the Start Time by pressing the + or – or number pads. The words “DELAY CLEAN” will appear in the display.
Press the START pad.
The
When the LOCKED DOOR light is off, slide the latch handle to the left as far as it will go and open the door. If your range does not have a latch, the door will unlock automatically.
Customer Service
After a Clean Cycle
You may notice some white ash in the oven. Wipe it up with a damp cloth after the oven cools.
If white spots remain, remove them with a soap- filled steel wool pad and rinse thoroughly with a vinegar and water mixture.
These deposits are usually a salt residue that cannot be removed by the clean cycle.
If the oven is not clean after one clean cycle, repeat the cycle.
24
■You cannot set the oven for cooking until the oven is cool enough for the door to be unlatched.
■While the oven is
■If the shelves become hard to slide, wipe the shelf supports with cooking oil.