‘ OPEWTING THE SELF-CLEANING OVEN

(continued)

After a Clean Cycle

When the clean cycle is finished, the word “CLEAN” will go OLIt in the display and the oven will begin to cool, When the oven temperature has fallen below the locking temperature the word “LOCK” goes out and [he door can be opened.

After a clean cycle, you may notice some white ash in the oven. Just wipe it up with a damp cloth. [f white spots remain, remove them with o soap-filled steel wool pad. Be sure to rinse thoroughly with a vinegar and water mixture. These deposits ~re usutilly ir salt residue thal cannot be removed by the clean cycle.

If the oven is not cletin after one clean cycle, the cycle may be repeated.

How to Delay Start of Cleaning

Dela) Start is setting the oven timer to start the cledn

cycle aLltolnatically at a later time than the present

time ol’ day. NOTE: Before beginning, mtike sure the oven clock shows the correct time of day.

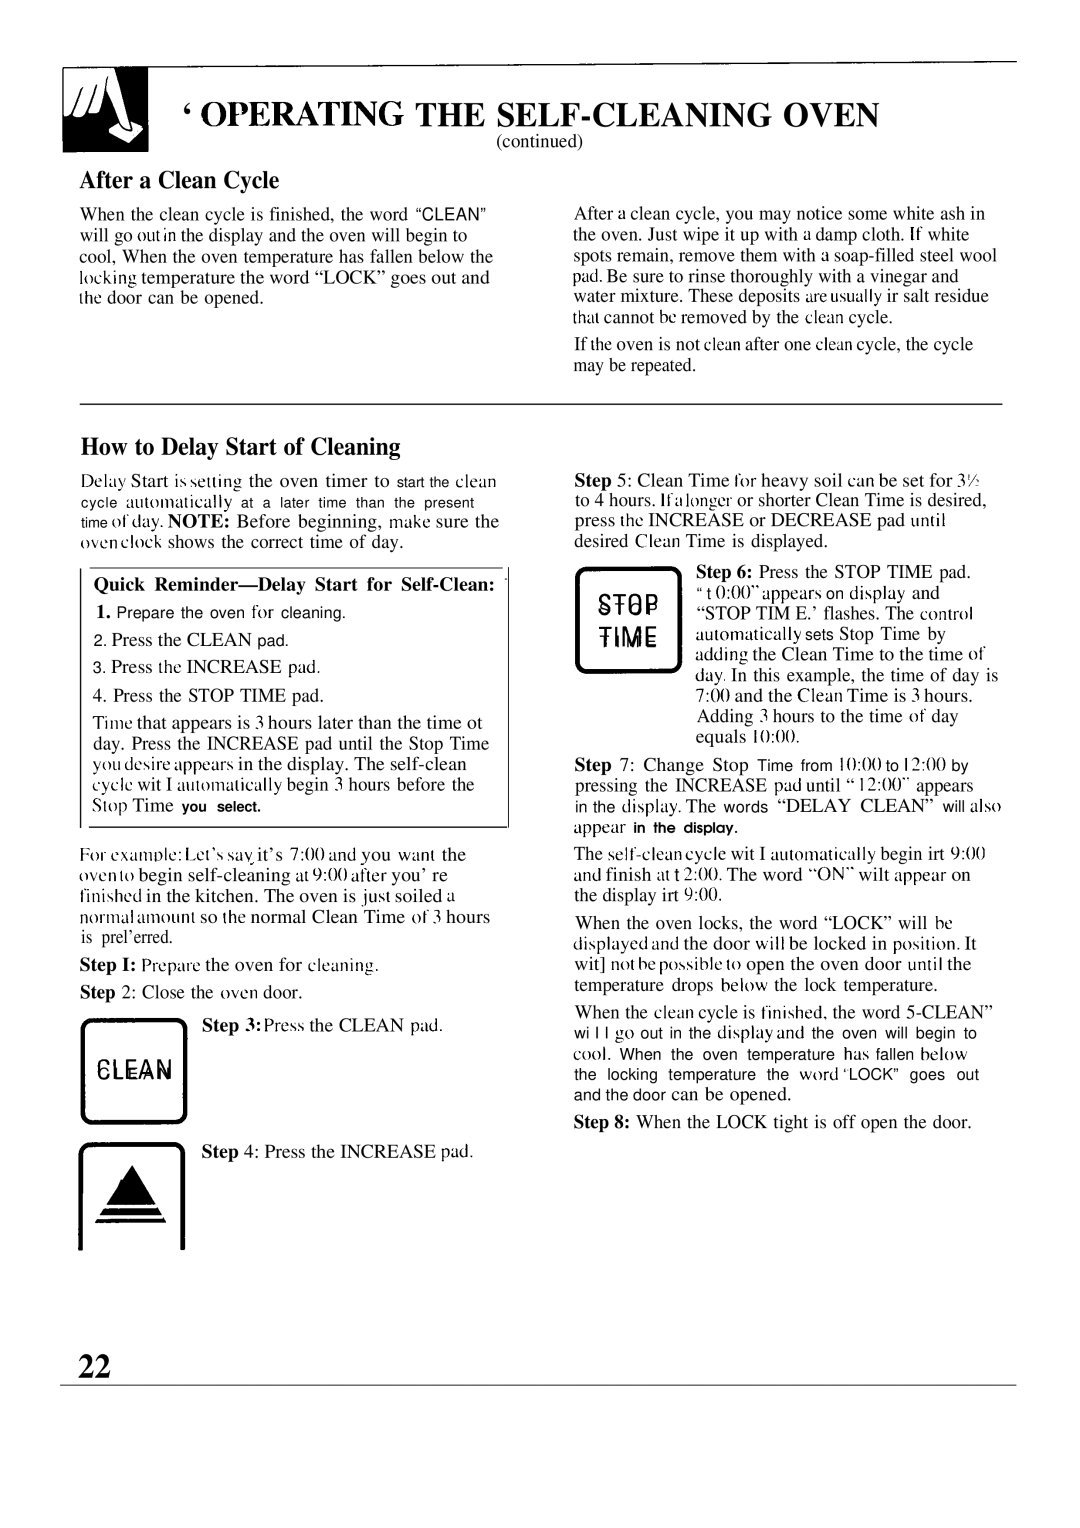
Step 5: Clean Time I.or heavy soil cun be set for 37: to 4 hours. If ii longer or shorter Clean Time is desired, press the INCREASE or DECREASE pad untit desired Ctetin Time is displayed.

Quick Reminder—Delay Start for Self-Clean: -

1.Prepare the oven for cleaning.

2.Press the CLEAN pad.

3.Press the INCREASE ptid.

4.Press the STOP TIME pad.

Tinle that appears is 3 hours later than the time ot day. Press the INCREASE pad until the Stop Time

S T O P

T I M E

D

Step 6: Press the STOP TIME pad. “ ():()()”t tippears on disptuy and “STOP TIM E.’ flashes. The controt uutomtiticalty sets Stop Time by adding the Clean Time to the time of diry. In this example, the time of day is 7:()() and the Cleim Time is 3 hours. Adding 3 hours to the time of day equals to:()().

you desire appetirs in the display. The self-clean c’yclc wit I aul[)malicully begin 3 hours before the

Slop Time you select.

For examolc: l-cl’s siLv. it’s 7:()() and you wanl the (~vcrl t{) begin self-cleaning at 9:()() ti~.ter you’ re tinishcd in the kitchen. The oven is just soiled iL nor-rnal :lrnourrt so (he normal Clean Time of 3 hours is prel’erred.

Step I: Prepare the oven for cteirnirrg.

Stepu2: Close the oven door.

Step 3: Press the CLEAN pild.

C L E A N

Step 4: Press the INCREASE pud.

A

n

Step 7: Change Stop Time from 10:()() to 12:()() by pressing the INCREASE ptid until “ 12:()().’ appears

in the displily. The words “DELAY CLEAN” will atso

irppeirr in the display.

The self’-cteirn cycte wit I uutomaticatly begin irt 9:()() und finish iit t 2:()(). The word “ON’. wilt appeirr on the display irt 9:00.

When the oven locks, the word “LOCK” will be disptayed and the door witl be locked in position. It wit] not he possihle to open the oven door untit the temperature drops betow the lock temperature.

When the Cteiin cycle is tinished, the word 5-CLEAN”

wi I I go out in the disptay and the oven will begin to coot. When the oven temperature hus fallen betow the locking temperature the word -LOCK” goes out and the door can be opened.

Step 8: When the LOCK tight is off open the door.

22

Page 22
Image 22
GE JGSP40AES, JGSP31GER, JGSP30GER ‘ Opewting the SELF-CLEANING Oven, After a Clean Cycle, How to Delay Start of Cleaning

JGSP30GER, JGSP40AES, JGSP31GER specifications

General Electric (GE) has long been known for its commitment to quality appliances, and the JGSP31GER, JGSP40AES, and JGSP30GER are no exceptions. These gas ranges exemplify modern cooking technology while offering a blend of functionality and style. Each model caters to home chefs looking for reliability and innovative features.

The GE JGSP31GER is a versatile 30-inch gas range that showcases a powerful 4-burner cooktop. The burners are designed to deliver precise heat settings, allowing for everything from simmering delicate sauces to boiling water for pasta. Its Continuous Grates provide a seamless surface for sliding pots and pans, enhancing the cooking experience by making the transition between burners hassle-free. This model also includes an oven with a large capacity, perfect for families or those who love to entertain.

Next, the GE JGSP40AES offers a slightly different take on the range. This model features 5 burners, providing additional cooking space for those who require more versatility in the kitchen. One of its standout technologies is the convection oven, which ensures even baking by circulating hot air throughout the oven cavity. This results in perfectly baked items every time—whether it's cookies, roasts, or casseroles. Additionally, the self-cleaning option is a significant time-saver, allowing users to maintain a clean oven with minimal effort.

Finally, the GE JGSP30GER is designed with the modern home chef in mind. This model incorporates an integrated oven thermometer that provides real-time temperature readings, helping to ensure precise cooking. The internal oven features different cooking modes, such as Bake, Broil, and Warm, catering to various cooking requirements. Its sleek stainless steel finish not only looks great in any kitchen but is also easy to clean.

Collectively, these GE gas ranges represent a commitment to quality and innovation. Each model is equipped with safety features such as electronic ignition and a flame failure device, which cut off the gas supply if the flame goes out. Their ergonomic designs and user-friendly controls make them an excellent addition to any kitchen. In summary, the GE JGSP31GER, JGSP40AES, and JGSP30GER combine cutting-edge technology with practical features to elevate the cooking experience. Whether you’re an amateur cook or a seasoned chef, these ranges promise to meet your culinary needs while enhancing your kitchen's functionality and aesthetic appeal.