JKP44GP, JKP45WP specifications
The GE JKP45WP and JKP44GP are two innovative kitchen appliances that exemplify efficiency, style, and technological sophistication in modern cooking. Designed with the contemporary home chef in mind, these ovens offer various features that elevate the cooking experience and cater to diverse culinary needs.One of the standout characteristics of both models is their convection cooking technology. This feature ensures even heat distribution, allowing for faster and more uniform cooking. With a convection fan that circulates hot air, users can expect perfectly baked goods and evenly cooked meats, making meal preparation more straightforward and reliable.
The JKP45WP and JKP44GP come with an impressive capacity, providing ample space for multiple dishes, making them ideal for family gatherings or meal prepping. The ovens offer multiple cooking modes, including bake, broil, and roast, enabling users to experiment with various cooking techniques effortlessly.
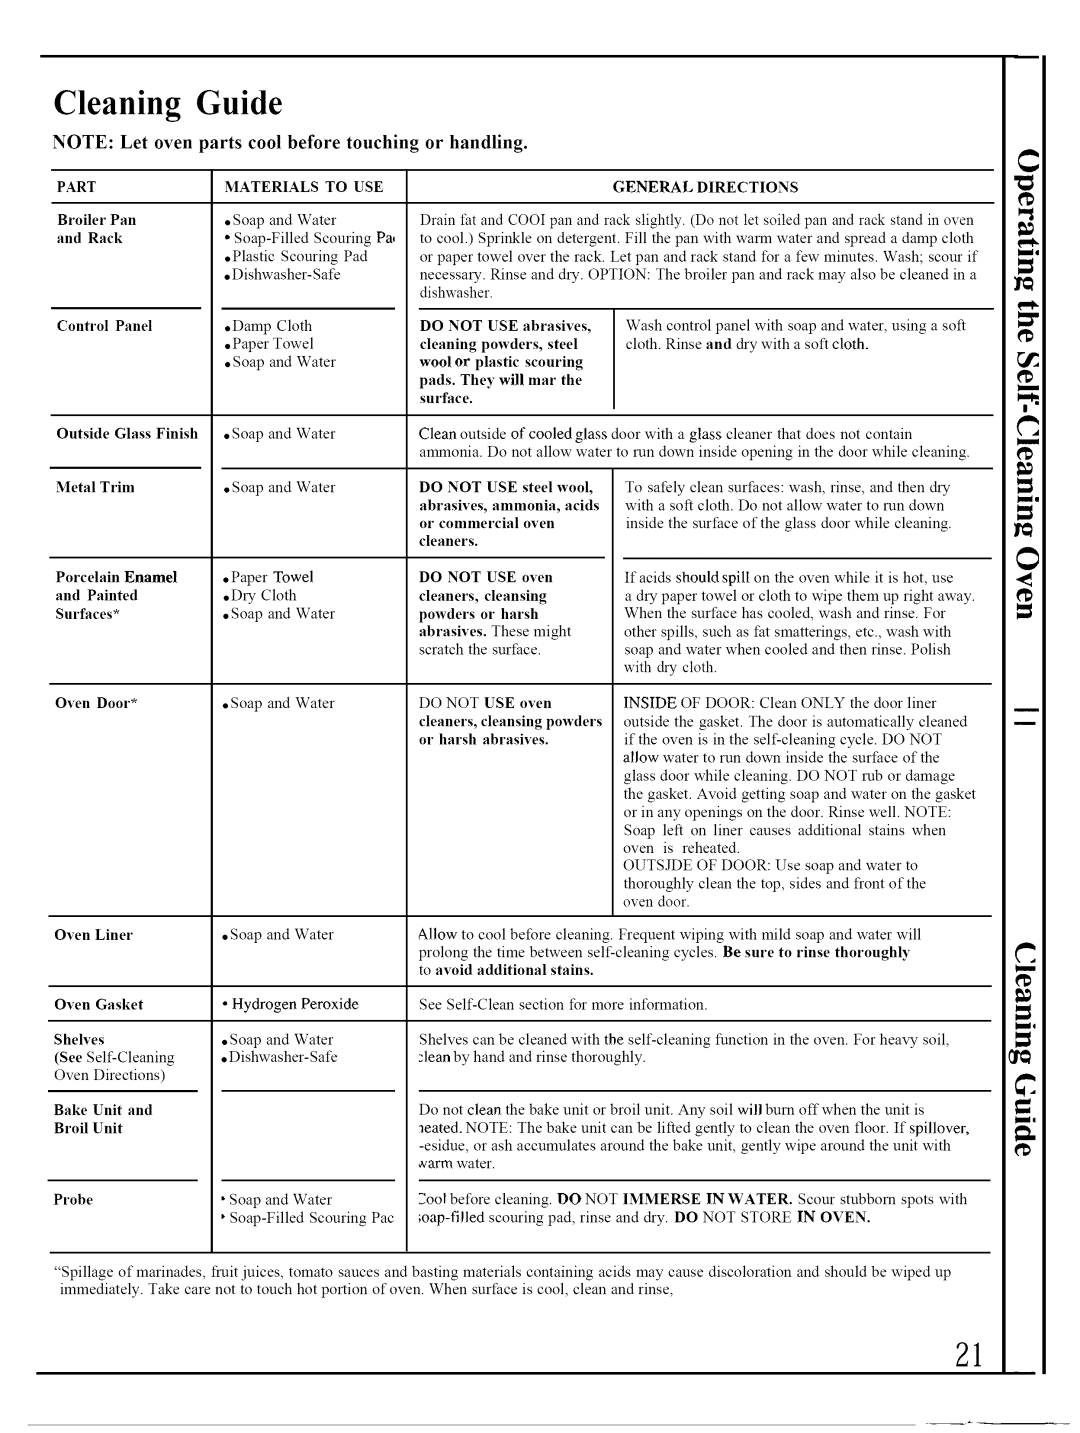
Another notable feature is the use of self-cleaning technology in these models. With just the push of a button, the self-clean cycle utilizes high temperatures to eliminate food residues and spills, ensuring that maintaining a clean oven is hassle-free. This attribute not only saves time but also extends the longevity of the appliance, allowing users to enjoy their ovens for years to come.
The JKP45WP and JKP44GP are designed with user convenience in mind. Their intuitive controls and user-friendly interfaces simplify the cooking process. With easy-to-read digital displays, users can effortlessly monitor cooking times and temperatures, ensuring every dish is perfectly prepared.
In terms of safety, both models feature a range of protective elements, including oven locks and auto shut-off options. These enhancements provide peace of mind, especially in households with children, as they minimize the risk of accidental burns or other cooking-related accidents.
Aesthetically, the GE JKP45WP and JKP44GP boast a sleek design that complements contemporary kitchens. Available in various attractive finishes, these ovens elevate the visual appeal of any culinary space.
In conclusion, the GE JKP45WP and JKP44GP are exceptional kitchen ovens that blend cutting-edge technology with practical features. Their convection cooking capabilities, large capacities, and self-cleaning options make them attractive for homeowners seeking efficiency and reliability in their cooking appliances. Whether you are a novice or an experienced chef, these ovens provide the performance and convenience needed to create delicious meals with ease.

