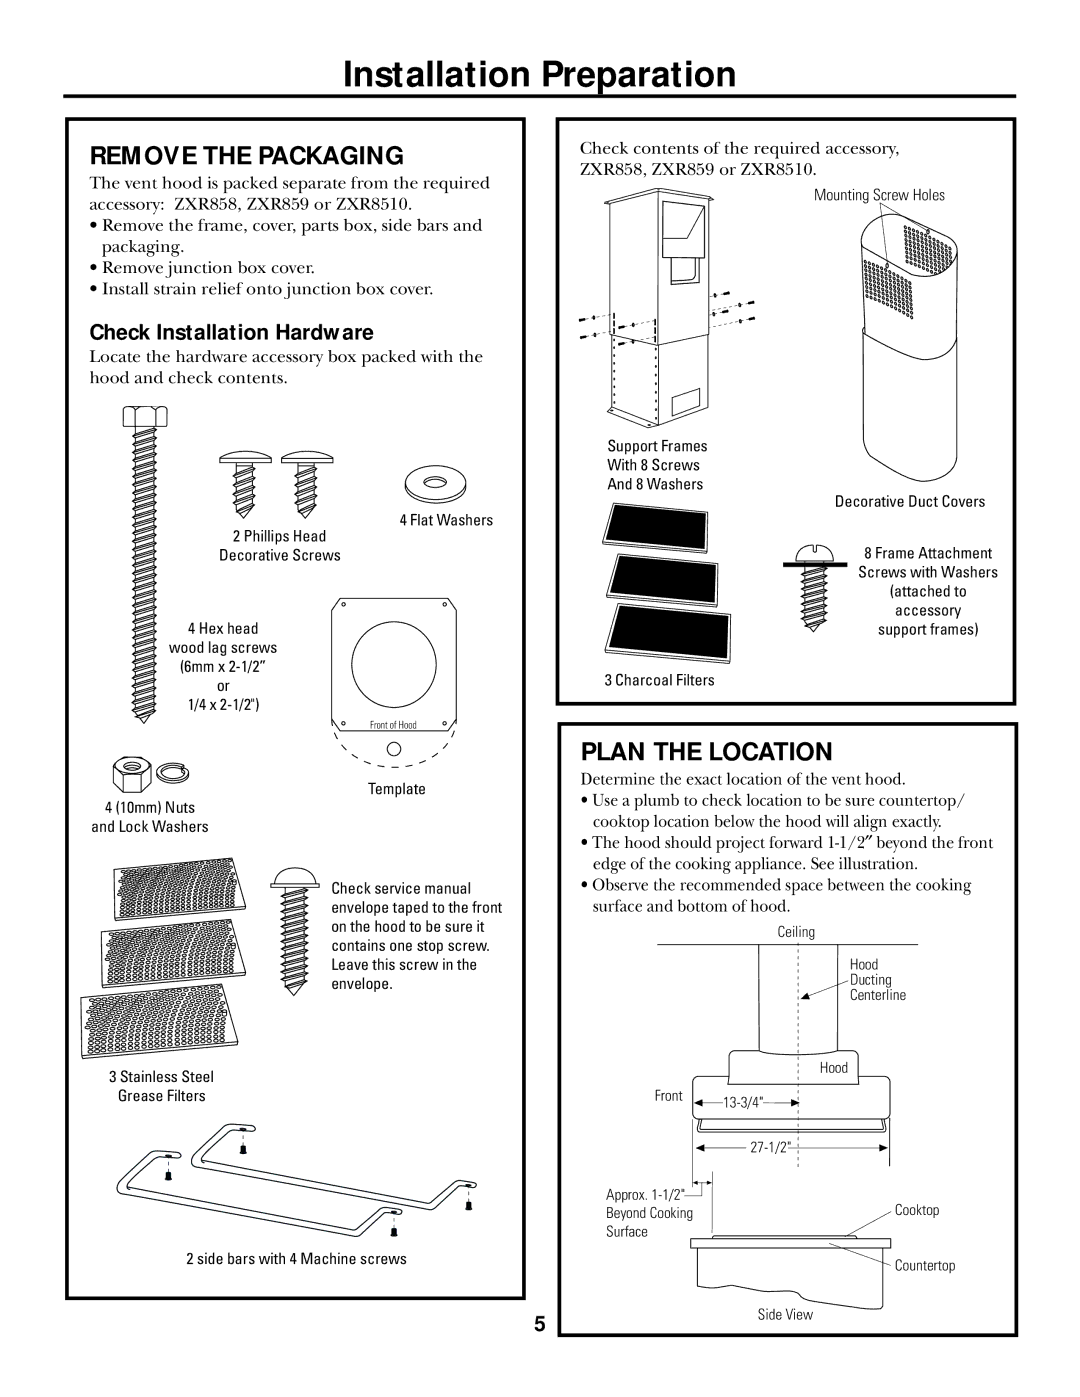
ZXR8510, ZXR858, ZXR859 specifications
GE Monogram has established itself as a leader in luxury kitchen appliances, and the Monogram line of refrigerators, including models ZXR8510, ZXR858, and ZXR859, exemplifies their commitment to performance, design, and innovation. These models are not just appliances; they are the heart of a sophisticated kitchen, equipped with cutting-edge technology that enhances both functionality and aesthetics.The ZXR8510 is a standout model renowned for its advanced cooling capabilities. Its dual-compressor system ensures optimal temperature control and humidity levels, preserving food freshness longer. This refrigerator features a state-of-the-art water filtration system that provides clean, great-tasting ice and water, while the adjustable shelves and storage bins allow for maximum organization and flexibility in storage. An integrated touch screen controls the refrigerator functions seamlessly, providing easy access to settings and features.
Moving up the line, the ZXR858 model offers an even more sophisticated solution for food preservation. One of its main highlights is the advanced temperature management system, which utilizes precise sensors to create an ideal micro-climate within the refrigerator. This model also includes a smart connectivity feature, allowing users to monitor and control the refrigerator from their smartphones through an intuitive app. In addition, its stainless steel finish and crafted design make it a stunning centerpiece in any modern kitchen.
The ZXR859 takes luxury to the next level with its enhanced design and customization options. This model boasts a broader range of features, including a gourmet ice maker that produces a variety of ice shapes to suit any occasion. With its built-in LED lighting, users can easily view contents, making food selection quick and convenient. The ZXR859 also excels in energy efficiency, meeting rigorous standards while maintaining powerful performance.
In summary, the GE Monogram ZXR8510, ZXR858, and ZXR859 refrigerators exemplify luxury and functionality in the kitchen. Their advanced features, such as dual-compressor systems, smart technology, customizable options, and elegant designs, position them as ideal choices for discerning homeowners. With these models, GE Monogram continues to push the boundaries of appliance innovation, ensuring that every meal preparation experience is a pleasure.

