Attaching the Cable Guide to the Bracket
Attaching the Cable Guide to the Bracket
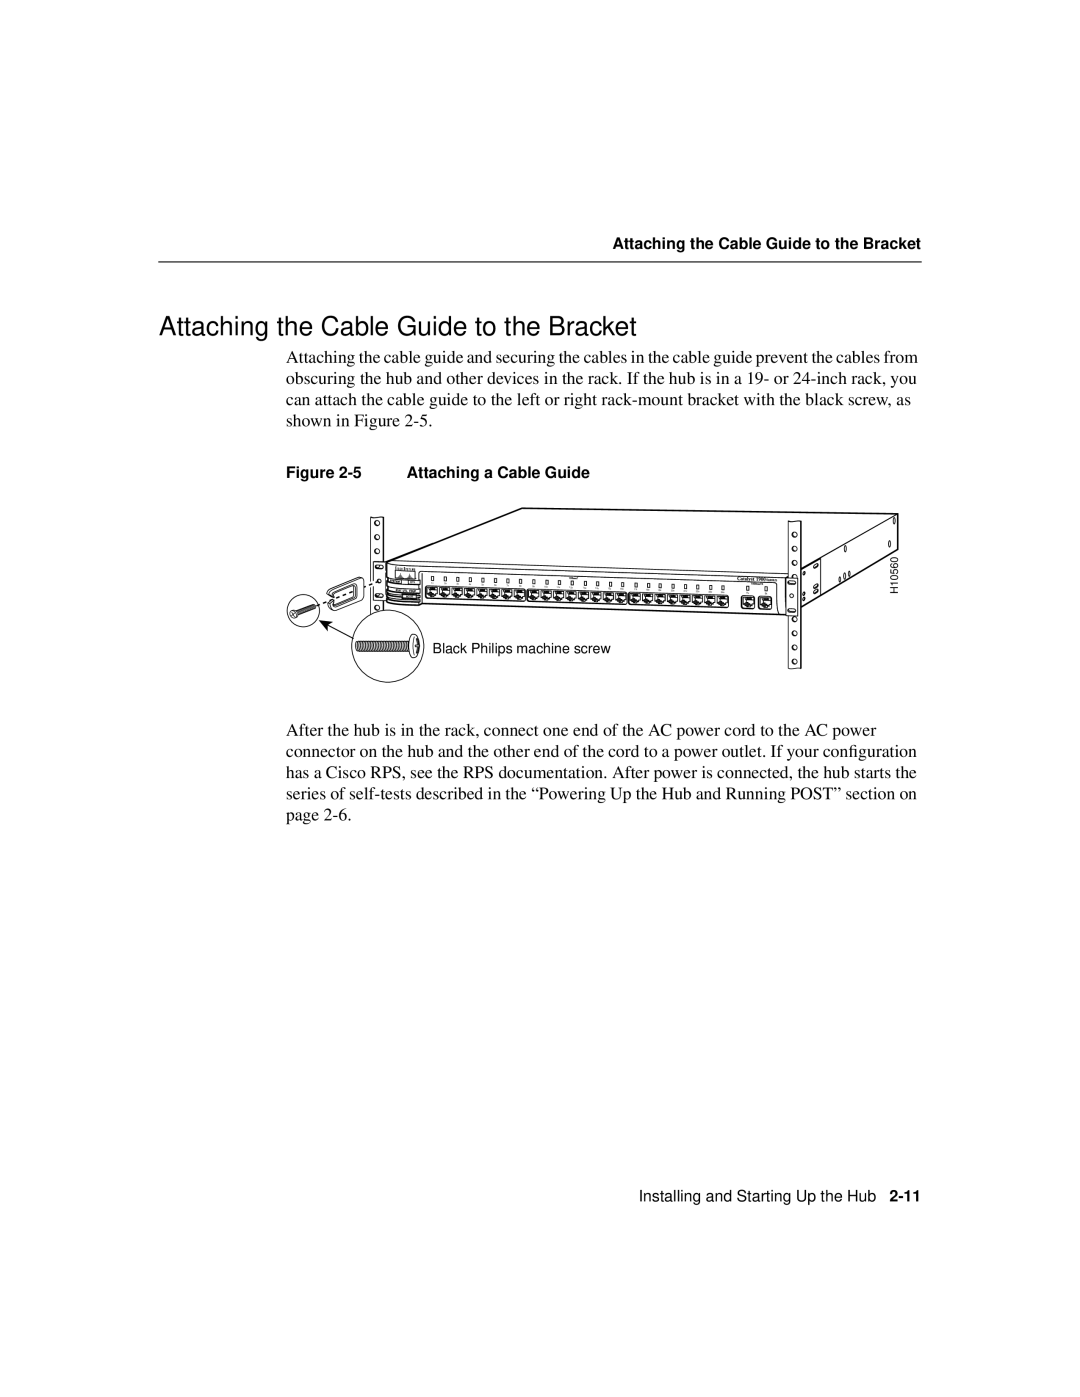
Attaching the cable guide and securing the cables in the cable guide prevent the cables from obscuring the hub and other devices in the rack. If the hub is in a 19- or
Figure 2-5 Attaching a Cable Guide
RPS | 1x |
|
|
|
|
|
|
|
|
|
|
|
|
|
|
|
|
|
|
|
|
|
|
|
| SERIES |
2x | 3x | 4x | 5x | 6x |
|
|
|
|
|
|
|
|
|
|
|
|
|
|
|
|
|
|
|
| ||
| 7x | 8x | 9x | 10x | 11x | 12x | 13x | 14x | 15x | 16x | 17x | 18x | 19x | 20x | 21x | 22x | 23x | 24x | Ax | Bx |
MODE
Black Philips machine screw
H10560
After the hub is in the rack, connect one end of the AC power cord to the AC power connector on the hub and the other end of the cord to a power outlet. If your configuration has a Cisco RPS, see the RPS documentation. After power is connected, the hub starts the series of
Installing and Starting Up the Hub