Installing the Hub in a Rack
Installing the Hub in a Rack
This section describes how to install the hub in 19- and
Note Be sure the hub is powered off and is not connected to a power source before you perform the steps in the sections that follow.
Attaching the Brackets to the Hub
The bracket orientation and the screws you use depend on whether you plan to use a
•For a
•For a
Place the hub on a level surface, and use two of the supplied Phillips
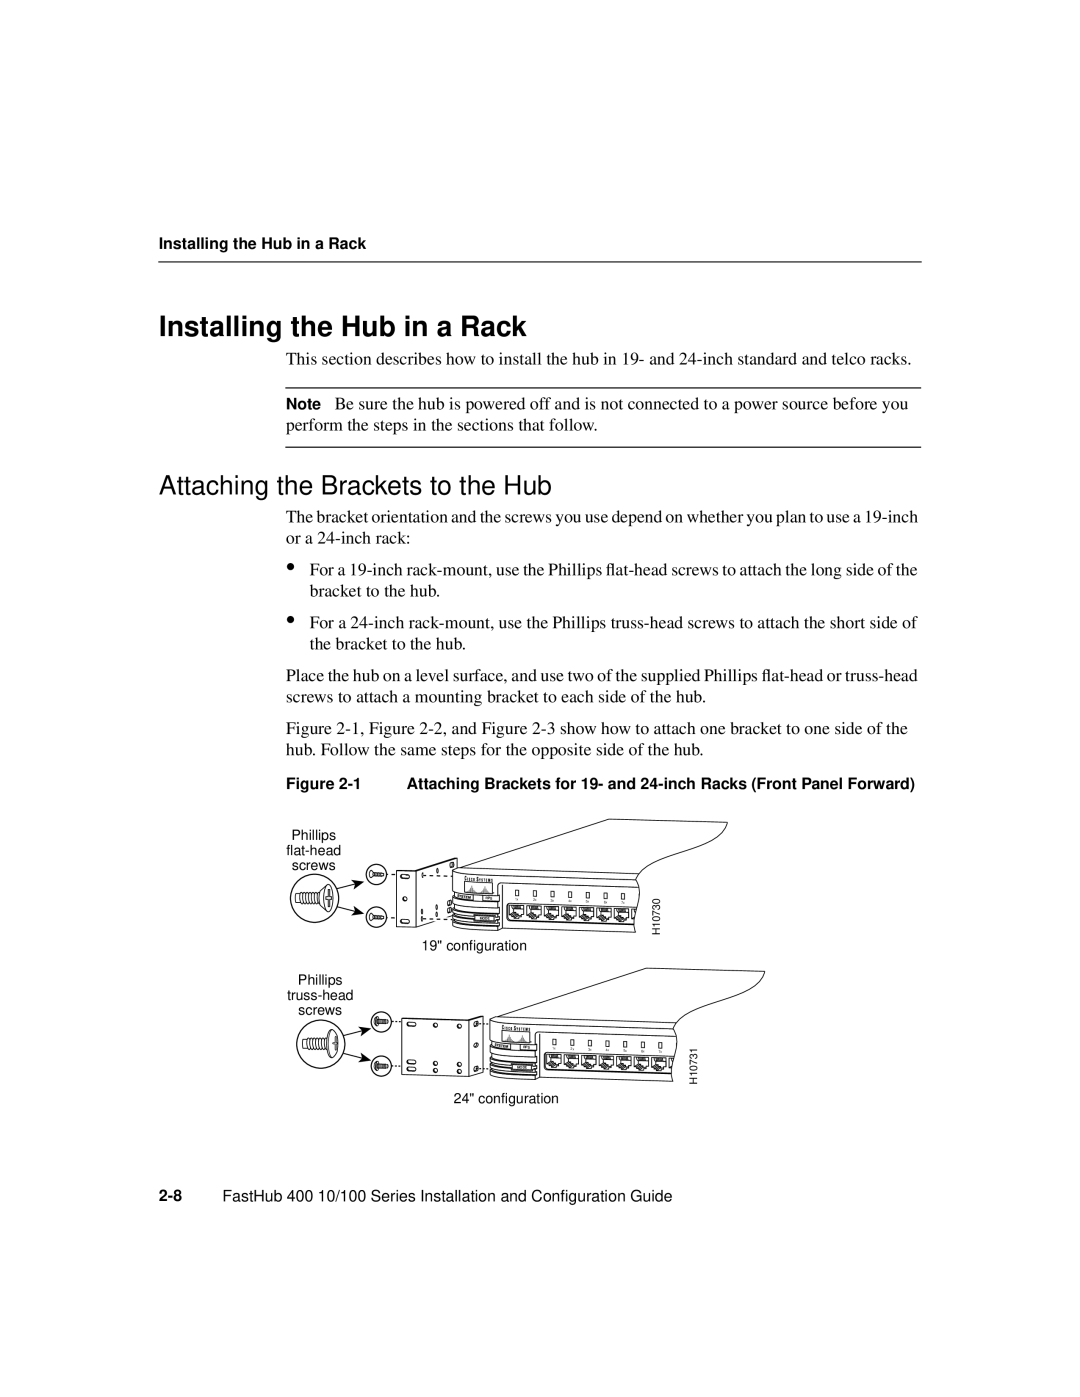
Figure 2-1, Figure 2-2, and Figure 2-3 show how to attach one bracket to one side of the hub. Follow the same steps for the opposite side of the hub.
Figure 2-1 Attaching Brackets for 19- and 24-inch Racks (Front Panel Forward)
Phillips
screws
RPS | 1x | 2x | 3x | 4x | 5x | 6x |
|
|
| 7x | 8x | ||||||
|
|
|
|
|
MODE
19" configuration
H10730
Phillips
screws
RPS | 1x | 2x | 3x | 4x | 5x | 6x |
|
|
| 7x | 8x | ||||||
|
|
|
|
|
MODE
24" configuration
H10731