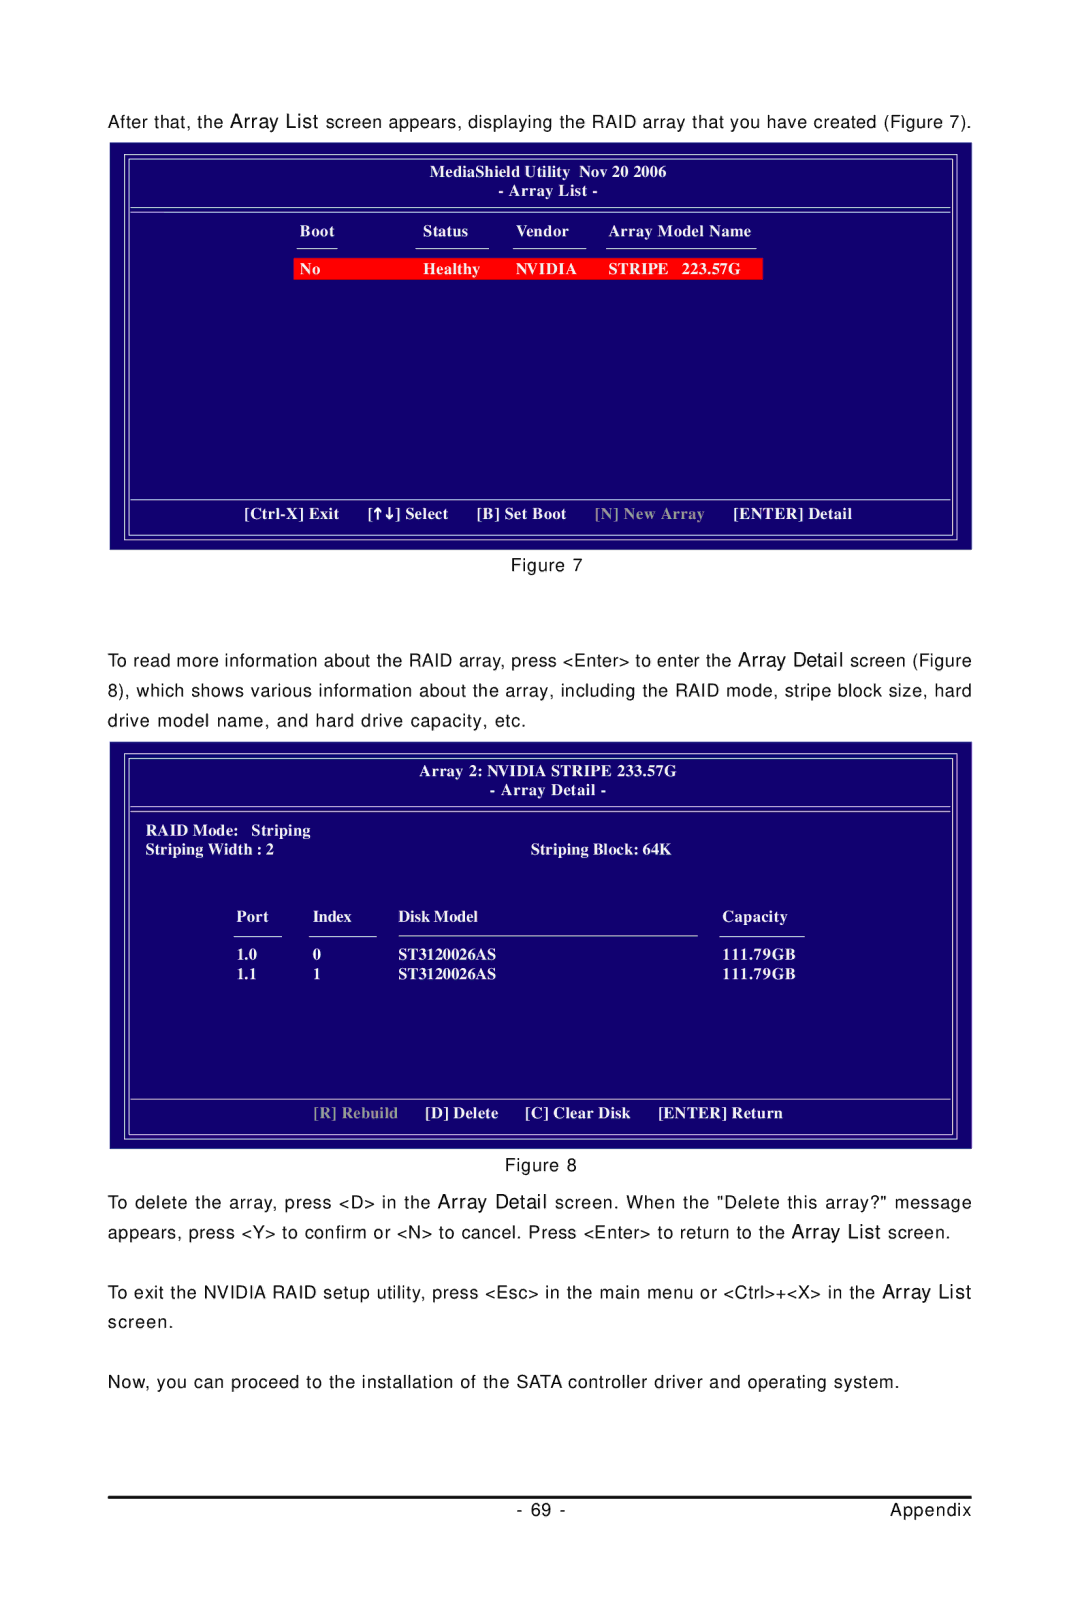
After that, the Array List screen appears, displaying the RAID array that you have created (Figure 7).
MediaShield Utility Nov 20 2006
- Array List -
Boot | Status |
| Vendor | Array Model Name |
No | Healthy | NVIDIA | STRIPE 223.57G | |
[] Select | [B] Set Boot | [N] New Array [ENTER] Detail | ||
Figure 7
To read more information about the RAID array, press <Enter> to enter the Array Detail screen (Figure 8), which shows various information about the array, including the RAID mode, stripe block size, hard drive model name, and hard drive capacity, etc.
|
| Array 2: NVIDIA STRIPE 233.57G | |
|
| - Array Detail - | |
RAID Mode: Striping |
|
|
|
Striping Width : 2 |
|
| Striping Block: 64K |
Port | Index | Disk Model | Capacity |
1.0 | 0 | ST3120026AS | 111.79GB |
1.1 | 1 | ST3120026AS | 111.79GB |
| [R] Rebuild | [D] Delete | [C] Clear Disk [ENTER] Return |
Figure 8
To delete the array, press <D> in the Array Detail screen. When the "Delete this array?" message appears, press <Y> to confirm or <N> to cancel. Press <Enter> to return to the Array List screen.
To exit the NVIDIA RAID setup utility, press <Esc> in the main menu or <Ctrl>+<X> in the Array List screen.
Now, you can proceed to the installation of the SATA controller driver and operating system.
- 69 - | Appendix |