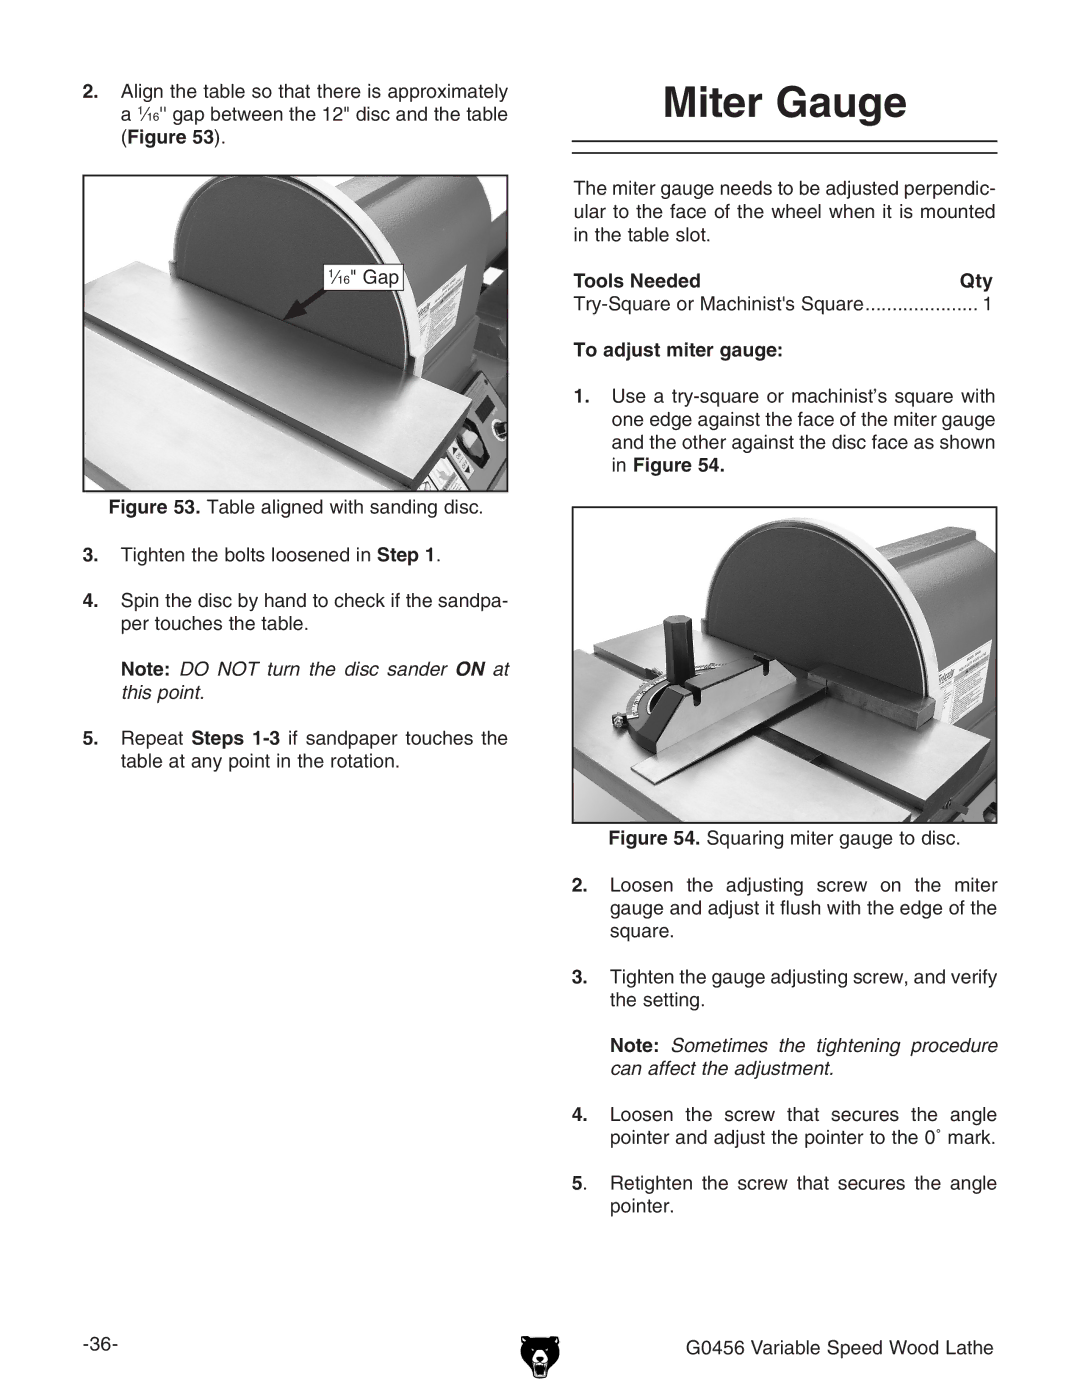
2.Align the table so that there is approximately a 1⁄16'' gap between the 12" disc and the table (Figure 53).
1 | ⁄16" Gap |
Figure 53. Table aligned with sanding disc.
3.Tighten the bolts loosened in Step 1.
4.Spin the disc by hand to check if the sandpa- per touches the table.
Note: DO NOT turn the disc sander ON at this point.
5.Repeat Steps 1-3 if sandpaper touches the
table at any point in the rotation.
Miter Gauge |
|
The miter gauge needs to be adjusted perpendic- | |
ular to the face of the wheel when it is mounted | |
in the table slot. |
|
Tools Needed | Qty |
1 | |
To adjust miter gauge: |
|
1.Use a
Figure 54. Squaring miter gauge to disc.
2.Loosen the adjusting screw on the miter gauge and adjust it flush with the edge of the square.
3.Tighten the gauge adjusting screw, and verify the setting.
Note: Sometimes the tightening procedure can affect the adjustment.
4.Loosen the screw that secures the angle pointer and adjust the pointer to the 0˚ mark.
5. | Retighten the screw that secures the angle |
| pointer. |
G0456 Variable Speed Wood Lathe |