8.Now, check the alignment of the table and both wings with a straightedge. The straight- edge should run flat across both wings and the table top. If the straightedge contacts both wings and the table evenly, you are fin- ished with this section. If the straightedge does not contact them evenly, continue to
Step 9.
9.If the extension wings tilt up or down at the outside edges, remove the wings and shim them with masking tape similar to Figure 9.
a.If the wings tilt down, stick layers of mask- ing tape under each bolt near the bottom edge of the wing and retighten.
b.If the wing tilts up, stick layers of masking tape above each bolt near the top edge of the wing and retighten. Allow the tape to extend above table surface and trim with a sharp knife after final assembly.
10.Replace the wings and check again.
Masking Tape
Figure 9. Using tape to shim for wing alignment.
Switch
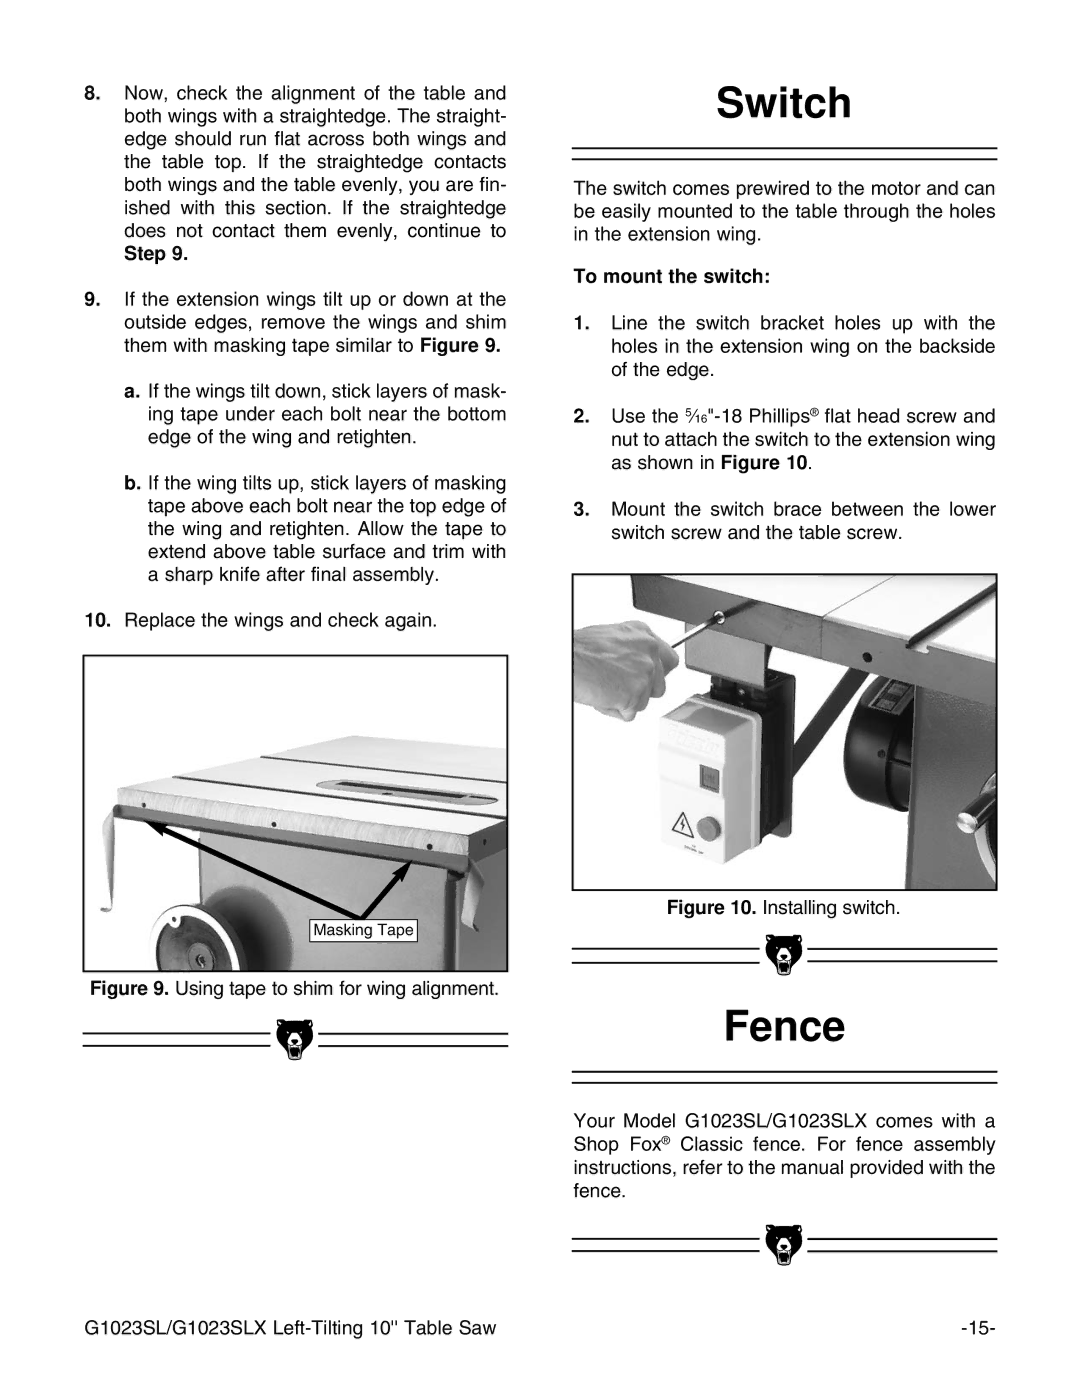
The switch comes prewired to the motor and can be easily mounted to the table through the holes in the extension wing.
To mount the switch:
1.Line the switch bracket holes up with the holes in the extension wing on the backside of the edge.
2.Use the
3.Mount the switch brace between the lower switch screw and the table screw.
Figure 10. Installing switch.
Fence
Your Model G1023SL/G1023SLX comes with a Shop Fox¨ Classic fence. For fence assembly instructions, refer to the manual provided with the fence.
|
|
|
|
|
|
|
|
|
|
|
|
G1023SL/G1023SLX | |||