INSTALLATION
Installation of the DC Sparker for the H25-1 Unit Only:
1)Remove the control panel by unscrewing the 2 screws.
2)First, remove the Piezo Ignition Wire from the Piezo Ignitor. Then remove the Piezo Ignitor from the control panel.
5)Remove the stove’s rear panel by unscrew- ing the two screws.
6)Attach the ground wire to the grounding stud.
11)Attach the ground wire to the DC spark mounting bracket.
12)Attach the DC sparker generator wires to the DC sparker.
7)Attach the ground wire to the grounding stud.
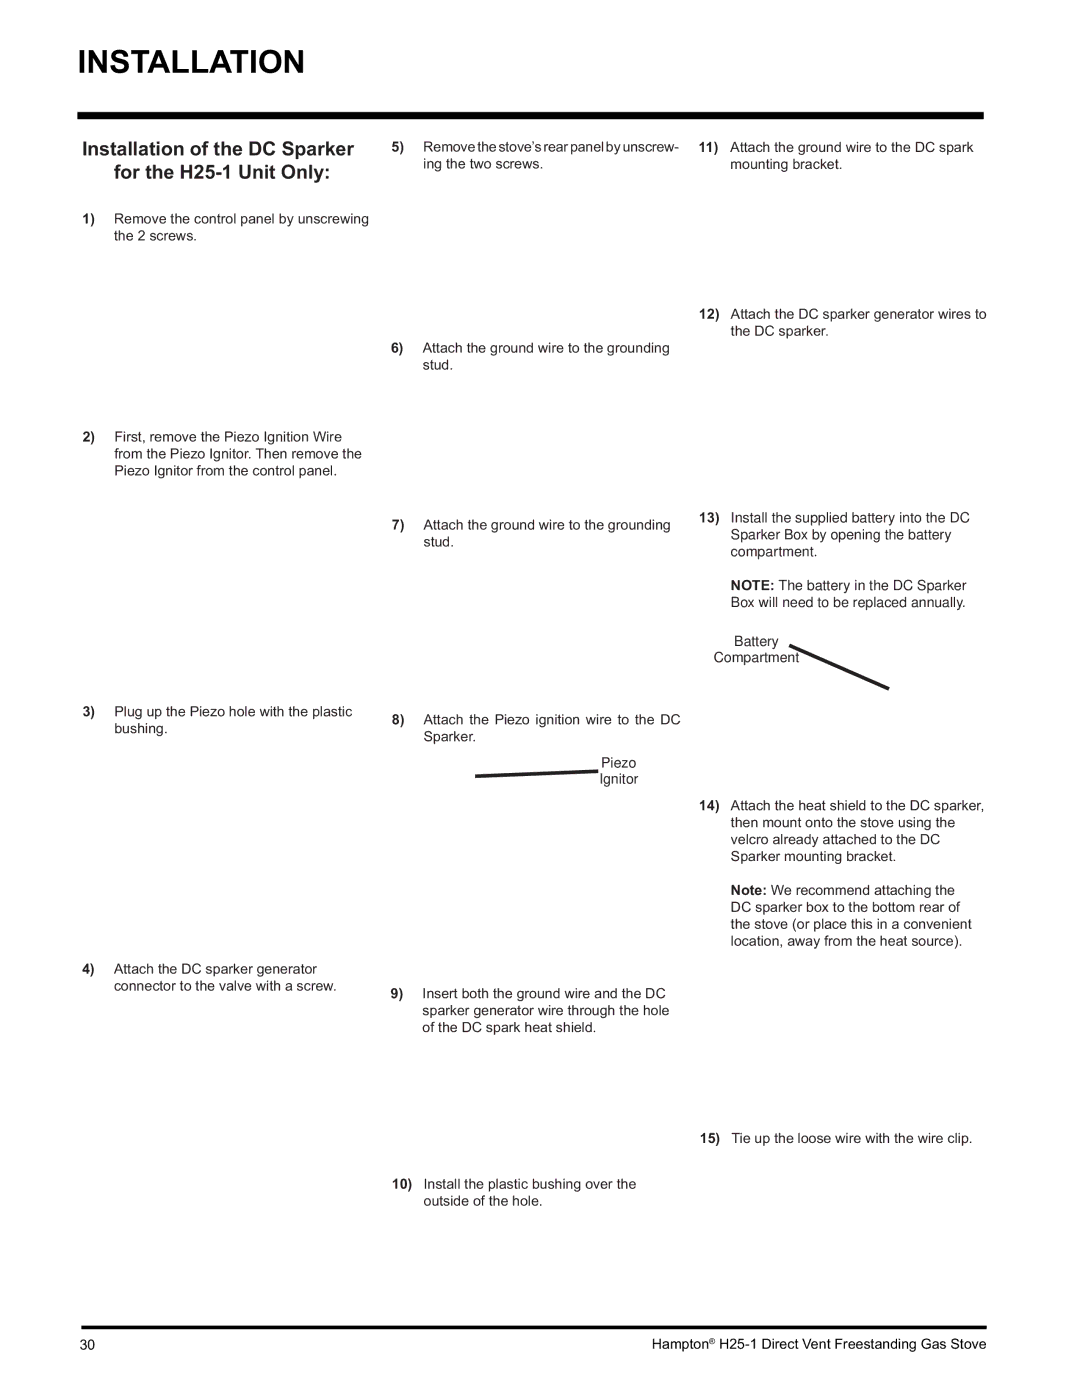
13)Install the supplied battery into the DC Sparker Box by opening the battery compartment.
NOTE: The battery in the DC Sparker Box will need to be replaced annually.
Battery
Compartment
3)Plug up the Piezo hole with the plastic bushing.
4)Attach the DC sparker generator connector to the valve with a screw.
8)Attach the Piezo ignition wire to the DC Sparker.
Piezo
 Ignitor
9)Insert both the ground wire and the DC sparker generator wire through the hole of the DC spark heat shield.
10)Install the plastic bushing over the outside of the hole.
14)Attach the heat shield to the DC sparker, then mount onto the stove using the velcro already attached to the DC Sparker mounting bracket.
Note: We recommend attaching the DC sparker box to the bottom rear of the stove (or place this in a convenient location, away from the heat source).
15)Tie up the loose wire with the wire clip.
30 | Hampton® |