Net-Viewer Program
Installing Software
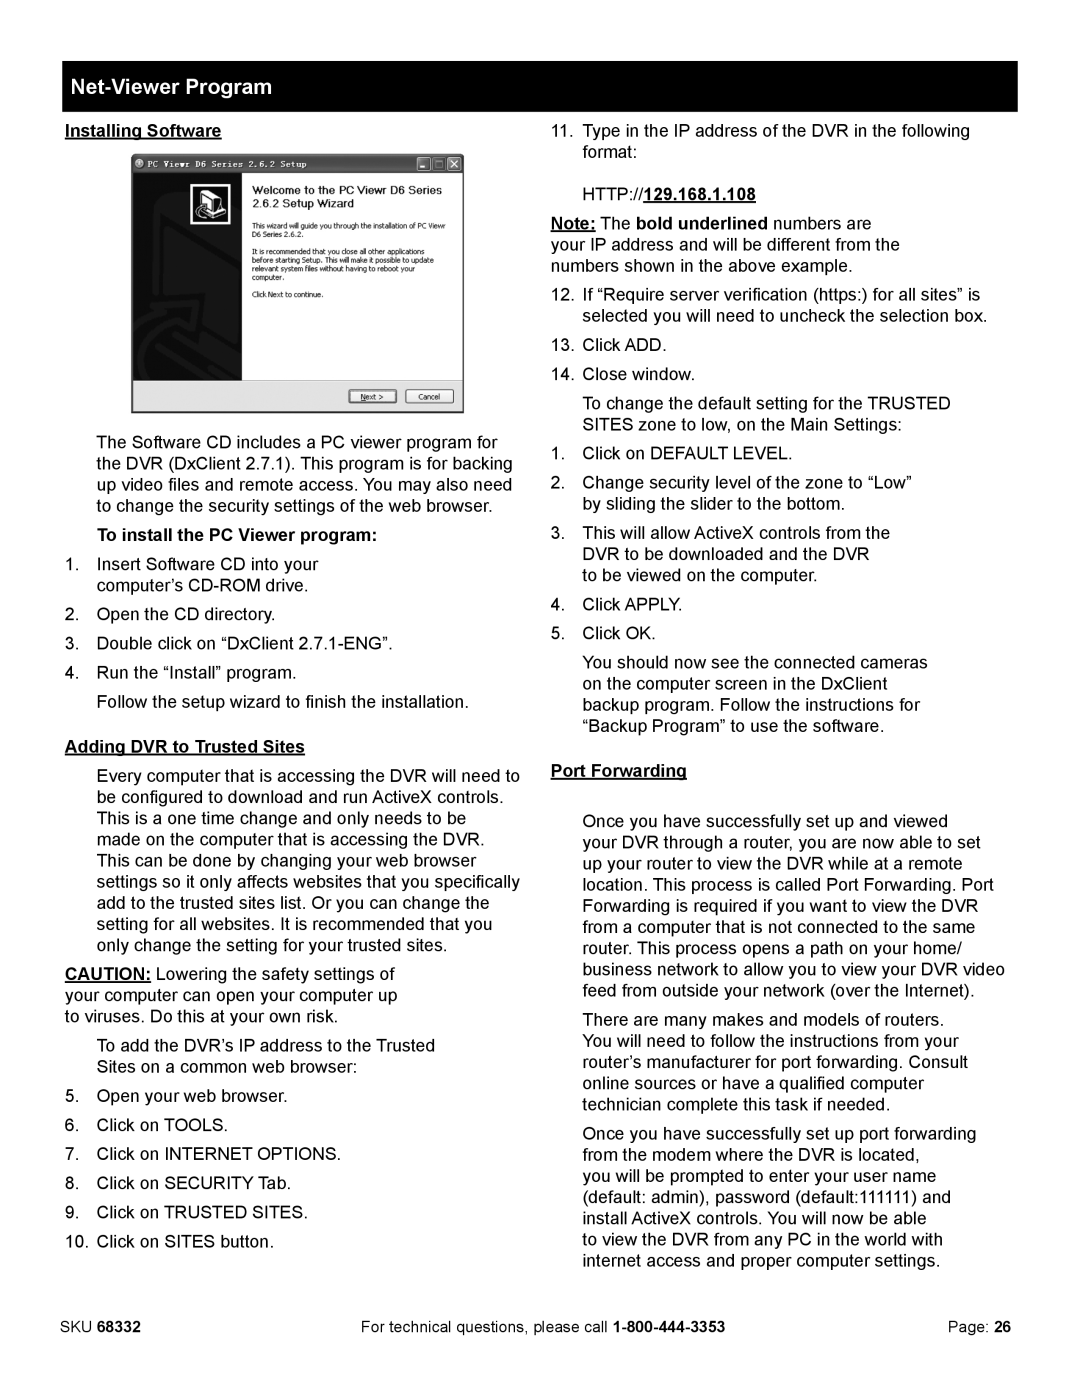
The Software CD includes a PC viewer program for the DVR (DxClient 2.7.1). This program is for backing up video files and remote access. You may also need to change the security settings of the web browser.
To install the PC Viewer program:
1.Insert Software CD into your computer’s
2.Open the CD directory.
3.Double click on “DxClient
4.Run the “Install” program.
Follow the setup wizard to finish the installation.
Adding DVR to Trusted Sites
Every computer that is accessing the DVR will need to be configured to download and run ActiveX controls. This is a one time change and only needs to be made on the computer that is accessing the DVR. This can be done by changing your web browser settings so it only affects websites that you specifically add to the trusted sites list. Or you can change the setting for all websites. It is recommended that you only change the setting for your trusted sites.
CAUTION: Lowering the safety settings of your computer can open your computer up to viruses. Do this at your own risk.
To add the DVR’s IP address to the Trusted Sites on a common web browser:
5.Open your web browser.
6.Click on TOOLS.
7.Click on INTERNET OPTIONS.
8.Click on SECURITY Tab.
9.Click on TRUSTED SITES.
10.Click on SITES button.
11.Type in the IP address of the DVR in the following format:
HTTP://129.168.1.108
Note: The bold underlined numbers are your IP address and will be different from the numbers shown in the above example.
12.If “Require server verification (https:) for all sites” is selected you will need to uncheck the selection box.
13.Click ADD.
14.Close window.
To change the default setting for the TRUSTED SITES zone to low, on the Main Settings:
1.Click on DEFAULT LEVEL.
2.Change security level of the zone to “Low” by sliding the slider to the bottom.
3.This will allow ActiveX controls from the DVR to be downloaded and the DVR to be viewed on the computer.
4.Click APPLY.
5.Click OK.
You should now see the connected cameras on the computer screen in the DxClient backup program. Follow the instructions for “Backup Program” to use the software.
Port Forwarding
Once you have successfully set up and viewed your DVR through a router, you are now able to set up your router to view the DVR while at a remote location. This process is called Port Forwarding. Port Forwarding is required if you want to view the DVR from a computer that is not connected to the same router. This process opens a path on your home/ business network to allow you to view your DVR video feed from outside your network (over the Internet).
There are many makes and models of routers. You will need to follow the instructions from your router’s manufacturer for port forwarding. Consult online sources or have a qualified computer technician complete this task if needed.
Once you have successfully set up port forwarding from the modem where the DVR is located,
you will be prompted to enter your user name (default: admin), password (default:111111) and install ActiveX controls. You will now be able to view the DVR from any PC in the world with internet access and proper computer settings.
SKU 68332 | For technical questions, please call | Page: 26 |