INSTALLATION

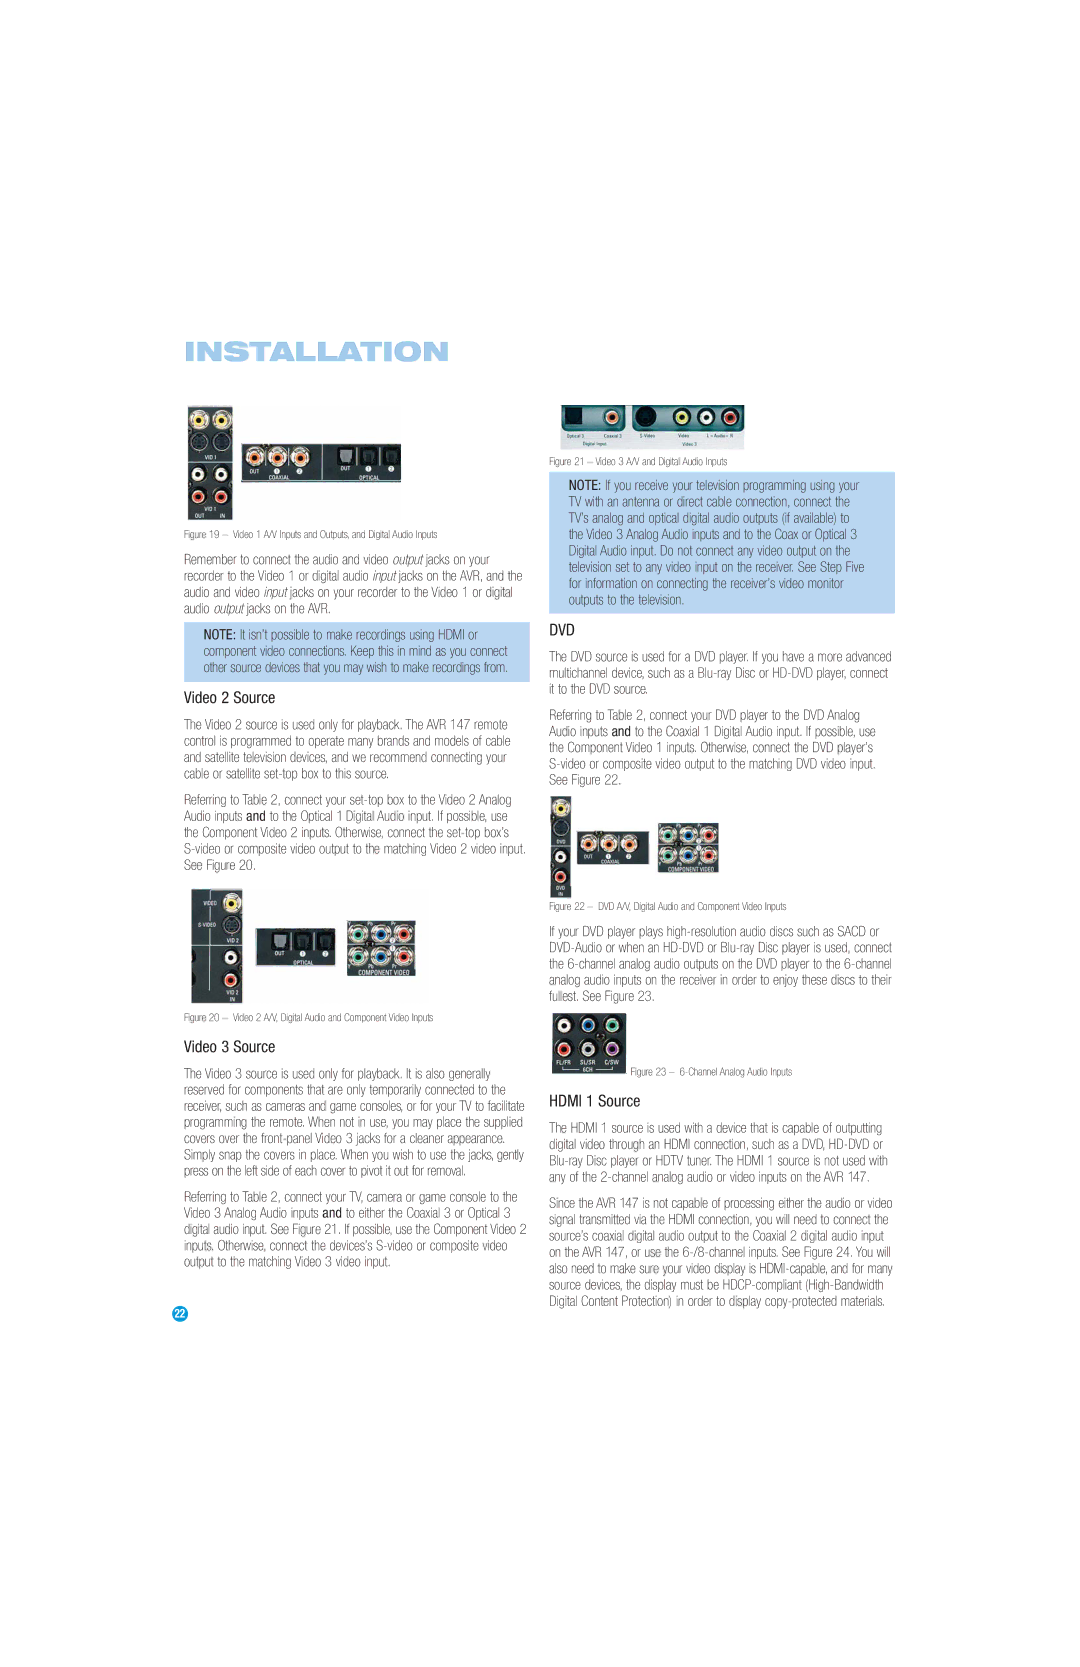
Figure 19 – Video 1 A/V Inputs and Outputs, and Digital Audio Inputs

Remember to connect the audio and video output jacks on your recorder to the Video 1 or digital audio input jacks on the AVR, and the audio and video input jacks on your recorder to the Video 1 or digital audio output jacks on the AVR.

NOTE: It isn’t possible to make recordings using HDMI or component video connections. Keep this in mind as you connect other source devices that you may wish to make recordings from.

Video 2 Source

The Video 2 source is used only for playback. The AVR 147 remote control is programmed to operate many brands and models of cable and satellite television devices, and we recommend connecting your cable or satellite set-top box to this source.

Referring to Table 2, connect your set-top box to the Video 2 Analog Audio inputs and to the Optical 1 Digital Audio input. If possible, use the Component Video 2 inputs. Otherwise, connect the set-top box’s S-video or composite video output to the matching Video 2 video input. See Figure 20.

Figure 20 – Video 2 A/V, Digital Audio and Component Video Inputs

Video 3 Source

The Video 3 source is used only for playback. It is also generally reserved for components that are only temporarily connected to the receiver, such as cameras and game consoles, or for your TV to facilitate programming the remote. When not in use, you may place the supplied covers over the front-panel Video 3 jacks for a cleaner appearance. Simply snap the covers in place. When you wish to use the jacks, gently press on the left side of each cover to pivot it out for removal.

Referring to Table 2, connect your TV, camera or game console to the Video 3 Analog Audio inputs and to either the Coaxial 3 or Optical 3 digital audio input. See Figure 21. If possible, use the Component Video 2 inputs. Otherwise, connect the devices’s S-video or composite video output to the matching Video 3 video input.

Figure 21 – Video 3 A/V and Digital Audio Inputs

NOTE: If you receive your television programming using your TV with an antenna or direct cable connection, connect the TV’s analog and optical digital audio outputs (if available) to the Video 3 Analog Audio inputs and to the Coax or Optical 3 Digital Audio input. Do not connect any video output on the television set to any video input on the receiver. See Step Five for information on connecting the receiver’s video monitor outputs to the television.

DVD

The DVD source is used for a DVD player. If you have a more advanced multichannel device, such as a Blu-ray Disc or HD-DVD player, connect it to the DVD source.

Referring to Table 2, connect your DVD player to the DVD Analog Audio inputs and to the Coaxial 1 Digital Audio input. If possible, use the Component Video 1 inputs. Otherwise, connect the DVD player’s S-video or composite video output to the matching DVD video input. See Figure 22.

Figure 22 – DVD A/V, Digital Audio and Component Video Inputs

If your DVD player plays high-resolution audio discs such as SACD or DVD-Audio or when an HD-DVD or Blu-ray Disc player is used, connect the 6-channel analog audio outputs on the DVD player to the 6-channel analog audio inputs on the receiver in order to enjoy these discs to their fullest. See Figure 23.

Figure 23 – 6-Channel Analog Audio Inputs

HDMI 1 Source

The HDMI 1 source is used with a device that is capable of outputting digital video through an HDMI connection, such as a DVD, HD-DVD or Blu-ray Disc player or HDTV tuner. The HDMI 1 source is not used with any of the 2-channel analog audio or video inputs on the AVR 147.

Since the AVR 147 is not capable of processing either the audio or video signal transmitted via the HDMI connection, you will need to connect the source’s coaxial digital audio output to the Coaxial 2 digital audio input on the AVR 147, or use the 6-/8-channel inputs. See Figure 24. You will also need to make sure your video display is HDMI-capable, and for many source devices, the display must be HDCP-compliant (High-Bandwidth Digital Content Protection) in order to display copy-protected materials.

22

Page 22
Image 22
Harman-Kardon AVR 147 owner manual Video 2 Source, Video 3 Source, Hdmi 1 Source

AVR 147 specifications

The Harman-Kardon AVR 147 is an entry-level receiver designed for those who seek quality audio and video experiences without overcomplicating their setup. This model is part of Harman-Kardon's well-known line of audio-video receivers, designed to provide an immersive home theater experience.

At the heart of the AVR 147 is its 5.1 channel surround sound capability, allowing for the connection of up to five speakers plus a subwoofer. This configuration enables a rich sound field that envelops listeners, ideal for both movies and music. The receiver can deliver up to 40 watts per channel, providing sufficient power for a modest home theater setup. The incorporation of Dolby Digital and DTS decoding ensures that users can enjoy their favorite movies with cinematic sound quality.

One of the main features of the AVR 147 is its user-friendly interface. The simplified remote control and intuitive on-screen menu make it easy for users to navigate settings and optimize sound performance. The receiver also offers multiple inputs, including HDMI, component, composite, and optical connections, ensuring compatibility with a wide range of audio and video sources, such as Blu-ray players, gaming consoles, and streaming devices.

The AVR 147 is equipped with Harman Kardon’s proprietary technologies, including the Advanced DSP (Digital Signal Processing), which enhances audio quality and clarity. Moreover, it supports various surround sound formats, allowing users to enjoy an enhanced home theater experience tailored to their preferences.

Another noteworthy characteristic is its sleek, modern design, which blends seamlessly into any entertainment setup. With its front panel display, users can easily see their settings and selections. The robust build quality of the AVR 147 ensures durability and longevity, making it a wise investment for those passionate about audio-visual technology.

In terms of video accessories, the AVR 147 can upscale standard-resolution video sources to provide a better viewing experience. Although it lacks some of the advanced features found in higher-end models, the AVR 147 remains a commendable choice for anyone seeking an effective and powerful home theater solution without excessive complexity. Whether you're watching movies, playing video games, or enjoying your favorite music, the Harman-Kardon AVR 147 is a reliable companion in elevating home entertainment experiences.