ADVANCED FUNCTIONS
b)Purchase an external amplifier. Connect the Surround Back/Multiroom Preamp Outputs to the amplifier’s inputs. You may place the amplifier either in the main listening room or the remote room. Placing the amplifier in the main listening room would require the use of long speaker wires to reach the remote room, while placing the amplifier in the remote room calls for the opposite – long interconnect cables and short speaker wires.
When you use either the Surround Back/Multiroom Speaker Outputs or the Surround Back/Multiroom Preamp Outputs for a multiroom system, you will not be able to use the surround back speakers with your main system, which will be limited to 5.1 channels. However, when the multi- room system is turned off, you may relocate your remote speakers
(if that’s practical) to the main listening room for
You may install an optional remote infrared (IR) receiver in the remote room and connect it to the Multiroom IR Input on the back of the receiver. This lets you use an optional
Default Volume: The volume is controlled separately for the remote zone.
SB Amps: This line is for information only and cannot be changed. When the multiroom system is turned off, this line will always display the MAIN setting. When the multiroom system is turned on, this line will always display the MULTI setting, reflecting that the surround back channels are always assigned to the remote zone when the multiroom system is used.
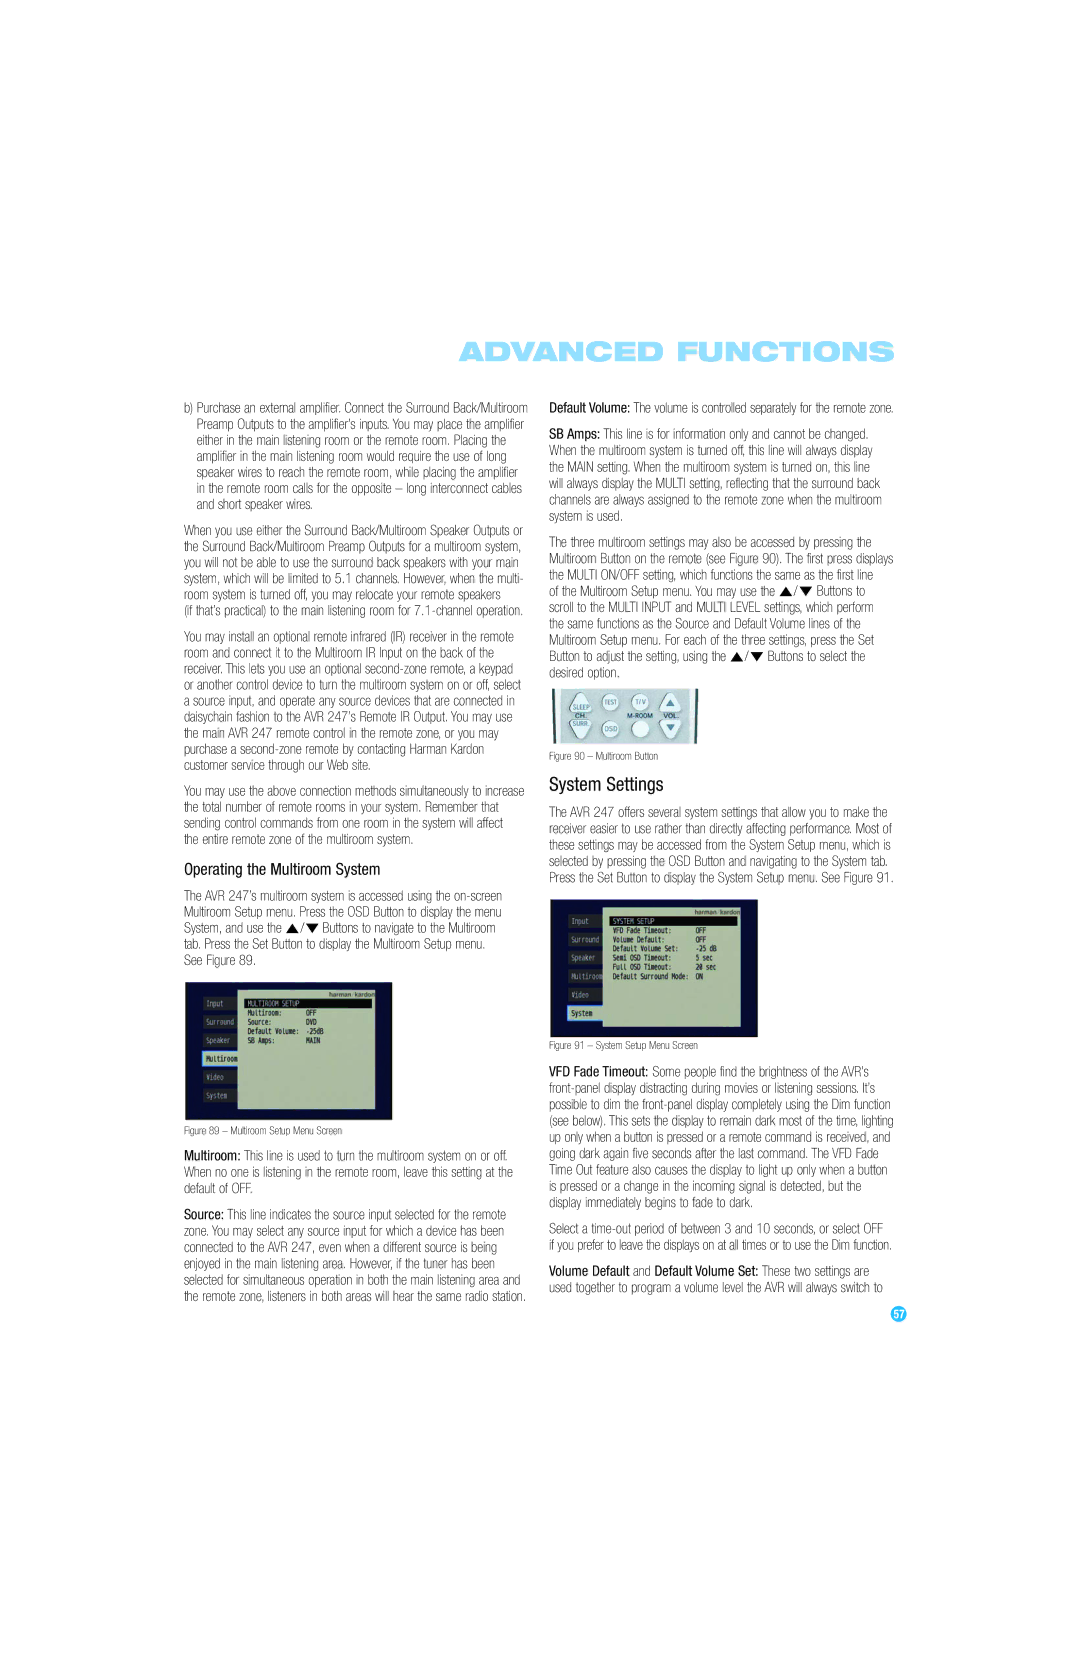
The three multiroom settings may also be accessed by pressing the Multiroom Button on the remote (see Figure 90). The first press displays the MULTI ON/OFF setting, which functions the same as the first line
of the Multiroom Setup menu. You may use the ⁄ /¤ Buttons to scroll to the MULTI INPUT and MULTI LEVEL settings, which perform the same functions as the Source and Default Volume lines of the Multiroom Setup menu. For each of the three settings, press the Set Button to adjust the setting, using the ⁄ /¤ Buttons to select the desired option.
Figure 90 – Multiroom Button
You may use the above connection methods simultaneously to increase the total number of remote rooms in your system. Remember that sending control commands from one room in the system will affect the entire remote zone of the multiroom system.
Operating the Multiroom System
The AVR 247’s multiroom system is accessed using the
System Settings
The AVR 247 offers several system settings that allow you to make the receiver easier to use rather than directly affecting performance. Most of these settings may be accessed from the System Setup menu, which is selected by pressing the OSD Button and navigating to the System tab.
Press the Set Button to display the System Setup menu. See Figure 91.
Figure 89 – Multiroom Setup Menu Screen
Multiroom: This line is used to turn the multiroom system on or off. When no one is listening in the remote room, leave this setting at the default of OFF.
Source: This line indicates the source input selected for the remote zone. You may select any source input for which a device has been connected to the AVR 247, even when a different source is being enjoyed in the main listening area. However, if the tuner has been selected for simultaneous operation in both the main listening area and the remote zone, listeners in both areas will hear the same radio station.
Figure 91 – System Setup Menu Screen
VFD Fade Timeout: Some people find the brightness of the AVR’s front-panel display distracting during movies or listening sessions. It’s possible to dim the front-panel display completely using the Dim function (see below). This sets the display to remain dark most of the time, lighting up only when a button is pressed or a remote command is received, and going dark again five seconds after the last command. The VFD Fade Time Out feature also causes the display to light up only when a button is pressed or a change in the incoming signal is detected, but the display immediately begins to fade to dark.
Select a
Volume Default and Default Volume Set: These two settings are used together to program a volume level the AVR will always switch to
57