Operation
Basic Operation
Once you have completed the setup and configuration of the AVR, it is simple to operate and enjoy. The following instructions should be followed for you to maximize your enjoyment of your new receiver:
Turning the AVR On or Off
•• When using the AVR for the first time, you must press the Main Power Switch gon the rear panel to turn the unit on. This places the unit in Standby mode, as indicated by the amber color of the Power Indicator 2. Once the unit is in Standby, you may begin a listening session by pressing the System Power Control 1or on the front panel or the AVR Power ON Button on the remote A. Note that the Power Indicator 2turns white. This will turn the unit on and return it to the input source that was last used. The unit may also be turned on from Standby by pressing any of the Source Selector buttons on the remote C.
To turn the unit off at the end of a listening session, simply press the System Power Control 1on the front panel or the AVR Power Off Button Bon the remote. Power will be shut off to any equipment plugged into the front panel Switched AC Outlets Gand the Power Indicator 2will turn amber.
When the remote is used to turn the unit “off” it is actually placing the system in a Standby mode, as indicated by the amber color of the Power Indicator 2.
When you will be away from home for an extended period of time it is always a good idea to completely turn the unit off with the rear panel Main Power Switch g.
Note: All preset memories may be lost if the unit is left turned off with the Main Power Switch gfor more than two weeks.
Using the Sleep Timer
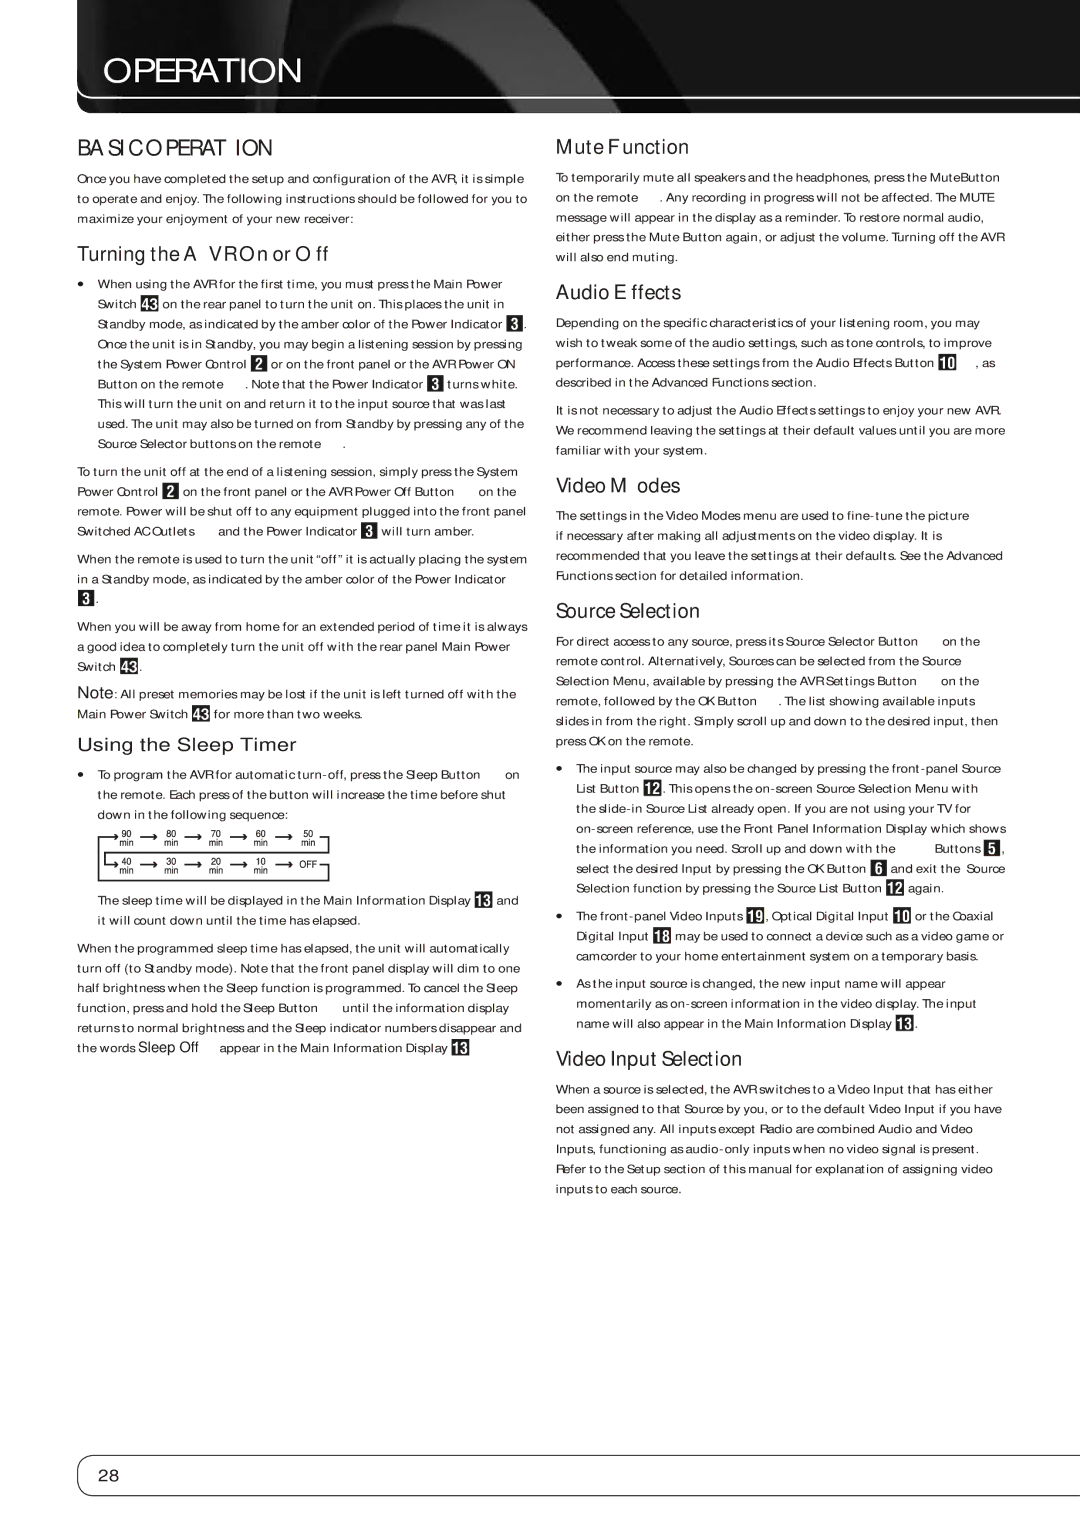
•• To program the AVR for automatic
The sleep time will be displayed in the Main Information Display Cand it will count down until the time has elapsed.
When the programmed sleep time has elapsed, the unit will automatically turn off (to Standby mode). Note that the front panel display will dim to one half brightness when the Sleep function is programmed. To cancel the Sleep function, press and hold the Sleep Button Guntil the information display returns to normal brightness and the Sleep indicator numbers disappear and the words Sleep Off appear in the Main Information Display C
Mute Function
To temporarily mute all speakers and the headphones, press the MuteButton on the remote Q. Any recording in progress will not be affected. The MUTE message will appear in the display as a reminder. To restore normal audio, either press the Mute Button again, or adjust the volume. Turning off the AVR will also end muting.
Audio Effects
Depending on the specific characteristics of your listening room, you may wish to tweak some of the audio settings, such as tone controls, to improve performance. Access these settings from the Audio Effects Button 9D, as described in the Advanced Functions section.
It is not necessary to adjust the Audio Effects settings to enjoy your new AVR. We recommend leaving the settings at their default values until you are more familiar with your system.
Video Modes
The settings in the Video Modes menu are used to
Source Selection
For direct access to any source, press its Source Selector Button Con the remote control. Alternatively, Sources can be selected from the Source Selection Menu, available by pressing the AVR Settings Button Won the remote, followed by the OK Button V. The list showing available inputs slides in from the right. Simply scroll up and down to the desired input, then press OK on the remote.
•• The input source may also be changed by pressing the
•• The
•• As the input source is changed, the new input name will appear momentarily as
Video Input Selection
When a source is selected, the AVR switches to a Video Input that has either been assigned to that Source by you, or to the default Video Input if you have not assigned any. All inputs except Radio are combined Audio and Video Inputs, functioning as
28
