INITIAL SETUP
If you use the metric system, return to the AUDIO SETUP submenu and change the Delay Unit setting from its default of FEET to METER.
NOTE: The DVD 38 is designed to accommodate speaker placements of up to 15 feet from the listening position. If you have placed your speakers further from the listening position, move them closer. If that isn’t possible, measure the differences in the distances from each speaker to the listening position, and enter the delay settings so as to reflect these differences, even though the actual distances will be incorrect.
Before you begin to make the audio adjustments, select test program material, either a test DVD you have purchased, or a movie or music selection you are familiar with. For best results, you may wish to also purchase a
SPEAKER SIZE: Speaker size is part of the bass management system which determines which frequencies are sent to the specific speaker position, and which are sent to the subwoofer. The designation of “size” does not refer to the speaker’s physical size, but rather to the lowest frequency a speaker can handle. For this purpose,
DELAY SETTINGS: The delay settings indicate the distance from each speaker to the listening position. Although ideally you placed all of your speakers in a circle equidistant from the listening position, we recognize that it isn’t always practical to do so. This setting enables the DVD 38 to delay the signal from some speakers by up to 15 mS to compensate.
Use the Navigation buttons to highlight the distance for each speaker, and press the Enter button to change it. Use the ⁄/¤ Buttons to scroll through the available settings.
NOTE: There is no delay setting for the subwoofer. Low- frequency sound waves by their nature are not noticeably affected by the distances in a typical listening room.
OUTPUT LEVEL SETTINGS: Output level adjustment is a key part of the configuration process for any surround sound system. The goal is to set the output levels so that all channels sound equally loud at the listening position. This is important because movie directors adjust the loudness of each channel in the recording to produce a desired sound presentation. Usually the director reduces the loudness, or even the presence, of information in the surround channels so as not to distract the viewer from the main action taking place on screen. If the test tones on your test disc sound as loud in the rear speakers as they do coming from the other speakers, the DVD 38 is performing correctly.
In many cases the factory default setting of 0dB should accomplish that. However, in some cases the specifics of your listening room may require some adjustments.
To adjust the output levels, first insert a disc with test tones or content you are familiar with, and that has a reasonably even level without many dynamic changes.
If you are using an SPL meter with a disc containing test tones, adjust the level of each channel so that the meter reads 75dB. If you don’t have a meter or a test disc, adjust the levels until all channels sound equally loud. Make sure not to use a surround
Use the Navigation Buttons to highlight the level setting for the front left channel. Press the Enter Button to display the available settings, which range from
For the subwoofer, the settings are slightly different. Select On when a subwoofer is connected, or Off if one is not used.
The second setting for the subwoofer is the crossover. This determines which sounds will be sent to the subwoofer, and which to the main speakers when Small is selected as the speaker size for any of the speakers. Select the frequency from those shown that is closest to the lowest frequency your main (left/center/right/surround left/surround right) speakers are able to reproduce. The output level should be set the same way as for the other speakers.
Step Four – Video Setup
In this step you may make a few adjustments to insure that the video signal is output in a way that is compatible with your video display.
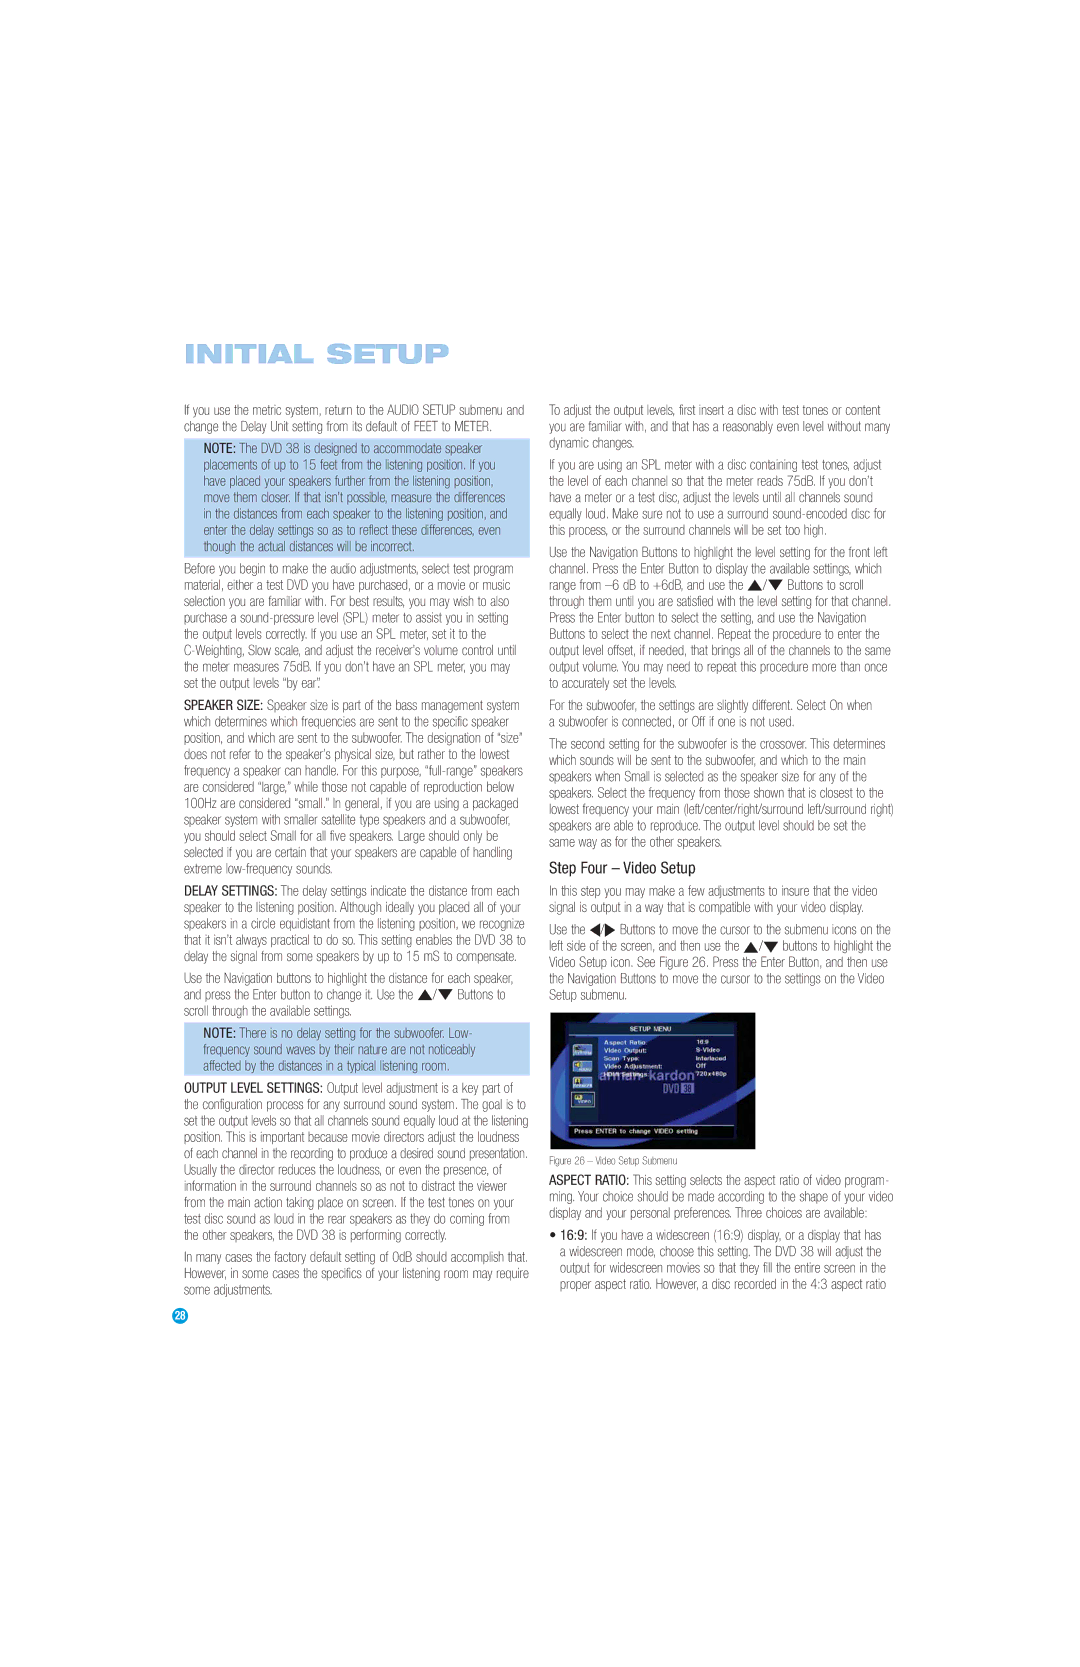
Use the ‹/› Buttons to move the cursor to the submenu icons on the left side of the screen, and then use the ⁄/¤ buttons to highlight the Video Setup icon. See Figure 26. Press the Enter Button, and then use the Navigation Buttons to move the cursor to the settings on the Video Setup submenu.
Figure 26 – Video Setup Submenu
ASPECT RATIO: This setting selects the aspect ratio of video program- ming. Your choice should be made according to the shape of your video display and your personal preferences. Three choices are available:
•16:9: If you have a widescreen (16:9) display, or a display that has a widescreen mode, choose this setting. The DVD 38 will adjust the output for widescreen movies so that they fill the entire screen in the proper aspect ratio. However, a disc recorded in the 4:3 aspect ratio
28