•Bypass: This is the default setting. If your receiver or processor is equipped with
•Stereo: If your receiver or processor is not equipped with
NOTE: The
With bass management on or in Bypass mode, the same front left and right channel information will be available at both the 2- Channel and
In Stereo mode, the downmixed
Step Three – Audio Adjustments
This menu allows you to adjust bass management settings that control the audio output of the
IMPORTANT NOTE: In order to avoid audio problems, when the DVD 38 is connected to a receiver that does have the capability to adjust bass management parameters for its multichannel inputs, it is preferable to use the receiver for these adjustments. In that case, remember to set the Bass Management setting in the AUDIO SETUP menu to Bypass.
If you make the adjustments using the DVD 38's settings, it is important that the receiver's settings for the multichannel direct inputs be disabled, or set to “Large” for the speaker sizes and “0” for the level adjustments and delay times, unless these settings are also used for the receiver’s other source inputs, in which case they should be left the way you set them when you configured your receiver. If you have any questions about the capabilities of your receiver or processor, we recommend that you consult its owner’s manual or the manufacturer’s Web site for further information.
INITIAL SETUP
If your receiver does not have
2-channel analog inputs on your receiver.
Press the Setup Button to activate the Setup menu; then use the
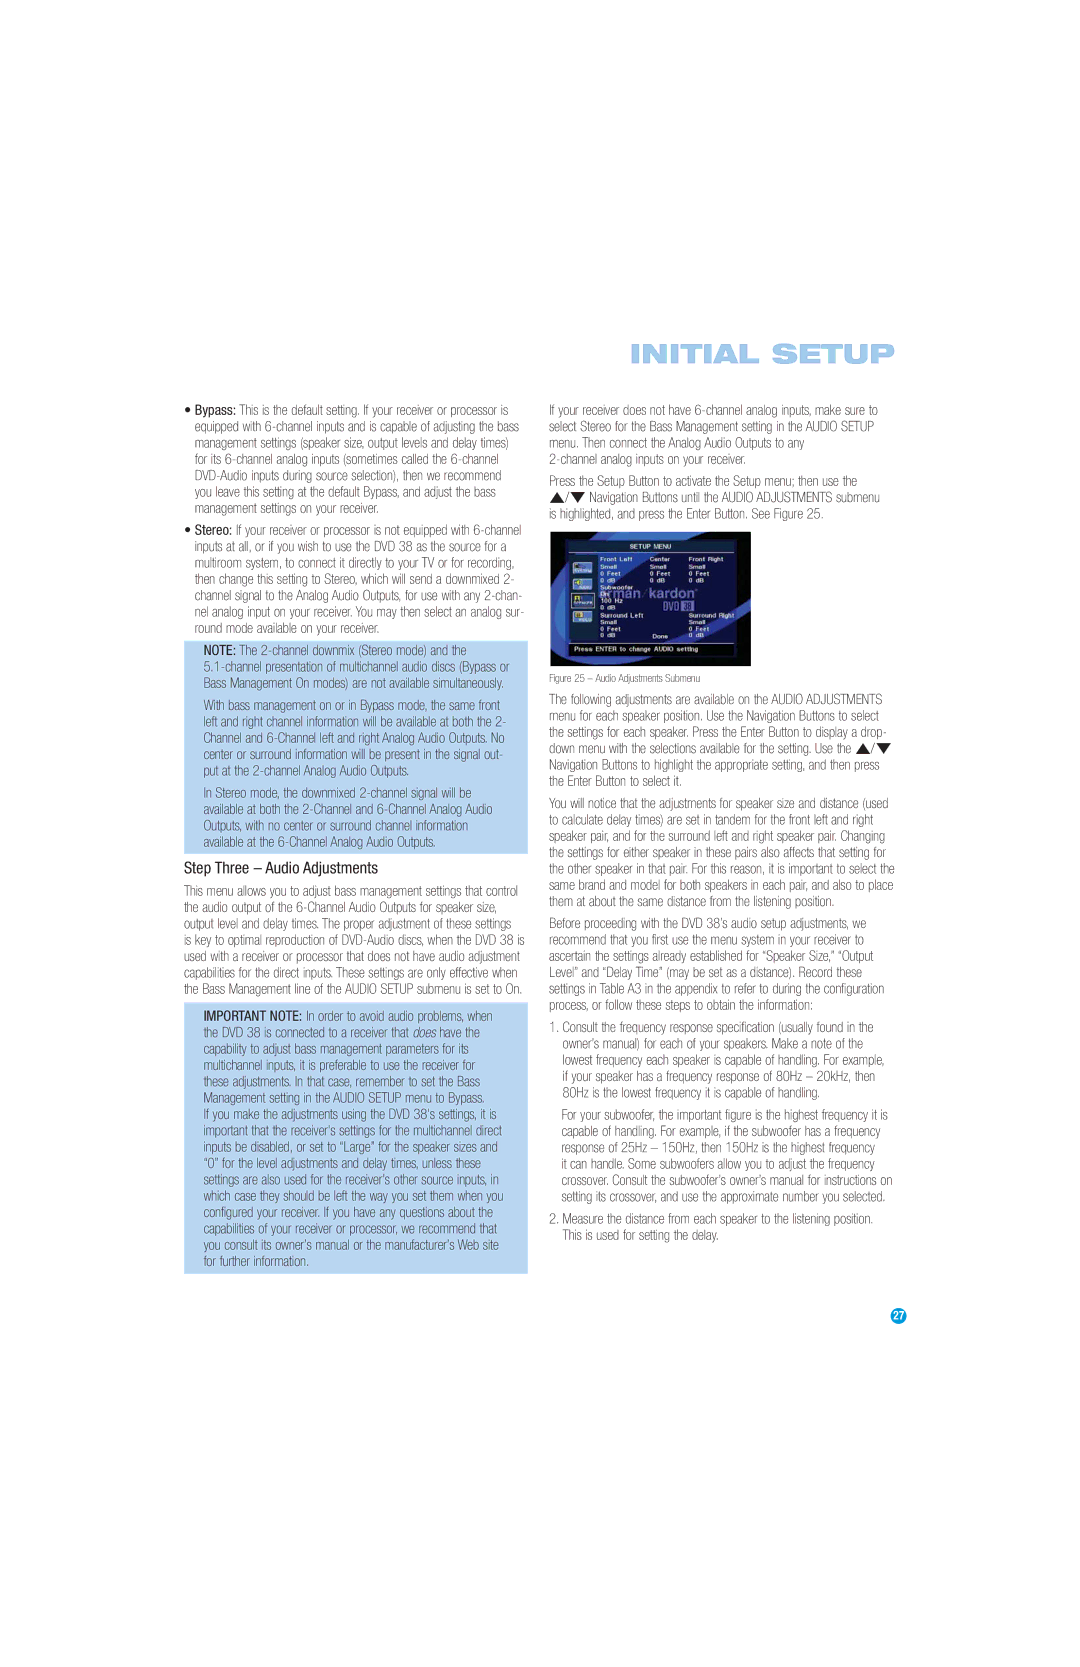
⁄/¤ Navigation Buttons until the AUDIO ADJUSTMENTS submenu is highlighted, and press the Enter Button. See Figure 25.
Figure 25 – Audio Adjustments Submenu
The following adjustments are available on the AUDIO ADJUSTMENTS menu for each speaker position. Use the Navigation Buttons to select the settings for each speaker. Press the Enter Button to display a drop- down menu with the selections available for the setting. Use the ⁄/¤ Navigation Buttons to highlight the appropriate setting, and then press the Enter Button to select it.
You will notice that the adjustments for speaker size and distance (used to calculate delay times) are set in tandem for the front left and right speaker pair, and for the surround left and right speaker pair. Changing the settings for either speaker in these pairs also affects that setting for the other speaker in that pair. For this reason, it is important to select the same brand and model for both speakers in each pair, and also to place them at about the same distance from the listening position.
Before proceeding with the DVD 38’s audio setup adjustments, we recommend that you first use the menu system in your receiver to ascertain the settings already established for “Speaker Size,” “Output Level” and “Delay Time” (may be set as a distance). Record these settings in Table A3 in the appendix to refer to during the configuration process, or follow these steps to obtain the information:
1.Consult the frequency response specification (usually found in the owner’s manual) for each of your speakers. Make a note of the lowest frequency each speaker is capable of handling. For example, if your speaker has a frequency response of 80Hz – 20kHz, then 80Hz is the lowest frequency it is capable of handling.
For your subwoofer, the important figure is the highest frequency it is capable of handling. For example, if the subwoofer has a frequency response of 25Hz – 150Hz, then 150Hz is the highest frequency it can handle. Some subwoofers allow you to adjust the frequency crossover. Consult the subwoofer’s owner’s manual for instructions on setting its crossover, and use the approximate number you selected.
2.Measure the distance from each speaker to the listening position. This is used for setting the delay.
27
