Software Installation
In this manual, "User" refers to anyone who has access to the network camera, and "Administrator" refers to anyone who has access rights to configure the network camera and grant user access to it.
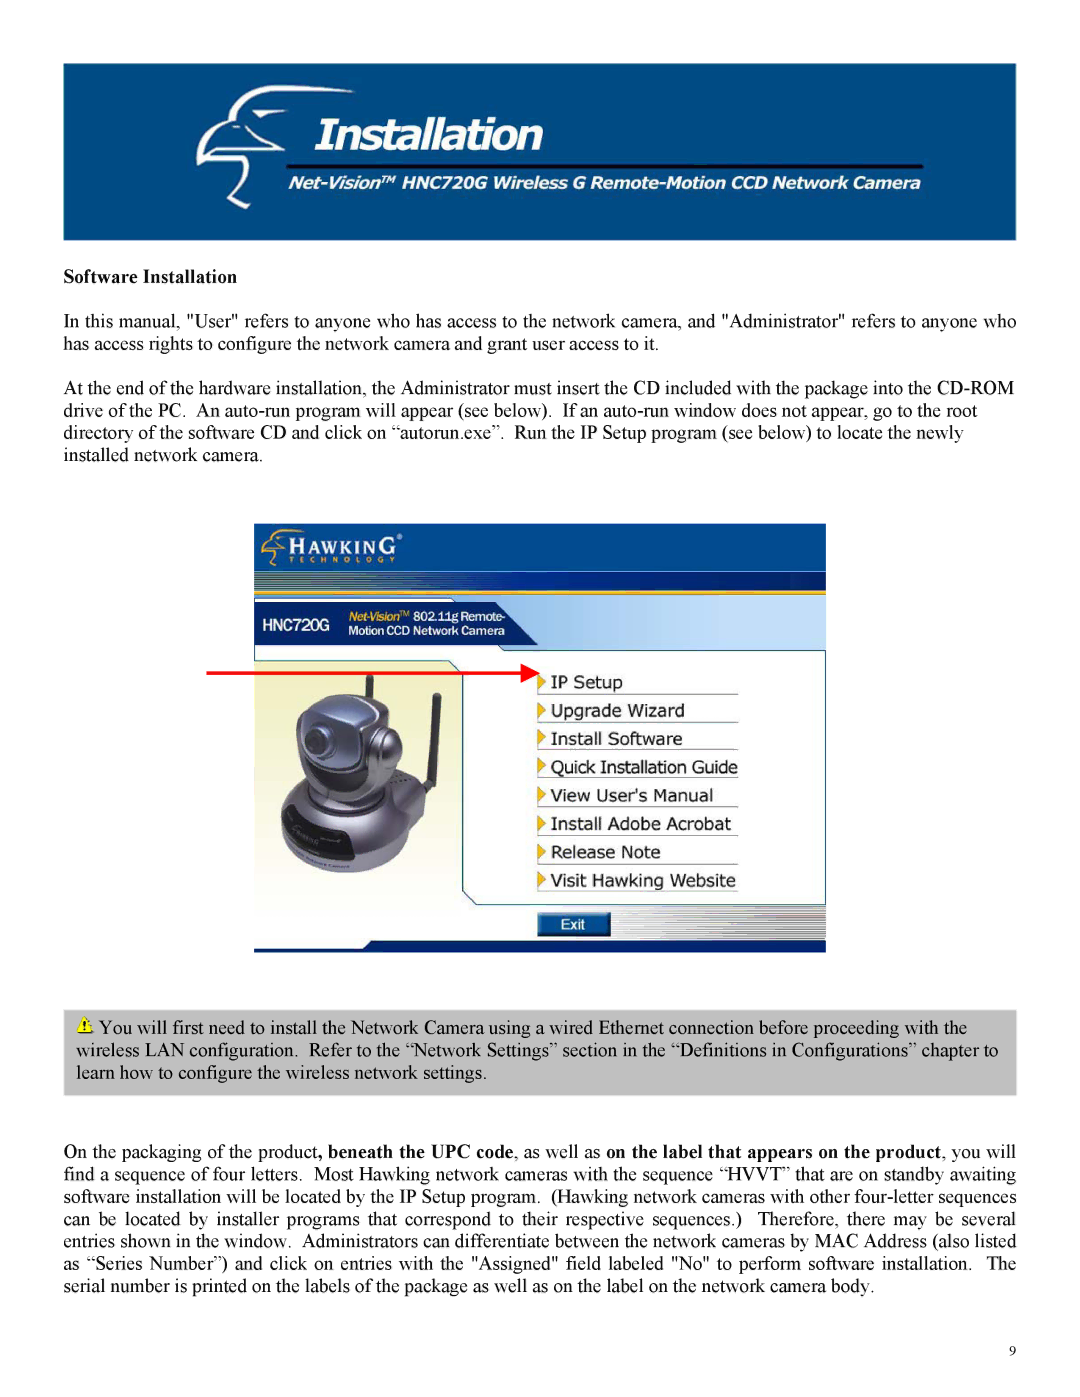
At the end of the hardware installation, the Administrator must insert the CD included with the package into the
![]() You will first need to install the Network Camera using a wired Ethernet connection before proceeding with the wireless LAN configuration. Refer to the “Network Settings” section in the “Definitions in Configurations” chapter to learn how to configure the wireless network settings.
You will first need to install the Network Camera using a wired Ethernet connection before proceeding with the wireless LAN configuration. Refer to the “Network Settings” section in the “Definitions in Configurations” chapter to learn how to configure the wireless network settings.
On the packaging of the product, beneath the UPC code, as well as on the label that appears on the product, you will find a sequence of four letters. Most Hawking network cameras with the sequence “HVVT” that are on standby awaiting software installation will be located by the IP Setup program. (Hawking network cameras with other
9
