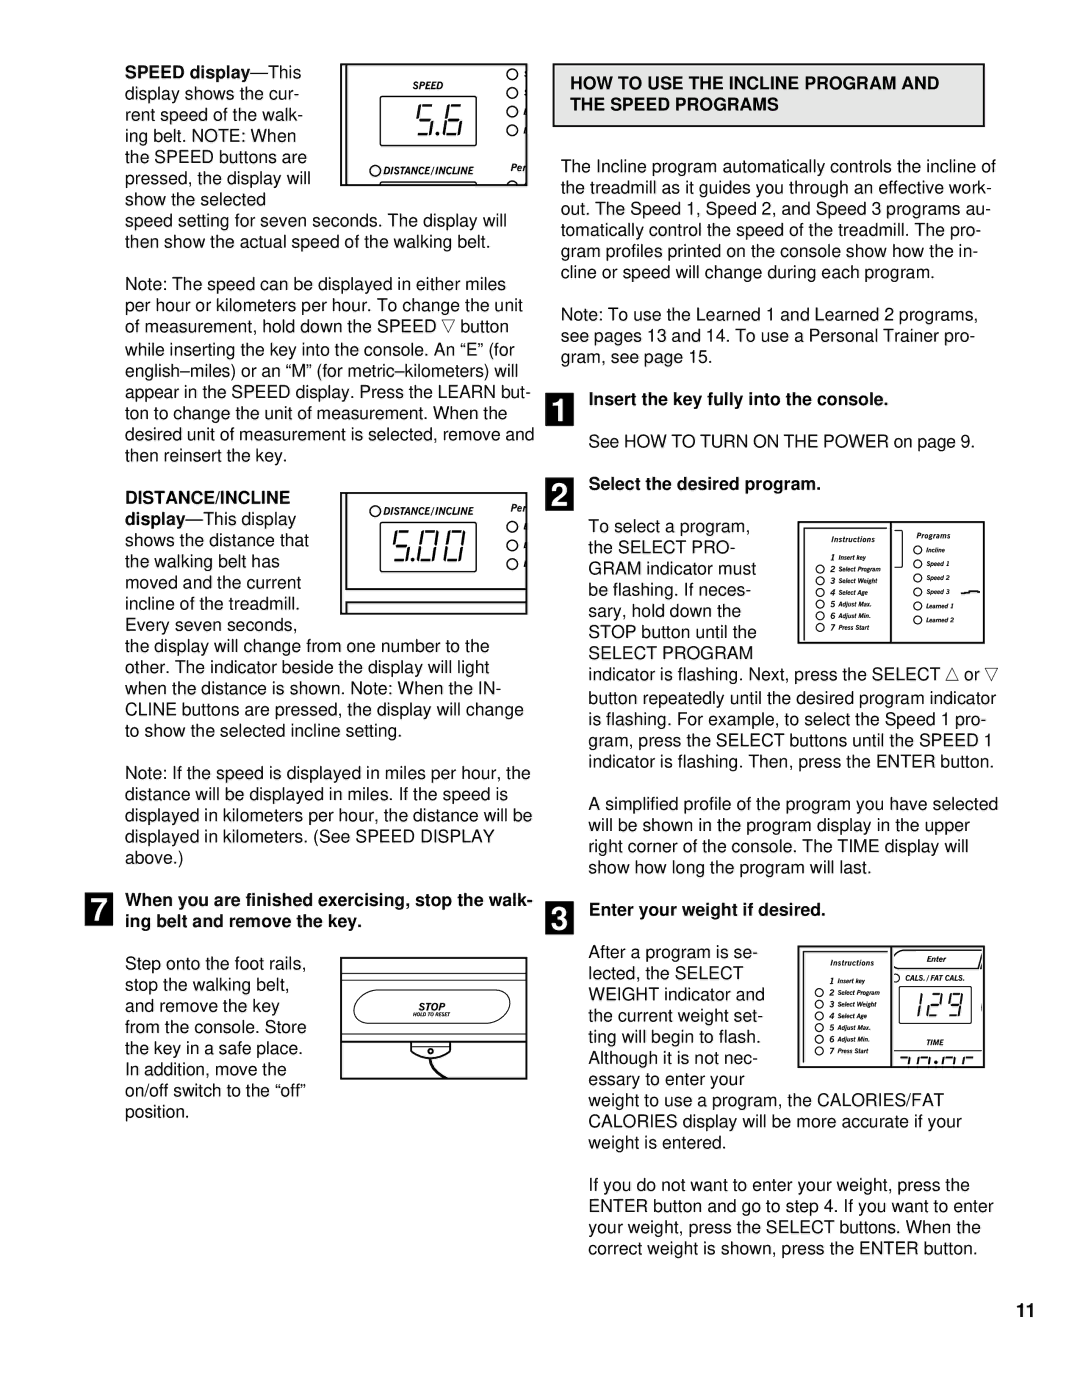
| SPEED |
|
|
|
|
| |
| display shows the cur- |
|
|
|
|
| |
| rent speed of the walk- |
|
|
|
|
| |
| ing belt. NOTE: When |
|
|
|
|
| |
| the SPEED buttons are |
|
|
|
|
| |
| pressed, the display will |
|
|
|
|
| |
| show the selected | ||||||
| speed setting for seven seconds. The display will | ||||||
| then show the actual speed of the walking belt. | ||||||
| Note: The speed can be displayed in either miles | ||||||
| per hour or kilometers per hour. To change the unit | ||||||
| of measurement, hold down the SPEED ▼ button | ||||||
| while inserting the key into the console. An “E” (for | ||||||
| |||||||
| appear in the SPEED display. Press the LEARN but- | ||||||
| ton to change the unit of measurement. When the | ||||||
| desired unit of measurement is selected, remove and | ||||||
| then reinsert the key. | ||||||
| DISTANCE/INCLINE |
|
|
|
| ||
|
|
|
|
|
| ||
|
|
|
|
| |||
| shows the distance that |
|
|
|
| ||
| the walking belt has |
|
|
|
| ||
| moved and the current |
|
|
|
| ||
| incline of the treadmill. |
|
|
|
|
| |
|
|
|
|
| |||
| Every seven seconds, |
|
|
|
| ||
| the display will change from one number to the | ||||||
| other. The indicator beside the display will light | ||||||
| when the distance is shown. Note: When the IN- | ||||||
| CLINE buttons are pressed, the display will change | ||||||
| to show the selected incline setting. | ||||||
| Note: If the speed is displayed in miles per hour, the | ||||||
| distance will be displayed in miles. If the speed is | ||||||
| displayed in kilometers per hour, the distance will be | ||||||
| displayed in kilometers. (See SPEED DISPLAY | ||||||
| above.) | ||||||
| When you are finished exercising, stop the walk- | ||||||
7 | |||||||
ing belt and remove the key. | |||||||
| |||||||
| Step onto the foot rails, |
|
| ||||
|
| ||||||
| stop the walking belt, |
|
|
|
| ||
|
|
|
| ||||
| and remove the key |
|
| ||||
| from the console. Store |
|
| ||||
| the key in a safe place. |
|
|
|
|
| |
|
|
|
| ||||
|
|
|
|
|
| ||
| In addition, move the |
|
| ||||
| on/off switch to the “off” | ||||||
| position. | ||||||
HOW TO USE THE INCLINE PROGRAM AND THE SPEED PROGRAMS
The Incline program automatically controls the incline of the treadmill as it guides you through an effective work- out. The Speed 1, Speed 2, and Speed 3 programs au- tomatically control the speed of the treadmill. The pro- gram profiles printed on the console show how the in- cline or speed will change during each program.
Note: To use the Learned 1 and Learned 2 programs, see pages 13 and 14. To use a Personal Trainer pro- gram, see page 15.
1 Insert the key fully into the console.
See HOW TO TURN ON THE POWER on page 9.
2 Select the desired program.
To select a program,
the SELECT PRO- GRAM indicator must be flashing. If neces- sary, hold down the STOP button until the
SELECT PROGRAM
indicator is flashing. Next, press the SELECT ▲ or ▼ button repeatedly until the desired program indicator is flashing. For example, to select the Speed 1 pro- gram, press the SELECT buttons until the SPEED 1 indicator is flashing. Then, press the ENTER button.
A simplified profile of the program you have selected will be shown in the program display in the upper right corner of the console. The TIME display will show how long the program will last.
3 Enter your weight if desired.
After a program is se-
lected, the SELECT WEIGHT indicator and the current weight set- ting will begin to flash. Although it is not nec- essary to enter your
weight to use a program, the CALORIES/FAT CALORIES display will be more accurate if your weight is entered.
If you do not want to enter your weight, press the ENTER button and go to step 4. If you want to enter your weight, press the SELECT buttons. When the correct weight is shown, press the ENTER button.
11