North Star
EPA Certified Fireplace
J. MAINTENANCE INSTRUCTIONS
1.Creosote and Soot
a.Formation and need for removal: When wood is burned slowly, it produces tar and other organic vapors which combine with expelled moisture to form creosote. The creosote vapors condense in the relatively cool chimney flue of a
b.Inspection: Inspect the system at the fireplace connection and at the chimney top. Cooler surfaces tend to build creosote deposits quicker, so it is important to check the chimney from the top as well as from the bottom.
c.Removal: The creosote or soot should be removed with a brush specifically designed for the type of chimney in use. A chimney sweep can perform this service. It is also recommended that before each heating season the entire system be professionally inspected, and cleaned and repaired if necessary.
3. Disposal of Ashes
Ashes should be placed in a metal container with a
4. Clear Space Near the Fireplace
Combustible materials must not be stored on the hearth extension. Room furnishings such as drapes, curtains, chairs, or other combustibles must be at least four feet from the open front of the fireplace.
5. Overfiring:
Do not overfire. Using flammable liquids or too much wood, burning trash in the stove, or allowing too much air into the fireplace, may result in overfiring. If the fireplace glows red or even worse, white, the fireplace is overfired. This condition may ignite creosote in the chimney, which can be dangerous, possibly causing a house fire. If you overfire, immediately close the air controls and door, if open, to reduce the air supply to the fire. Overfiring will void the fireplace warranty.
2. Chimney Cleaning
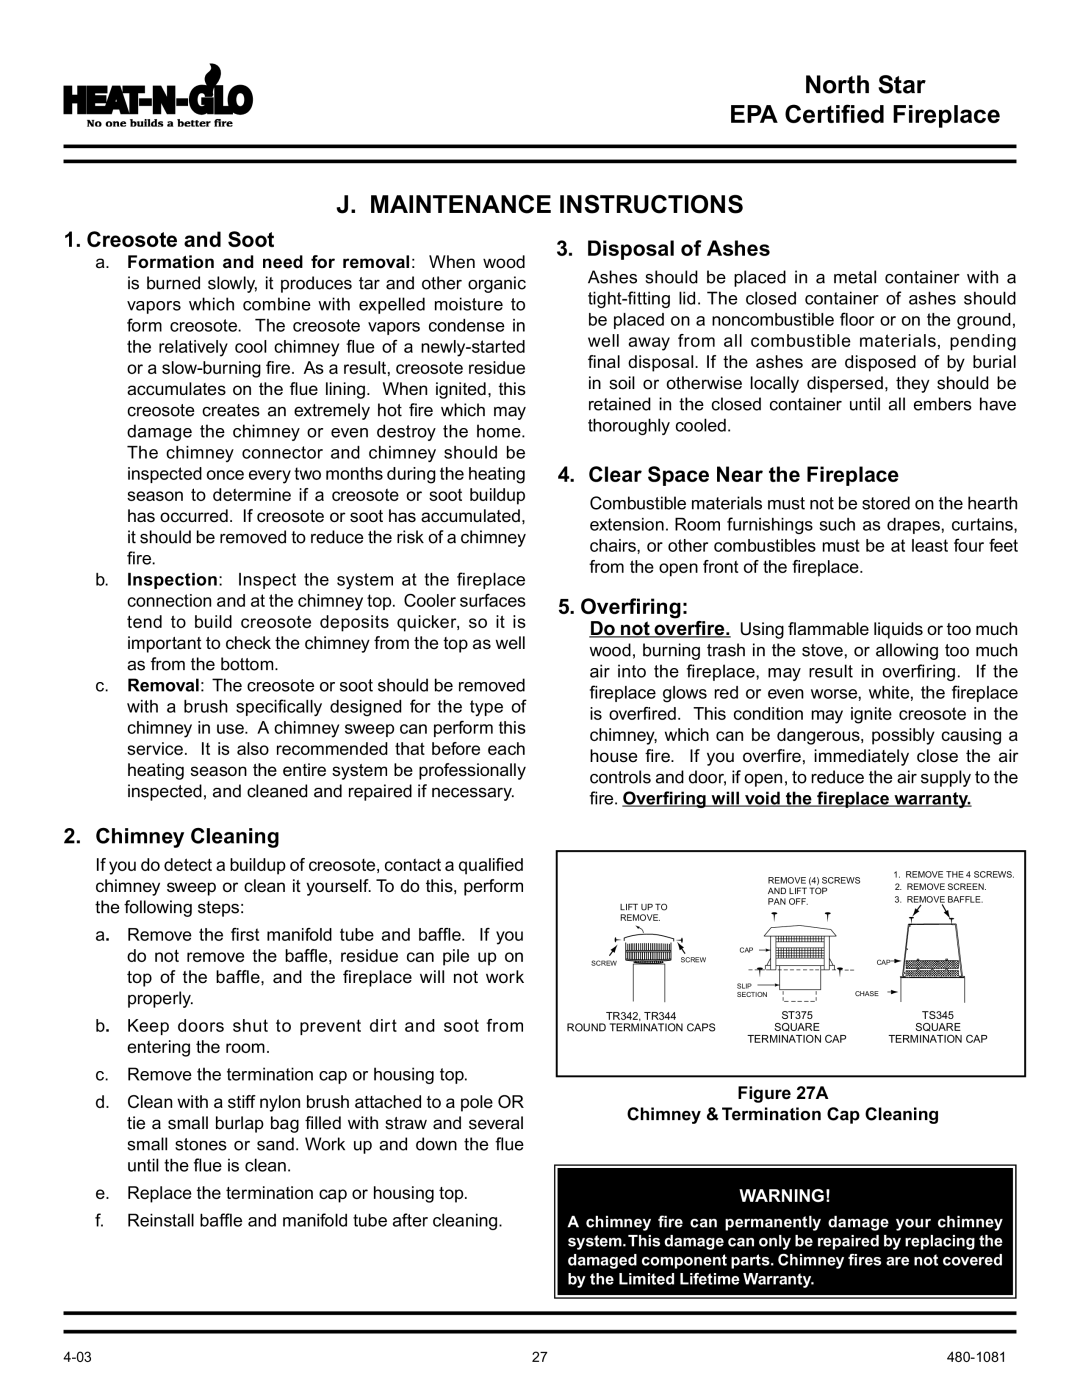
If you do detect a buildup of creosote, contact a qualified chimney sweep or clean it yourself. To do this, perform the following steps:
a. Remove the first manifold tube and baffle. If you do not remove the baffle, residue can pile up on top of the baffle, and the fireplace will not work properly.
b. Keep doors shut to prevent dirt and soot from entering the room.
c.Remove the termination cap or housing top.
d.Clean with a stiff nylon brush attached to a pole OR tie a small burlap bag filled with straw and several small stones or sand. Work up and down the flue until the flue is clean.
e.Replace the termination cap or housing top.
f.Reinstall baffle and manifold tube after cleaning.
|
|
| 1. REMOVE THE 4 SCREWS. |
|
| REMOVE (4) SCREWS | |
|
| AND LIFT TOP | 2. REMOVE SCREEN. |
|
| 3. REMOVE BAFFLE. | |
LIFT UP TO |
| PAN OFF. | |
|
|
| |
REMOVE. |
|
|
|
|
| CAP |
|
SCREW | SCREW |
| CAP |
|
| ||
|
| SLIP |
|
|
| SECTION | CHASE |
TR342, TR344 |
| ST375 | TS345 |
ROUND TERMINATION CAPS | SQUARE | SQUARE | |
|
| TERMINATION CAP | TERMINATION CAP |
Figure 27A
Chimney & Termination Cap Cleaning
WARNING!
A chimney fire can permanently damage your chimney system.This damage can only be repaired by replacing the damaged component parts. Chimney fires are not covered by the Limited Lifetime Warranty.
27 |
