Figure 8.16 With the cast iron front of the appliance removed, remove the decorative cover located under the appliance. To remove the cover, remove the two screws on the front of the appliance that hold the cover in place. Pull the cover forward, down and out.
Figure 8.17 Attach the snap disc bracket to the stud located under the left side of the appliance using the 10-32 nut also located in the appliance component bag.
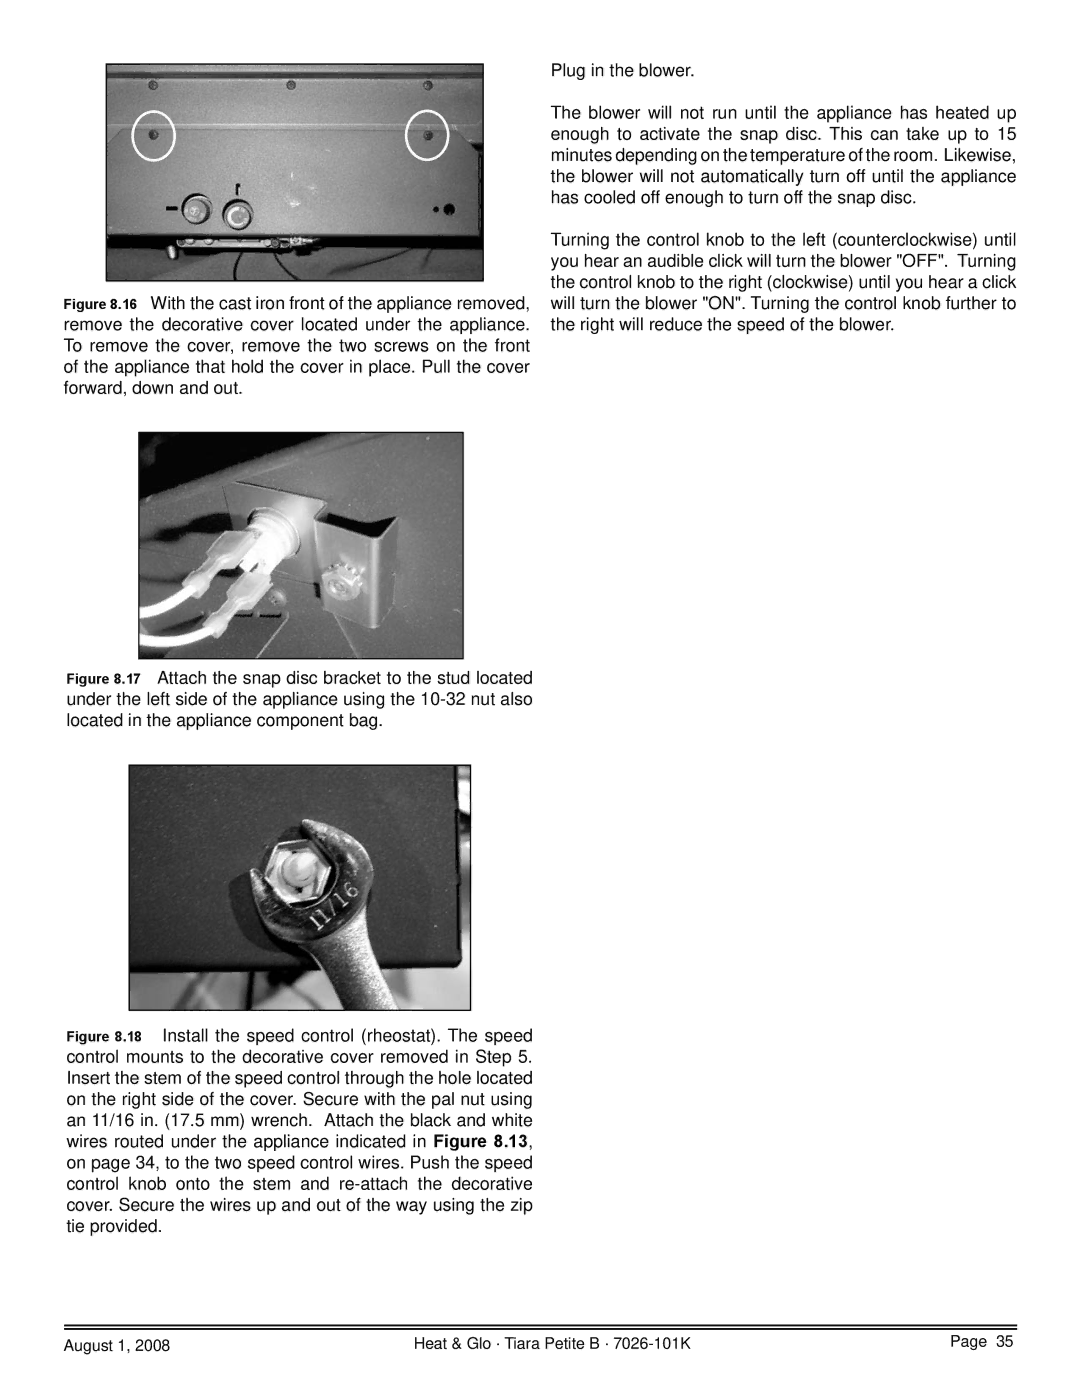
Figure 8.18 Install the speed control (rheostat). The speed control mounts to the decorative cover removed in Step 5. Insert the stem of the speed control through the hole located on the right side of the cover. Secure with the pal nut using an 11/16 in. (17.5 mm) wrench. Attach the black and white wires routed under the appliance indicated in Figure 8.13, on page 34, to the two speed control wires. Push the speed control knob onto the stem and re-attach the decorative cover. Secure the wires up and out of the way using the zip tie provided.
Plug in the blower.
The blower will not run until the appliance has heated up enough to activate the snap disc. This can take up to 15 minutes depending on the temperature of the room. Likewise, the blower will not automatically turn off until the appliance has cooled off enough to turn off the snap disc.
Turning the control knob to the left (counterclockwise) until you hear an audible click will turn the blower "OFF". Turning the control knob to the right (clockwise) until you hear a click will turn the blower "ON". Turning the control knob further to the right will reduce the speed of the blower.
August 1, 2008 | Heat & Glo · Tiara Petite B · | Page 35 |