Manuals
/
HHB comm
/
Home Audio
/
CD Player
HHB comm
CDR-882
user manual
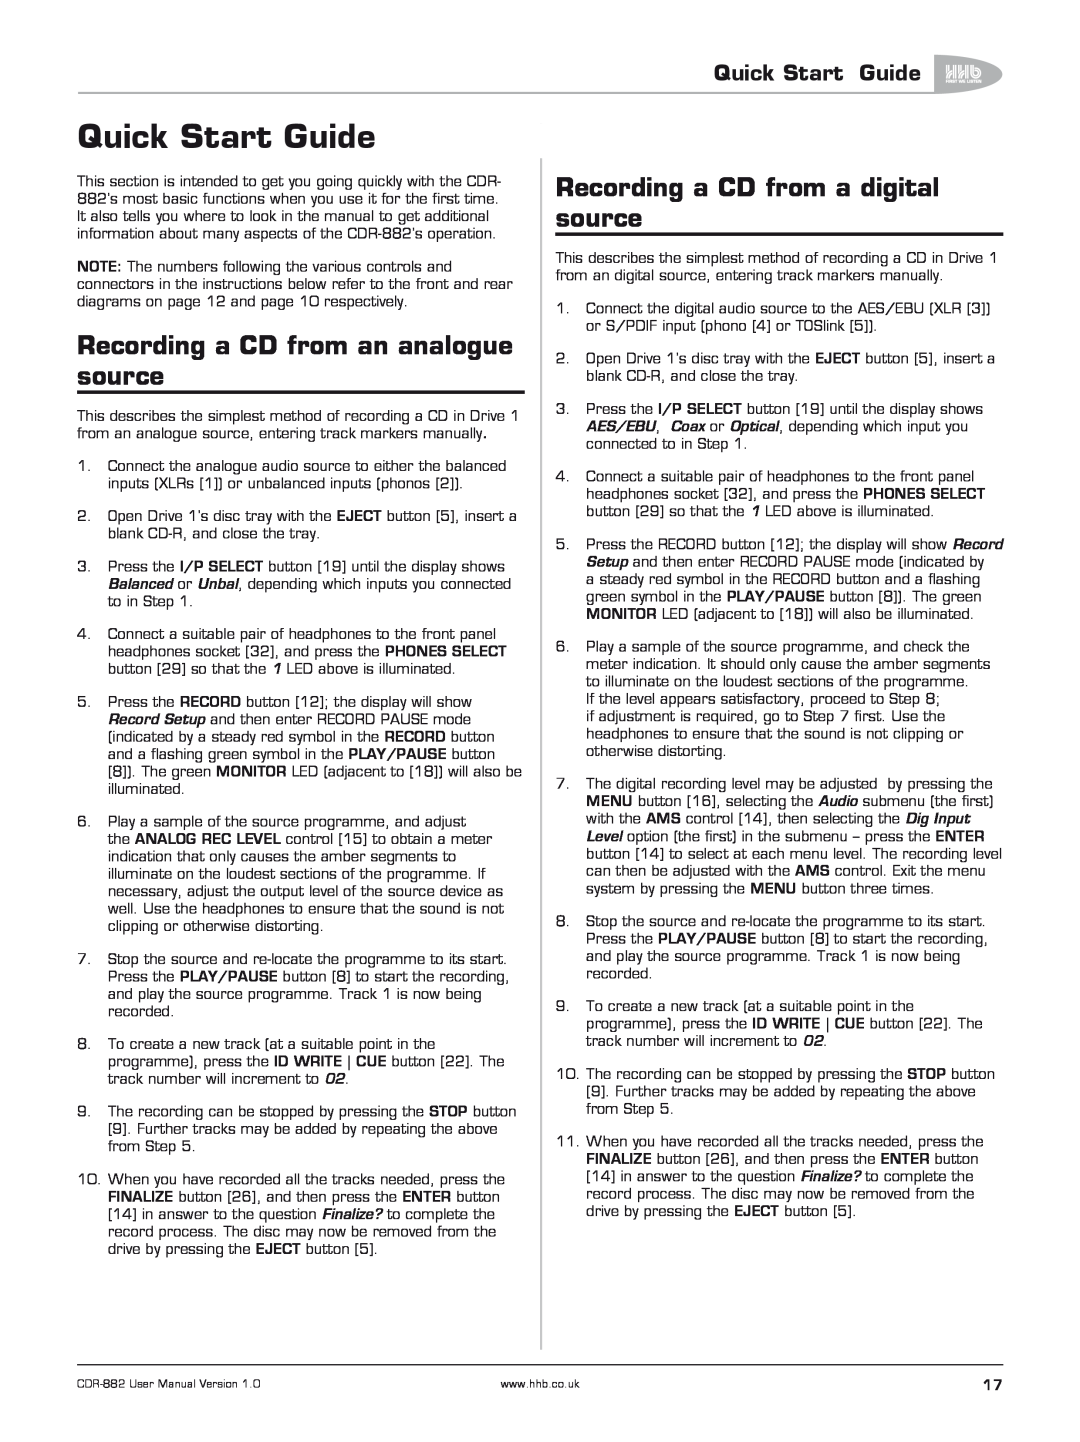
Quick Start Guide, Recording a CD from an analogue source
Models:
CDR-882
1
18
66
66
Download
66 pages
46.98 Kb
15
16
17
18
19
20
21
22
Specification
Electrical characteristics
Install
Timer
Preset
Direct Access keys
Abridged command set
Other Connectors
Care & cleaning
Appendix 4 - Factory Defaults
Page 18
Image 18
Page 17
Page 19
Page 18
Image 18
Page 17
Page 19
Contents
USER MANUAL
CDR-882
DUAL DRIVE CD RECORDER
CDR-882
Important Safety Instructions
Statutory Notifications
THIS APPLIANCE TO RAIN OR MOISTURE
Important Safety Precautions
Safety Information
For U.S.A TO THE USER
Contents
Contents
Contents
Advanced Features & Operation
Introduction
Introduction
What’s in the box
Unpacking
Safety Guidelines
CDR-882Primary Features
Cautions and guidance on installation
Installation
Care & cleaning
Installing the Remote Control batteries
Introduction
Using the RC-882Remote Control handset
Compatible disc types
Introduction
Connectivity
Other Connectors
Connector Details
Audio Inputs
Unbalanced L & R analogue outputs. These carry the same audio signal as the main outputs 1 above, but in unbalanced form on phono connectors RCA jacks at a nominal level of -10dBu.Output level is calibrated internally to be +8dBu from a maximum digital clip PCM signal level of 0dBFS. Output impedance is 47Ω
Connectivity
Front Panel Features
Front Panel Features
Front Panel Features
EJECT button Drive 2. Operation as
Front Panel Features
ID AUTO/MAN | AUTO-CUEbutton. This button has two distinct functions, depending whether a disc is being recorded or not
Balanced, Unbal, AES/EBU, Coax, Optical
Alphanumeric Display
Front Panel Features
Internal, DIG, WCLK
RC-882Remote Control
RC-882Remote Control
Direct Access keys
Record keys
Recording a CD from a digital source
Quick Start Guide
Recording a CD from an analogue source
Quick Start Guide
another
Playing a CD
Playing one disc while recording
Quick Start Guide
REFER TO SECTION
Quick Start Guide
TO DO THIS
ON PAGE
Drive selection
Basic Operation
Disc insertion and removal
Transport Controls
Fader
Manual Record
Selecting a track AMS
Basic Operation
Selecting an input
Time displays
Basic Operation
Main Outputs
Monitoring
CDR-882Monitoring system
Headphone Outputs
Synchronised Recording
Recording
Record multiple tracks
Record one track
Finalisation in Synchronised Recording
Finalising
Automatic and Manual track IDs
Time Interval track ID generation
Digital Recording restrictions
Recording on CD-RWs
Disc types
Basic Operation
Menu System
Menu Navigation
Menu System
Menu System
Example
The Submenus
AUDIO
Digital Input Level
Audio Submenu
Fade-inTime
Fade-outTime
Output Mix
Input Dither
Phones Mix
Menu System
Clock Source
Clock Submenu
Display Submenu
Contrast
Direct Mark
Edit Marker Submenu
DiscSpan Submenu
Auto-CueThreshold
Overlap Time
Record Submenu
Record Sync
S/PDIF-i/pREC Start Trigger
Auto Finalize
Auto Track ID Trigger
Track Length
Audio Threshold
SCMS
Digital Output Format
Copy Speed
Menu System
Outputs 1 to
Preset
Parallel Port
Inputs 1 to
Firmware Submenu
Timer
General Submenu
Eject Block
Internal & External Clocks
Advanced Features & Operation
Advanced Features & Operation
Clock Source Display
Dual Disc Modes and functions
Recording Features
Single CD
DiscSpan Mode
Advanced Features & Operation
Track IDs in DiscSpan Mode
Identing discs in DiscSpan Mode
Multi-01 > Multi-02 > Multi-03 > etc
Playback in DiscSpan Mode
Disc Copy
Advanced Features & Operation
Multi-MachineOperation
Multi-Machine+ DualBurn Operation
Advanced Features & Operation
Advanced Features & Operation
Multi-Machine+ DiscSpan Operation
Replay of discs recorded in Multi
DiscSpan Mode
Advanced Features & Operation
Program Play
Program Copy
CD1 Track 00 00:00
Displaying CD Text
CD Text
Entering CD Text
Advanced Features & Operation
Editing Marker Points
Cueing
Manual Cueing
Auto-Pause
Erasing and Unfinalising discs
Pre-selectinga track before loading a disc
Disc End Review
Advanced Features & Operation
SCMS
Erasing/Initialising a single CD-RW
Erasing/Initialising two CD-RWs
Advanced Features & Operation
Remote Control
Remote Control
Parallel Remote Control Port
Electrical characteristics
Port parameters
Abridged command set
RS232 LINK INPUT
Remote Control
Analogue Inputs Balanced
Appendix 1 - Connector Pinouts
Appendix 1 - Connector Pinouts
AES/EBU Input
Appendix 2 - Menu Flow Diagrams
Appendix 2 - Menu Flow Diagrams
Submenus
Audio
Appendix 2 - Menu Flow Diagrams
Clock Display Edit Marker
Appendix 2 - Menu Flow Diagrams
DiscSpan
Appendix 2 - Menu Flow Diagrams
Record
Appendix 2 - Menu Flow Diagrams
Appendix 2 - Menu Flow Diagrams
Parallel Port
General
Appendix 2 - Menu Flow Diagrams
Appendix 3 - Firmware Updates
Appendix 3 - Firmware Updates
Appendix 4 - Factory Defaults
Appendix 4 - Factory Defaults
Appendix 5 - Specifications
Appendix 5 - Specifications
Notes
Notes
Notes
CDR-882User Manual Version
Notes
CDR-882User Manual Version
HHB Communications Ltd
Top
Page
Image
Contents