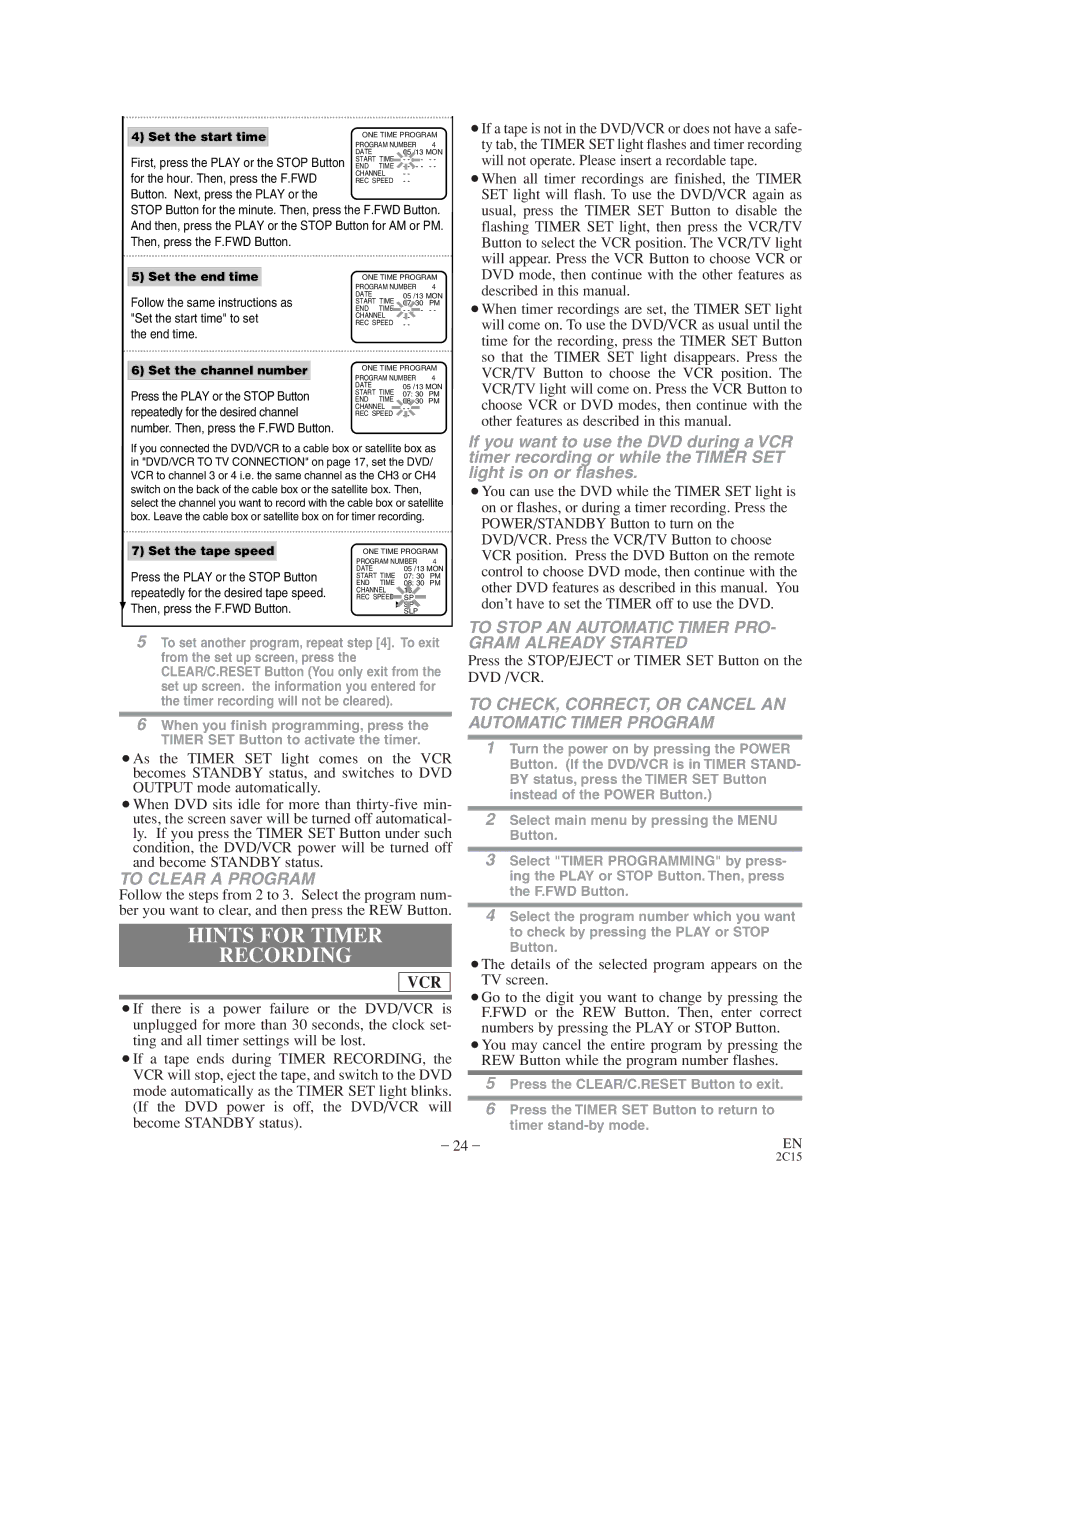
4) Set the start time |
| ONE TIME PROGRAM | ||
| PROGRAM NUMBER | 4 | ||
|
| DATE | 05 /13 MON | |
First, press the PLAY or the STOP Button | START TIME | - | - - | |
END TIME | - | - - | ||
for the hour. Then, press the F.FWD | CHANNEL | - - |
| |
REC SPEED | - - |
| ||
Button. Next, press the PLAY or the
STOP Button for the minute. Then, press the F.FWD Button. And then, press the PLAY or the STOP Button for AM or PM. Then, press the F.FWD Button.
5) Set the end time |
| ONE TIME PROGRAM | ||
|
| PROGRAM NUMBER | 4 | |
Follow the same instructions as | DATE | 05 /13 MON | ||
START TIME | 07: 30 | PM | ||
"Set the start time" to set | END TIME | - | - - | |
CHANNEL | - - |
| ||
REC SPEED | - - |
| ||
the end time. |
|
|
| |
|
|
| ||
6) Set the channel number | ONE TIME PROGRAM | |||
PROGRAM NUMBER | 4 | |||
|
| DATE | 05 /13 MON | |
Press the PLAY or the STOP Button | START TIME | 07: 30 | PM | |
END TIME | 08: 30 | PM | ||
repeatedly for the desired channel | CHANNEL | - - |
| |
REC SPEED | - - |
| ||
number. Then, press the F.FWD Button.
If you connected the DVD/VCR to a cable box or satellite box as in "DVD/VCR TO TV CONNECTION" on page 17, set the DVD/ VCR to channel 3 or 4 i.e. the same channel as the CH3 or CH4 switch on the back of the cable box or the satellite box. Then, select the channel you want to record with the cable box or satellite box. Leave the cable box or satellite box on for timer recording.
7) Set the tape speed |
| ONE TIME PROGRAM | ||
|
| PROGRAM NUMBER | 4 | |
Press the PLAY or the STOP Button | DATE | 05 /13 MON | ||
START TIME | 07: 30 | PM | ||
repeatedly for the desired tape speed. | END TIME | 08: 30 | PM | |
CHANNEL | 16 |
| ||
REC SPEED | SP |
| ||
Then, press the F.FWD Button. |
| SP |
| |
| SLP |
| ||
¡If a tape is not in the DVD/VCR or does not have a safe- ty tab, the TIMER SET light flashes and timer recording will not operate. Please insert a recordable tape.
¡When all timer recordings are finished, the TIMER SET light will flash. To use the DVD/VCR again as usual, press the TIMER SET Button to disable the flashing TIMER SET light, then press the VCR/TV Button to select the VCR position. The VCR/TV light will appear. Press the VCR Button to choose VCR or DVD mode, then continue with the other features as described in this manual.
¡When timer recordings are set, the TIMER SET light will come on. To use the DVD/VCR as usual until the time for the recording, press the TIMER SET Button so that the TIMER SET light disappears. Press the VCR/TV Button to choose the VCR position. The VCR/TV light will come on. Press the VCR Button to choose VCR or DVD modes, then continue with the other features as described in this manual.
If you want to use the DVD during a VCR timer recording or while the TIMER SET light is on or flashes.
¡You can use the DVD while the TIMER SET light is on or flashes, or during a timer recording. Press the POWER/STANDBY Button to turn on the DVD/VCR. Press the VCR/TV Button to choose VCR position. Press the DVD Button on the remote control to choose DVD mode, then continue with the other DVD features as described in this manual. You don’t have to set the TIMER off to use the DVD.
5To set another program, repeat step [4]. To exit from the set up screen, press the CLEAR/C.RESET Button (You only exit from the set up screen. the information you entered for the timer recording will not be cleared).
6When you finish programming, press the TIMER SET Button to activate the timer.
¡As the TIMER SET light comes on the VCR becomes STANDBY status, and switches to DVD OUTPUT mode automatically.
¡When DVD sits idle for more than
TO CLEAR A PROGRAM
Follow the steps from 2 to 3. Select the program num- ber you want to clear, and then press the REW Button.
HINTS FOR TIMER
RECORDING
VCR
¡If there is a power failure or the DVD/VCR is unplugged for more than 30 seconds, the clock set- ting and all timer settings will be lost.
¡If a tape ends during TIMER RECORDING, the VCR will stop, eject the tape, and switch to the DVD mode automatically as the TIMER SET light blinks. (If the DVD power is off, the DVD/VCR will become STANDBY status).
TO STOP AN AUTOMATIC TIMER PRO- GRAM ALREADY STARTED
Press the STOP/EJECT or TIMER SET Button on the DVD /VCR.
TO CHECK, CORRECT, OR CANCEL AN AUTOMATIC TIMER PROGRAM
1Turn the power on by pressing the POWER Button. (If the DVD/VCR is in TIMER STAND- BY status, press the TIMER SET Button instead of the POWER Button.)
2Select main menu by pressing the MENU Button.
3Select "TIMER PROGRAMMING" by press- ing the PLAY or STOP Button. Then, press the F.FWD Button.
4Select the program number which you want to check by pressing the PLAY or STOP Button.
¡The details of the selected program appears on the TV screen.
¡Go to the digit you want to change by pressing the F.FWD or the REW Button. Then, enter correct numbers by pressing the PLAY or STOP Button.
¡You may cancel the entire program by pressing the REW Button while the program number flashes.
5Press the CLEAR/C.RESET Button to exit.
6Press the TIMER SET Button to return to timer
– 24 – | EN |
2C15