Using Software
See page 126 when using Macintosh.
[When using Windows]
USING IMAGEMIXER 3
ImageMixer 3 allows you to capture the images recorded on the DVD video camera/recorder into PC, edit the video file, and create a
The following shows the basic operation of ImageMixer 3.
Refer to the electronic instruction manual that can be read on PC for detailed instructions about ImageMixer 3: While ImageMixer 3 is being activated, click “Help” - “ImageMixer Help (F1)” to display this manual. See the electronic instruction manual for explanation on how to edit video files.
To start ImageMixer 3,
*If there is no ImageMixer 3 shortcut on desktop, choose [Start] - [Programs] or [All programs] - [PIXELA] - [ImageMixer 3] - [ImageMixer 3].
VIEWING IMAGES RECORDED ON DISC USING PC
*A
English
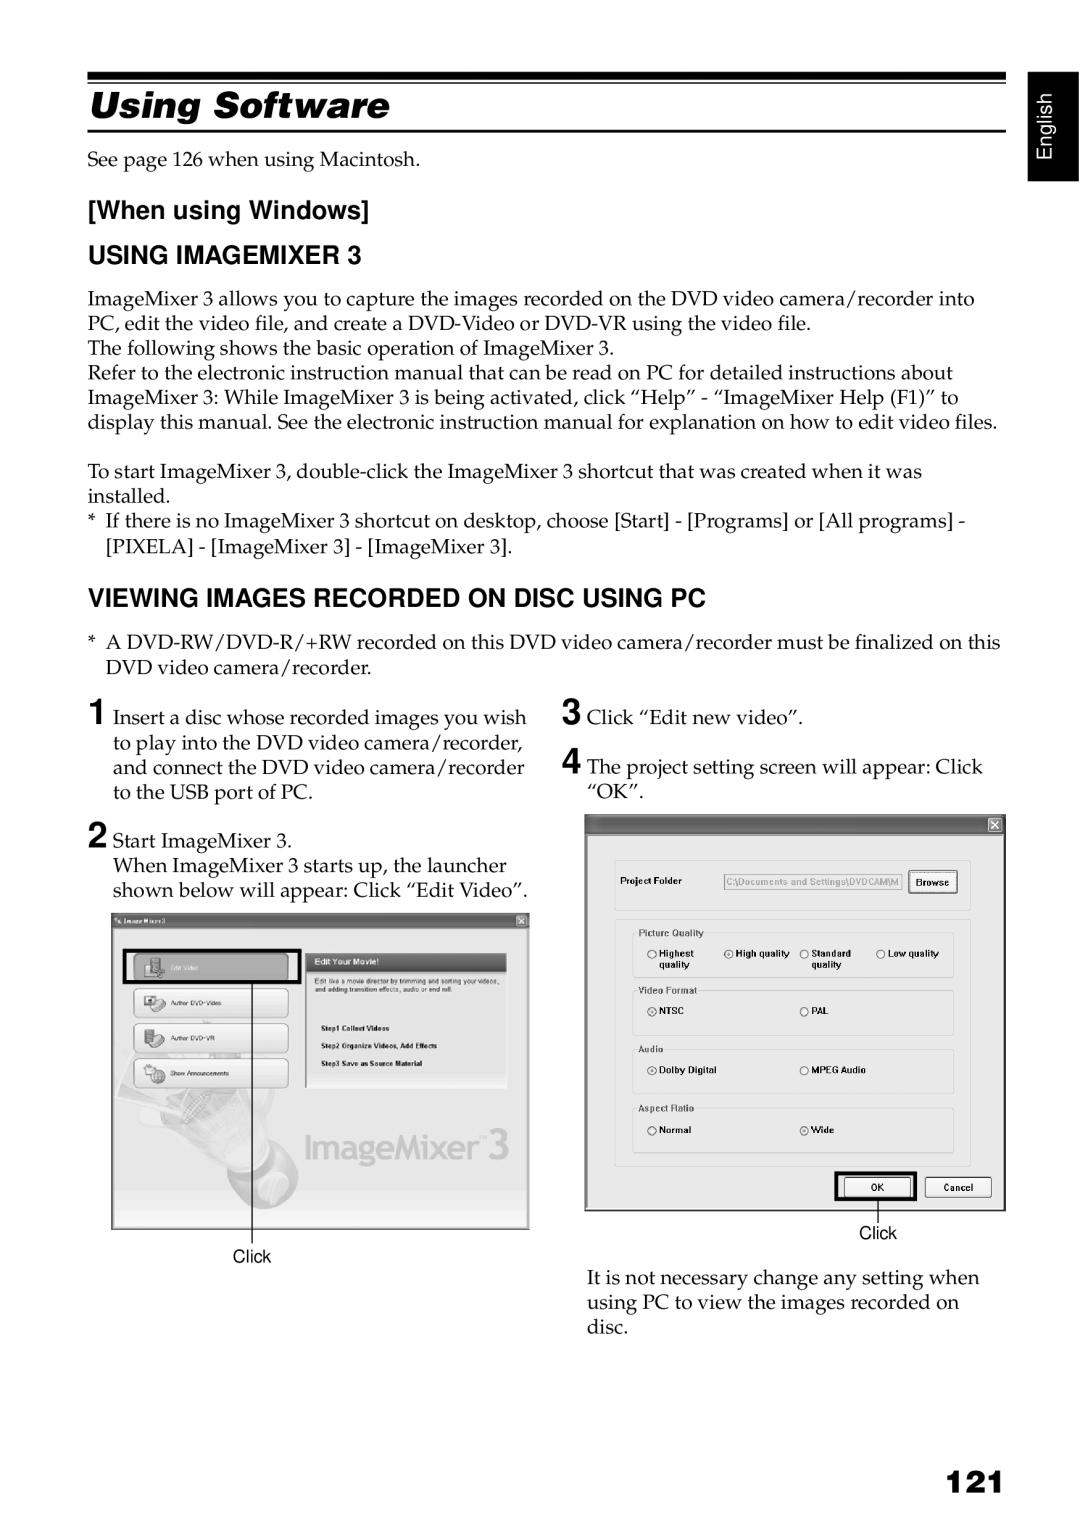
1 Insert a disc whose recorded images you wish to play into the DVD video camera/recorder, and connect the DVD video camera/recorder to the USB port of PC.
2 Start ImageMixer 3.
When ImageMixer 3 starts up, the launcher shown below will appear: Click “Edit Video”.
3 Click “Edit new video”.
4 The project setting screen will appear: Click “OK”.
Click
Click
It is not necessary change any setting when using PC to view the images recorded on disc.
