Inserting and Removing Disc
1 Press down the DISC EJECT button once and release it.
A few moments after the ACCESS/PC
indicator blinks, the cover of disc insertion![]()
![]()
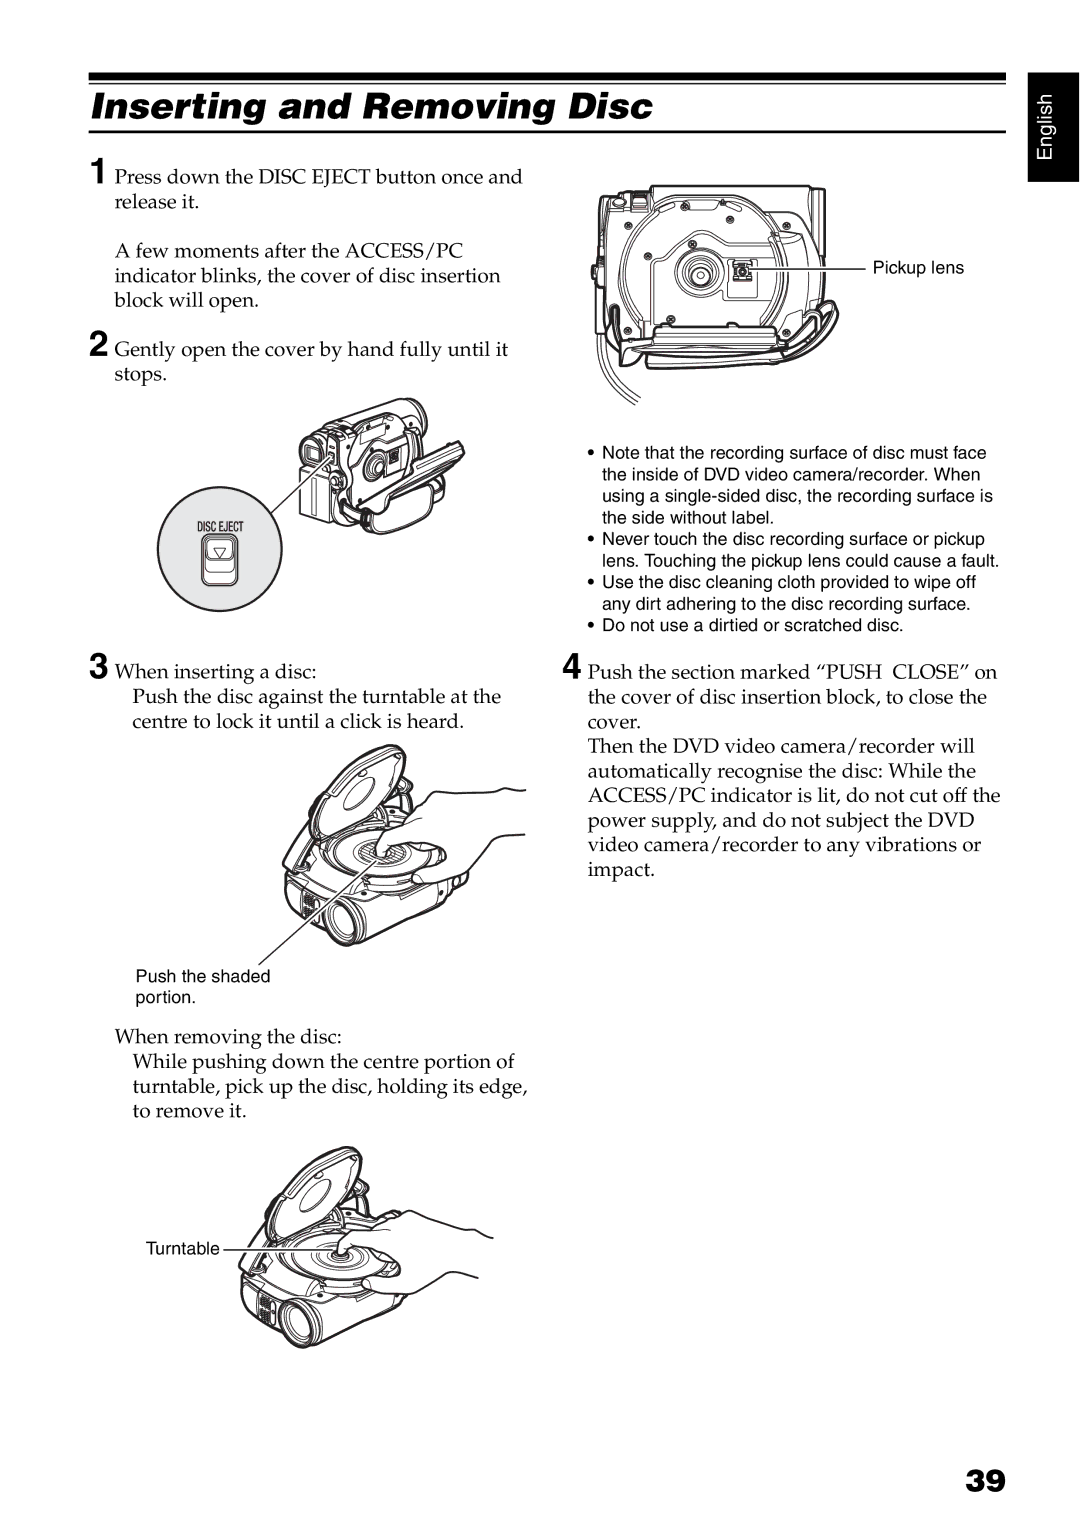
![]() Pickup lens block will open.
Pickup lens block will open.
2 Gently open the cover by hand fully until it stops.
• Note that the recording surface of disc must face the inside of DVD video camera/recorder. When using a
• Never touch the disc recording surface or pickup lens. Touching the pickup lens could cause a fault.
• Use the disc cleaning cloth provided to wipe off any dirt adhering to the disc recording surface.
• Do not use a dirtied or scratched disc.
English
3 When inserting a disc:
Push the disc against the turntable at the centre to lock it until a click is heard.
4 Push the section marked “PUSH CLOSE” on the cover of disc insertion block, to close the cover.
Then the DVD video camera/recorder will automatically recognise the disc: While the ACCESS/PC indicator is lit, do not cut off the power supply, and do not subject the DVD video camera/recorder to any vibrations or impact.
Push the shaded portion.
When removing the disc:
While pushing down the centre portion of turntable, pick up the disc, holding its edge, to remove it.
Turntable
39