1 Select the scene for adding special effects and press the MENU button.
The Disc Navigation menu screen will appear.
2 Use the joystick to choose, “Scene”, “Edit”, “Fade”, and then press
the ![]()
![]()
![]() button.
button.
The fade setting screen will appear.
The options will appear under IN and OUT: The ![]() mark will be attached to the currently selected option.
mark will be attached to the currently selected option.
3 Use the joystick to select the special effects for “IN” and “OUT”, choose “Enter”, and then press
the ![]()
![]()
![]() button.
button.
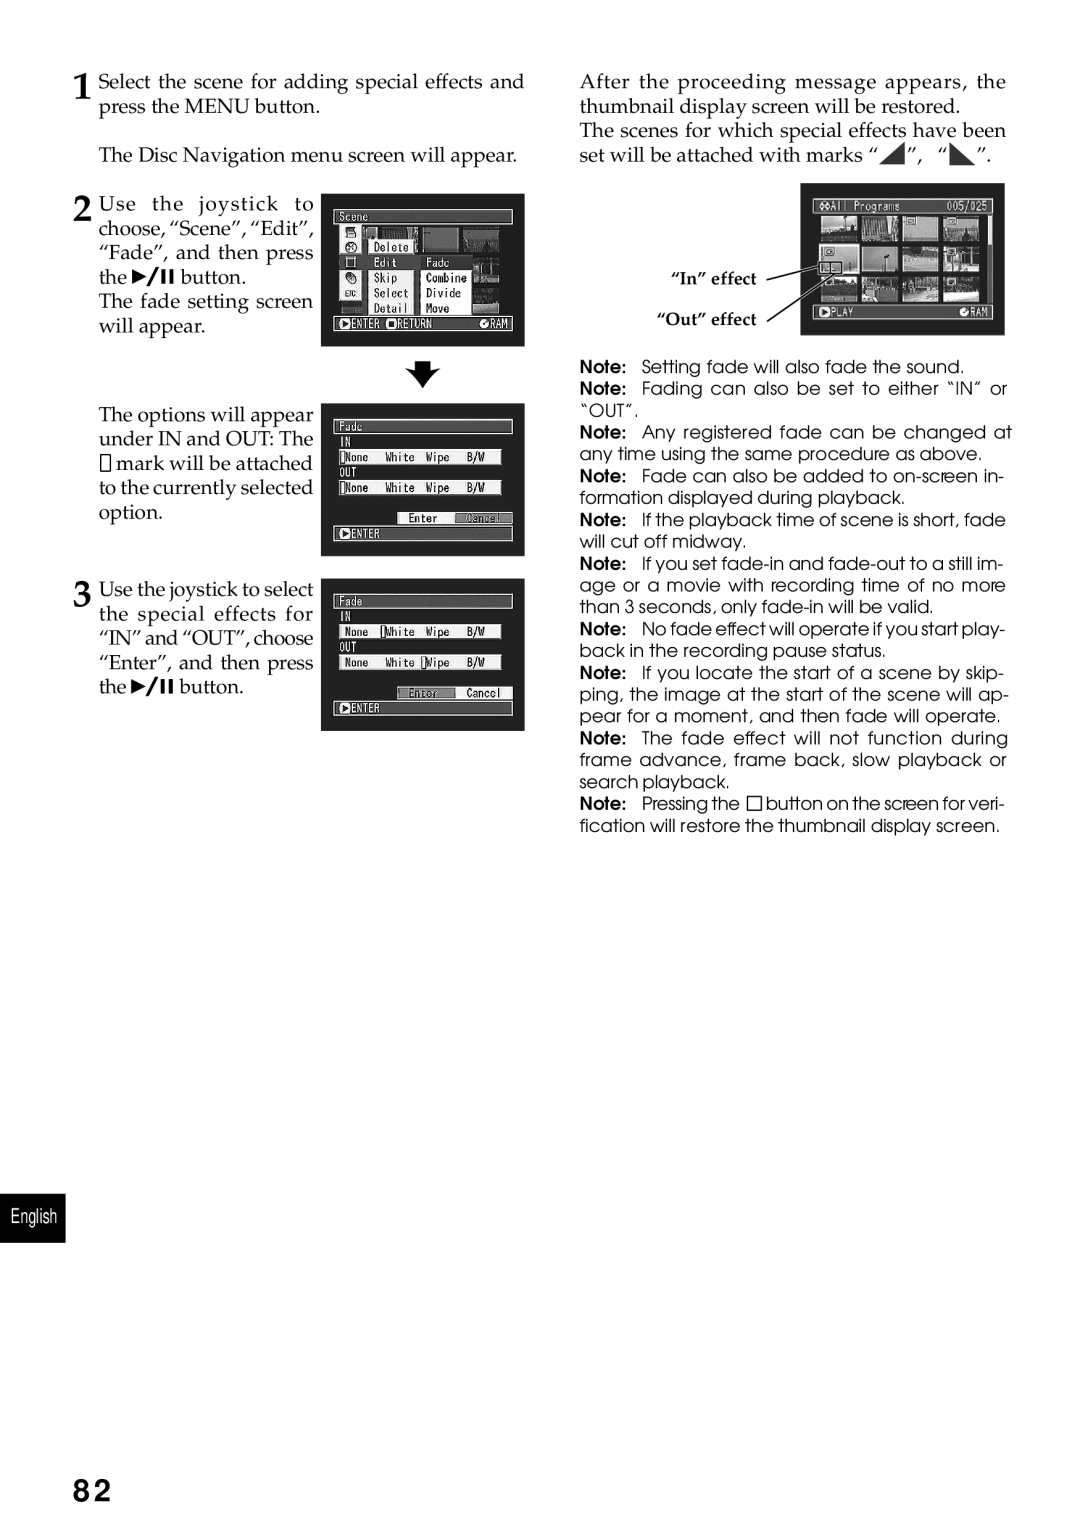
After the proceeding message appears, the thumbnail display screen will be restored.
The scenes for which special effects have been set will be attached with marks “![]() ”, “
”, “![]() ”.
”.
“In” effect
“Out” effect
Note: Setting fade will also fade the sound.
Note: Fading can also be set to either “IN” or “OUT”.
Note: Any registered fade can be changed at any time using the same procedure as above. Note: Fade can also be added to
Note: If the playback time of scene is short, fade will cut off midway.
Note: If you set
Note: No fade effect will operate if you start play- back in the recording pause status.
Note: If you locate the start of a scene by skip- ping, the image at the start of the scene will ap- pear for a moment, and then fade will operate. Note: The fade effect will not function during frame advance, frame back, slow playback or search playback.
Note: Pressing the ![]()
![]() button on the screen for veri- fication will restore the thumbnail display screen.
button on the screen for veri- fication will restore the thumbnail display screen.
English
82