1.13.4Operation methods using call mode
You can make prefixed calls and 184/186 calls from the contact list, incoming call log, and outgoing call log.
1.13.4.1 Calling in call mode from the contact list
When you select the telephone number from the contact list, press Right soft "Call mode", then on the call mode screen press <1. Prefix 2.184 3.186>, then press the Enter key. The number you have input is displayed with <0> attached and when you press Send, the outside call is made.
* Using the prefix + 184/186 gives the same results as the above operation.
1.13.4.2Calling in call mode from the incoming call log or outgoing call log
Displayed when the Enter key is pressed to the <Left
* Using the prefix + 184/186 gives the same results as the above operation.
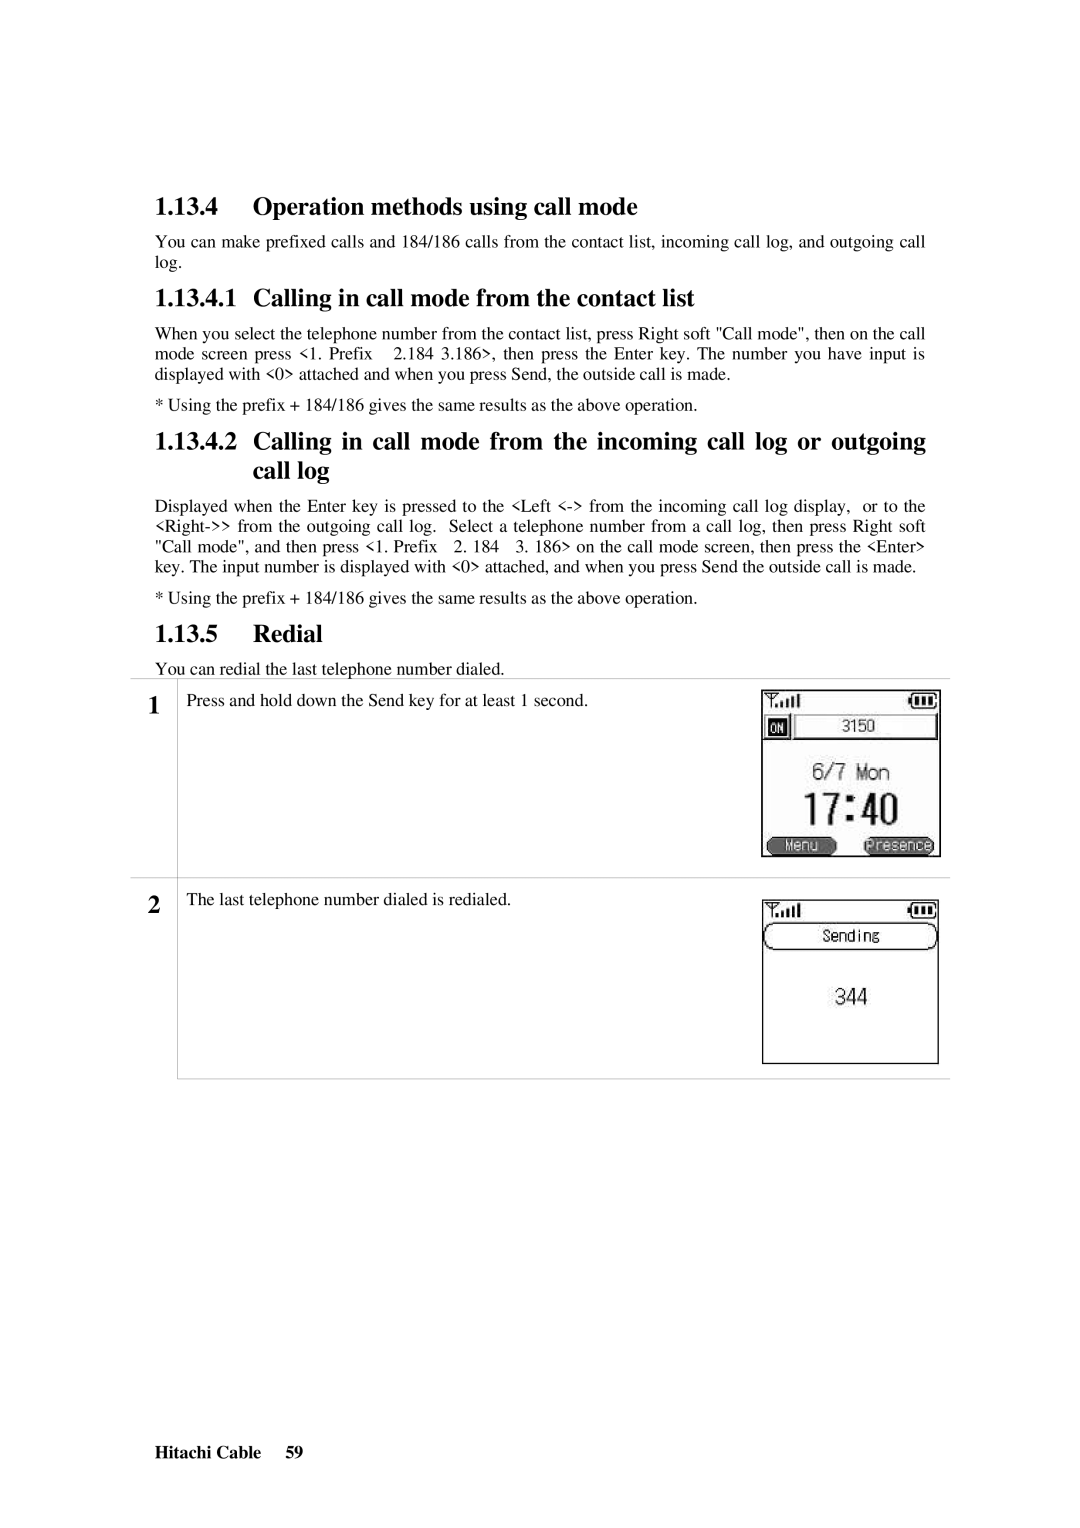
1.13.5Redial
You can redial the last telephone number dialed.
1
Press and hold down the Send key for at least 1 second.
2
The last telephone number dialed is redialed.