
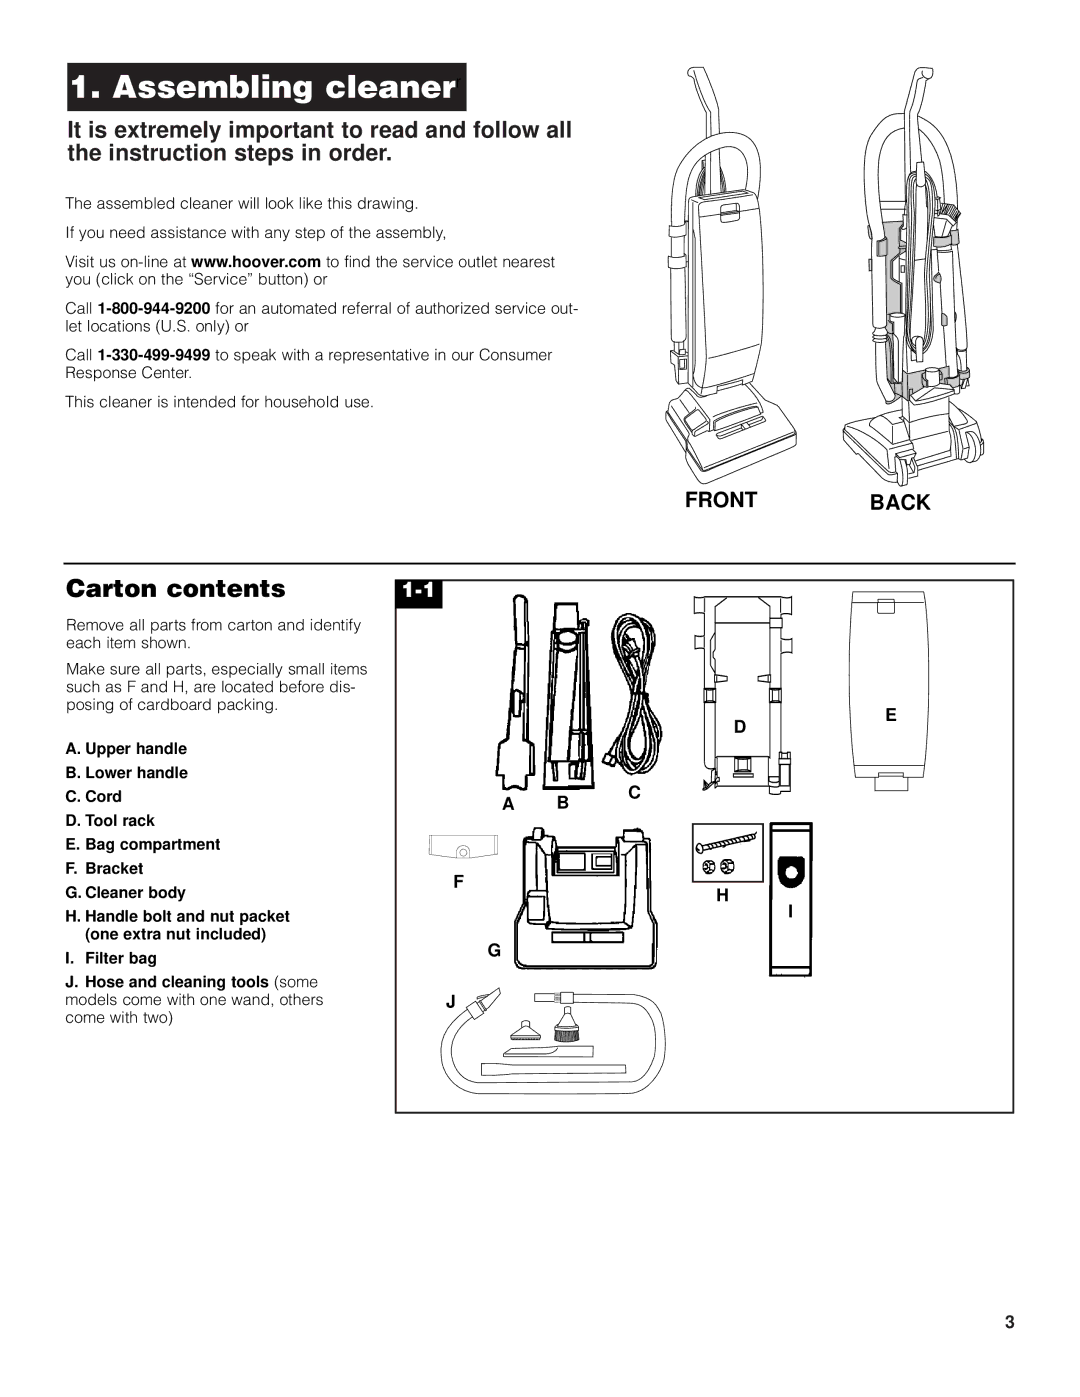
4600 specifications
The Hoover 4600 is a standout vacuum cleaner, designed to deliver powerful cleaning performance combined with user-friendly features that cater to a variety of cleaning needs. This versatile machine emphasizes efficiency, making it an excellent choice for homes with both hard floors and carpets.One of the key features of the Hoover 4600 is its advanced suction technology. Equipped with a robust motor, the vacuum provides deep cleaning capabilities, lifting dirt and debris from carpets while effectively cleaning hard surfaces. The multi-cyclonic filtration system plays a crucial role in maintaining suction power by separating larger particles from finer dust, ensuring that the vacuum continues to perform optimally even as the dirt container fills.
The design of the Hoover 4600 also prioritizes user convenience. It features a lightweight construction that allows for easy maneuverability around furniture and tight spaces, reducing user fatigue during extended cleaning sessions. The swivel steering enhances its agility, making it simple to navigate corners and obstacles in your home.
Another notable characteristic is the vacuum’s extensive range of attachments, including a crevice tool, upholstery brush, and a dusting brush. These specialized tools enable users to customize their cleaning approach, effectively addressing varied surfaces and hard-to-reach areas. This level of versatility ensures that the Hoover 4600 is capable of tackling everything from carpets to delicate furniture upholstery.
The vacuum also incorporates a HEPA filtration system, trapping 99.97% of dust and allergens. This makes it particularly beneficial for allergy sufferers or homes with pets, helping to improve air quality as you vacuum. In addition, the easy-to-empty dust bin reduces mess and hassle, allowing users to dispose of dirt quickly and efficiently.
Another feature that enhances user experience is the cord rewind function, which eliminates the need to manually wrap up the cord after use. This simple addition makes storage hassle-free, ensuring that the vacuum is ready for the next cleaning session with minimal effort.
In summary, the Hoover 4600 combines powerful suction technology, a lightweight design, versatile attachments, and advanced filtration systems to create an efficient cleaning solution. Whether tackling pet hair, dust, or allergens, this vacuum cleaner offers the performance and convenience needed to maintain a spotless home with ease.