
RGB506 specifications
The Hotpoint RGB506 is a standout choice for consumers seeking a reliable and efficient range cooker that combines both style and functionality. This appliance epitomizes modern kitchen design while ensuring cooking needs are met with ease.One of the key features of the Hotpoint RGB506 is its double oven design, offering a total capacity that accommodates family meals and entertaining guests effortlessly. The primary oven boasts a generous space of 70 liters, providing ample room for roasts, casseroles, and other culinary creations. The secondary oven adds an additional 38 liters of cooking space, ideal for baking or keeping dishes warm without occupying the main oven’s area.
In terms of cooking technology, the Hotpoint RGB506 is equipped with fan-assisted cooking, ensuring even distribution of heat throughout the oven. This technology allows users to cook multiple dishes at once without worrying about flavors mixing or uneven cooking results. Additionally, the double oven setup allows for multiple cooking methods; the main oven can be utilized for traditional cooking while the other can function as a grill, broadening culinary possibilities.
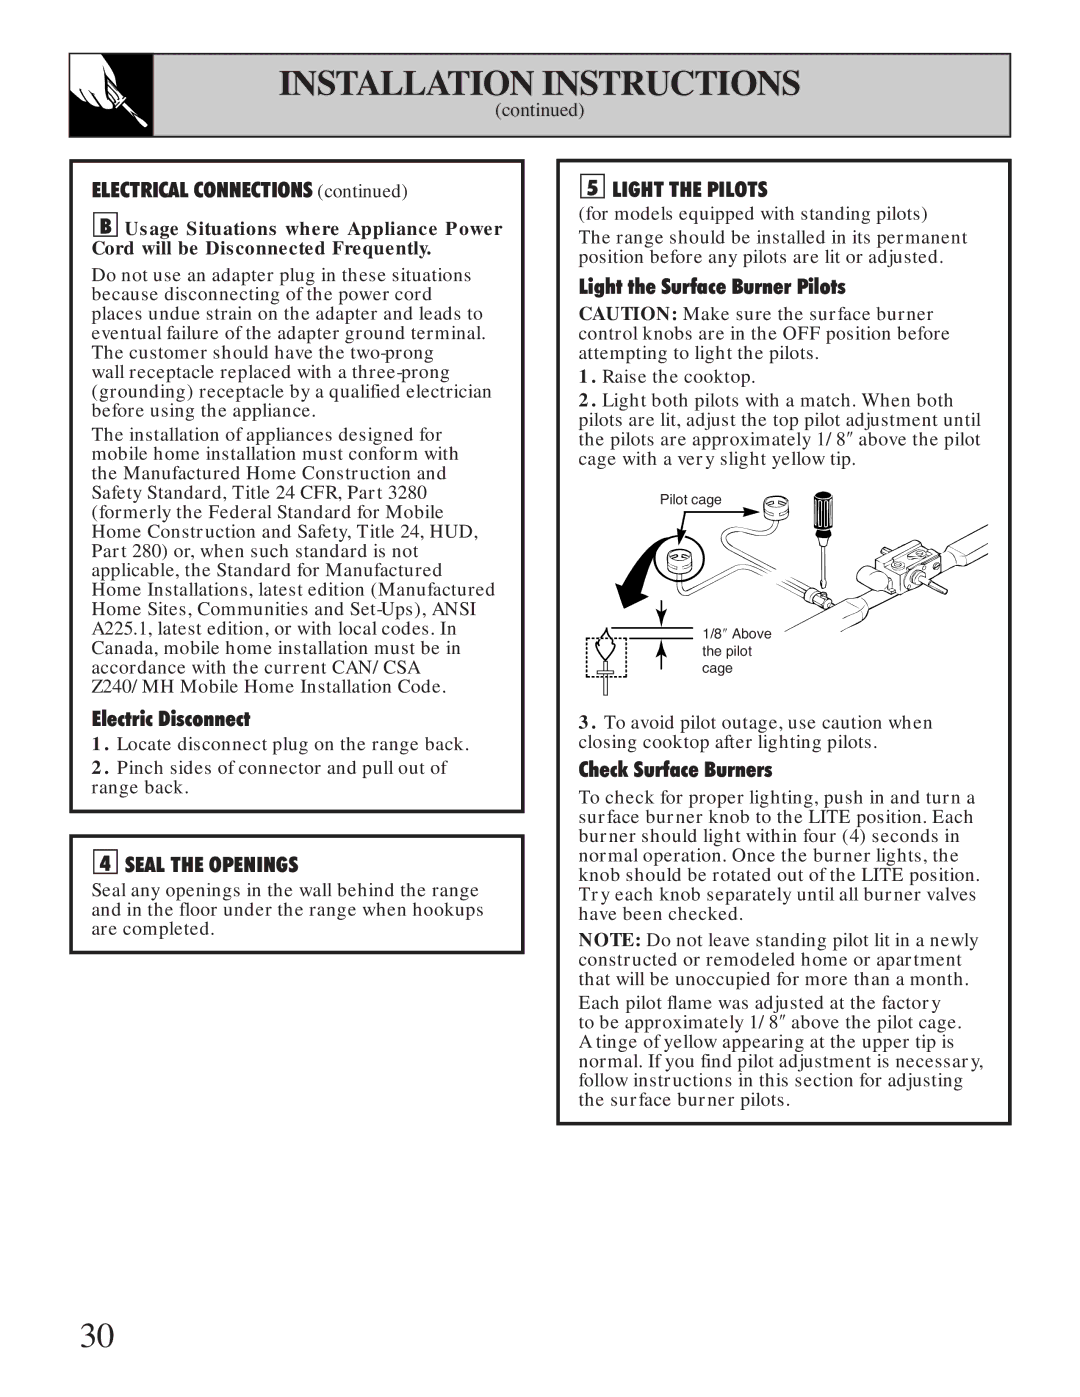
Another remarkable feature is the hob area, which includes four gas burners. These burners come with various power outputs, allowing for precise temperature control suited to different cooking styles, from gentle simmering to rapid boiling. The cast iron supports on the burners ensure durability and stability, providing a professional touch to home cooking.
Safety and convenience are paramount, and the RGB506 addresses these with its flame failure safety device. This feature automatically cuts off the gas supply if the flame goes out, offering peace of mind. The oven is also fitted with an easy-to-clean enamel interior, which simplifies maintenance and enhances the longevity of the appliance.
For those who appreciate design, the Hotpoint RGB506 features a sleek and modern aesthetic that can complement a variety of kitchen styles. Its clean lines, stainless steel finish, and ergonomic controls create a sophisticated yet accessible cooking environment.
In summary, the Hotpoint RGB506 is a versatile and efficient range cooker that combines ample cooking space, advanced technology, and a commitment to safety and ease of use. Its thoughtful design and functionality make it an excellent addition to any kitchen, whether for everyday cooking or special occasions.