1.4Eject Function
This section explains the eject function. There are two types of eject functions as shown here.
•The remaining data is forcibly ejected.
•All the jobs in the printer are eliminated.
To Forcibly Eject Remaining Data
For
In this kind of situation, forced eject does not wait for automatic eject and just forces all of the data in the printer to print out.
The procedure is shown below.
Note
•When “Waiting for data” appears in the display, the next job sent to the printer may not be printed correctly. Send the next job after forced eject or after the automatic eject time has been exceeded.
Refer to
• Auto Eject Time: User Guide 4.2 Description of Menu Items
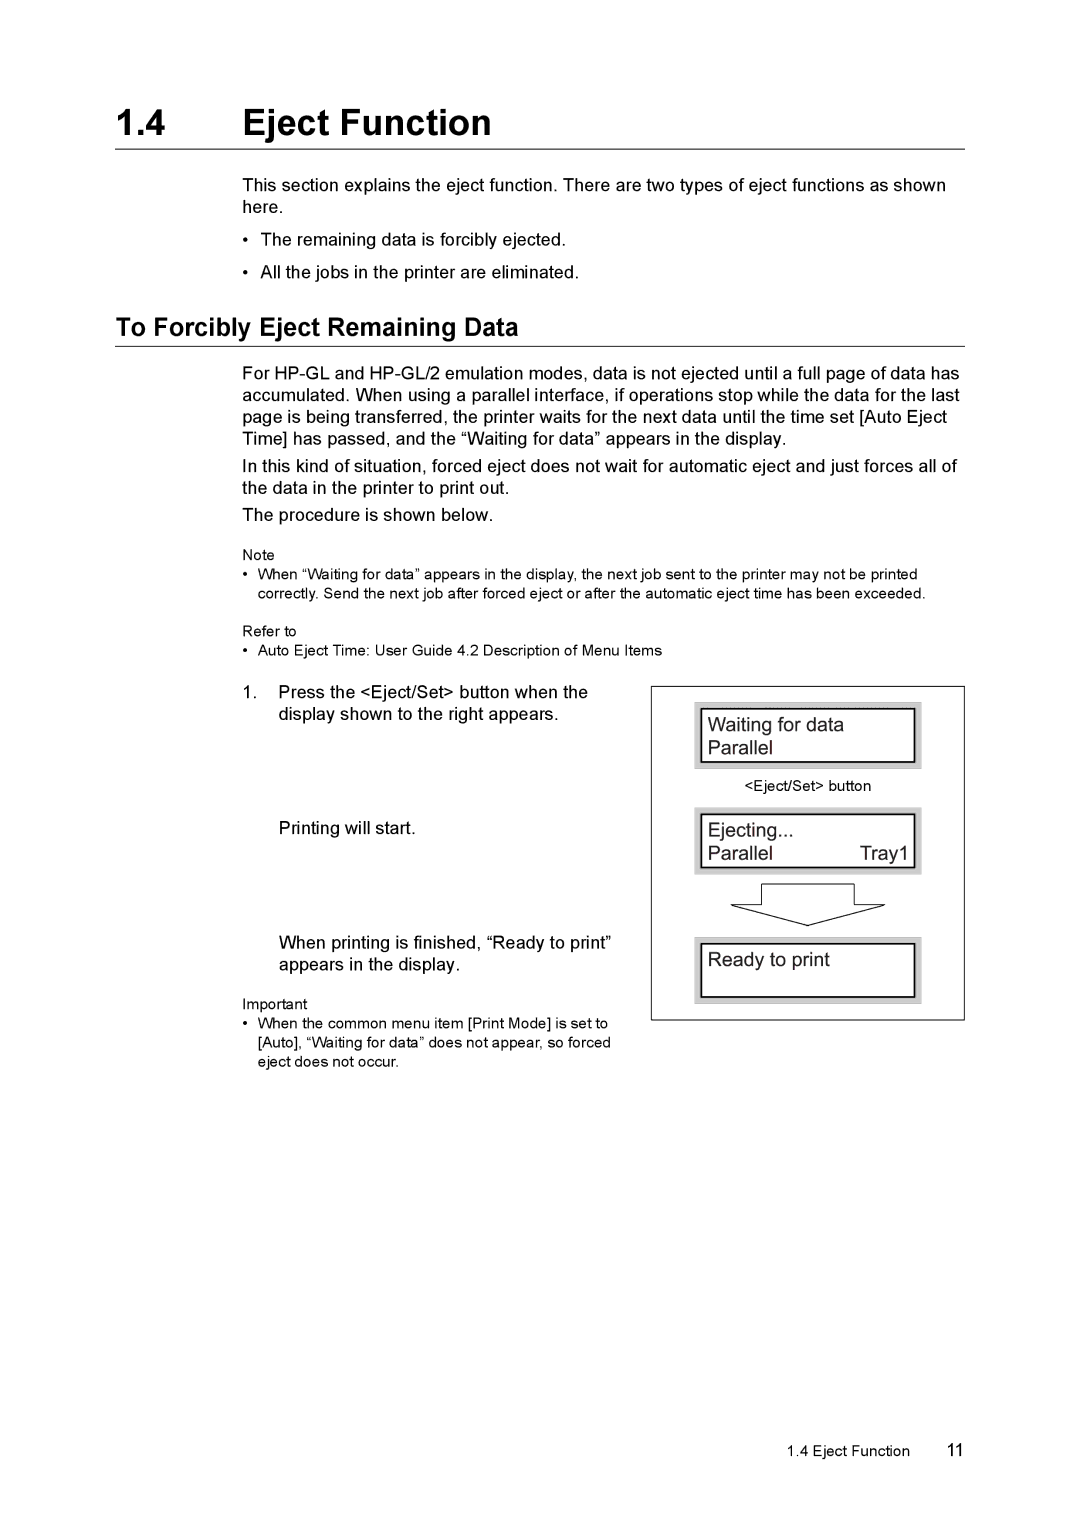
1.Press the <Eject/Set> button when the display shown to the right appears.
Printing will start.
When printing is finished, “Ready to print” appears in the display.
Important
•When the common menu item [Print Mode] is set to [Auto], “Waiting for data” does not appear, so forced eject does not occur.
<Eject/Set> button
1.4 Eject Function | 11 |
