410 Copier specifications
The HP 410 Copier stands out as a reliable and efficient solution for both home and office printing needs. Designed to cater to various printing requirements, the HP 410 encapsulates advanced technology and user-friendly features, making it a preferred choice for users across different sectors.One of the standout features of the HP 410 Copier is its impressive printing speed. Capable of delivering up to 30 pages per minute (ppm), this copier reduces wait times for users, thereby enhancing productivity. In addition to speed, the HP 410 also ensures high-quality prints, with an optimized resolution that produces sharp and clear text documents, as well as vibrant images.
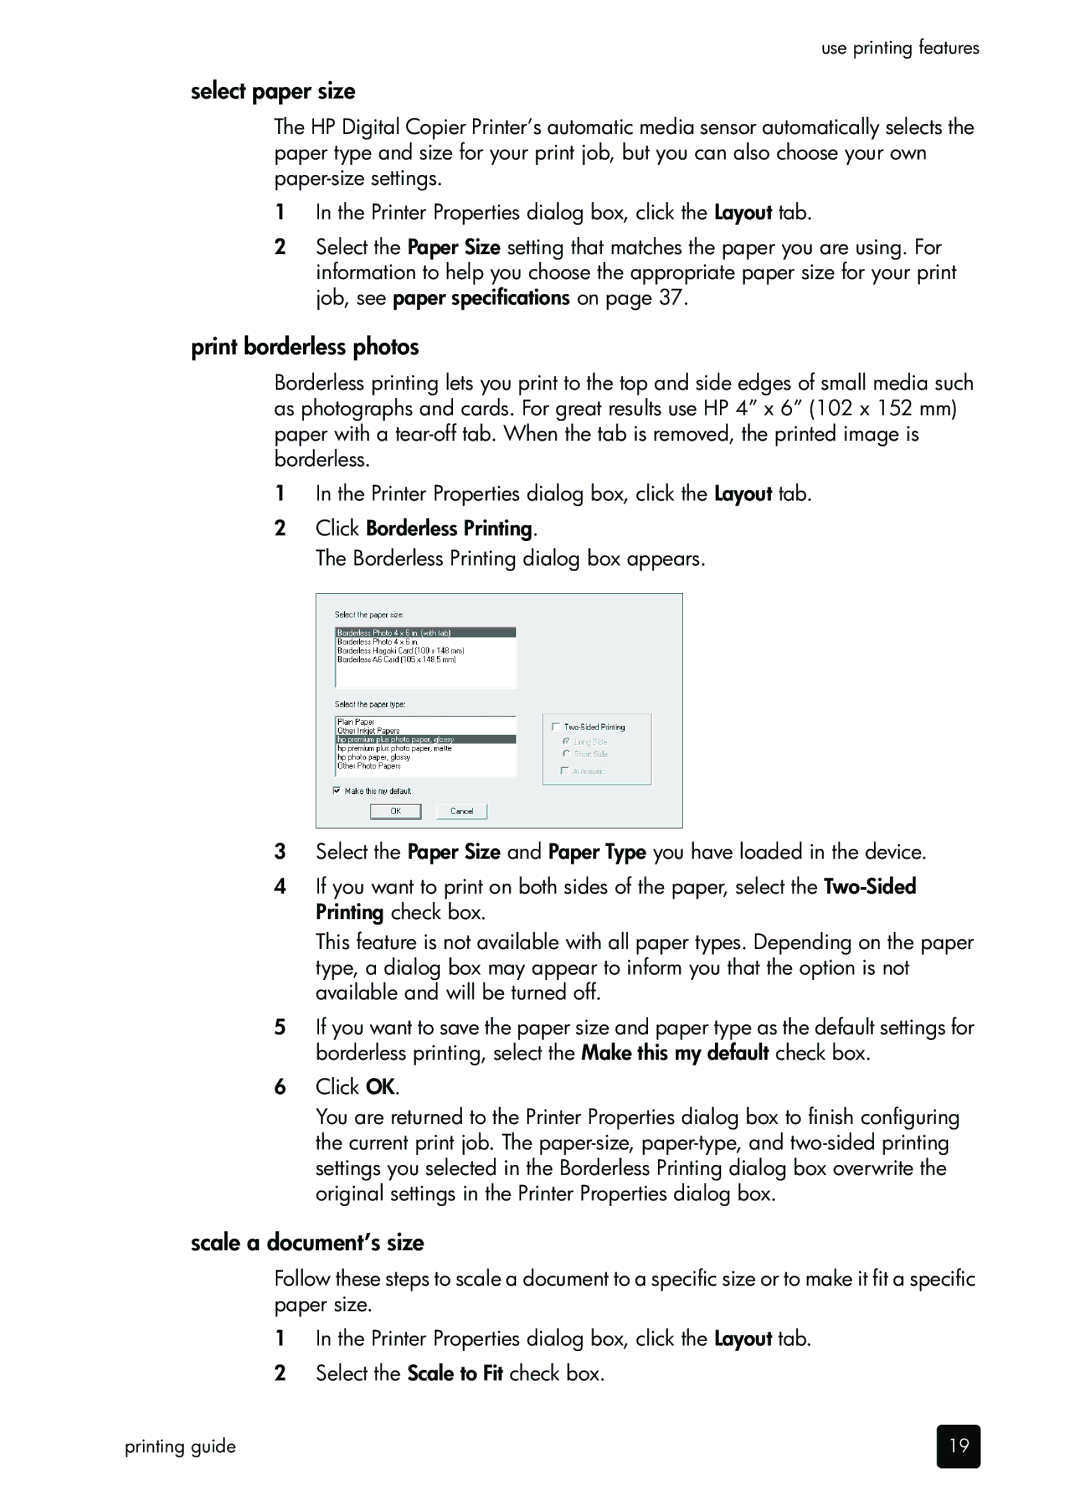
Another significant characteristic of the HP 410 Copier is its ability to handle a variety of paper sizes. From standard letter and legal sizes to envelopes and custom-sized media, the copier showcases versatility that appeals to diverse printing tasks. Moreover, the automatic duplex printing feature allows for double-sided printing, saving both time and paper, contributing to more sustainable practices.
In terms of connectivity, the HP 410 offers robust wireless capabilities. Users can easily connect to the copier through Wi-Fi or Bluetooth, allowing for seamless printing from smartphones, tablets, and other mobile devices. This feature is complemented by HP’s Smart App, which enables remote management and monitoring of print jobs, further facilitating user convenience.
The design of the HP 410 Copier is both compact and ergonomic, fitting comfortably in smaller workspaces without sacrificing functionality. The intuitive control panel simplifies navigation, enabling users to access crucial settings and functions effortlessly.
When it comes to technology, the HP 410 leverages innovative LaserJet technology, which stands out in providing consistent performance and reliability. This technology ensures that even during high-demand periods, the copier maintains efficient operation without compromising quality.
In summary, the HP 410 Copier combines speed, versatility, and top-notch connectivity features, making it a valuable addition to any office environment. Its user-centric design and advanced laser printing technology make it an excellent choice for those looking to optimize their printing tasks while ensuring high-quality results. Whether for professional or personal use, the HP 410 proves to be a dependable partner in productivity.

