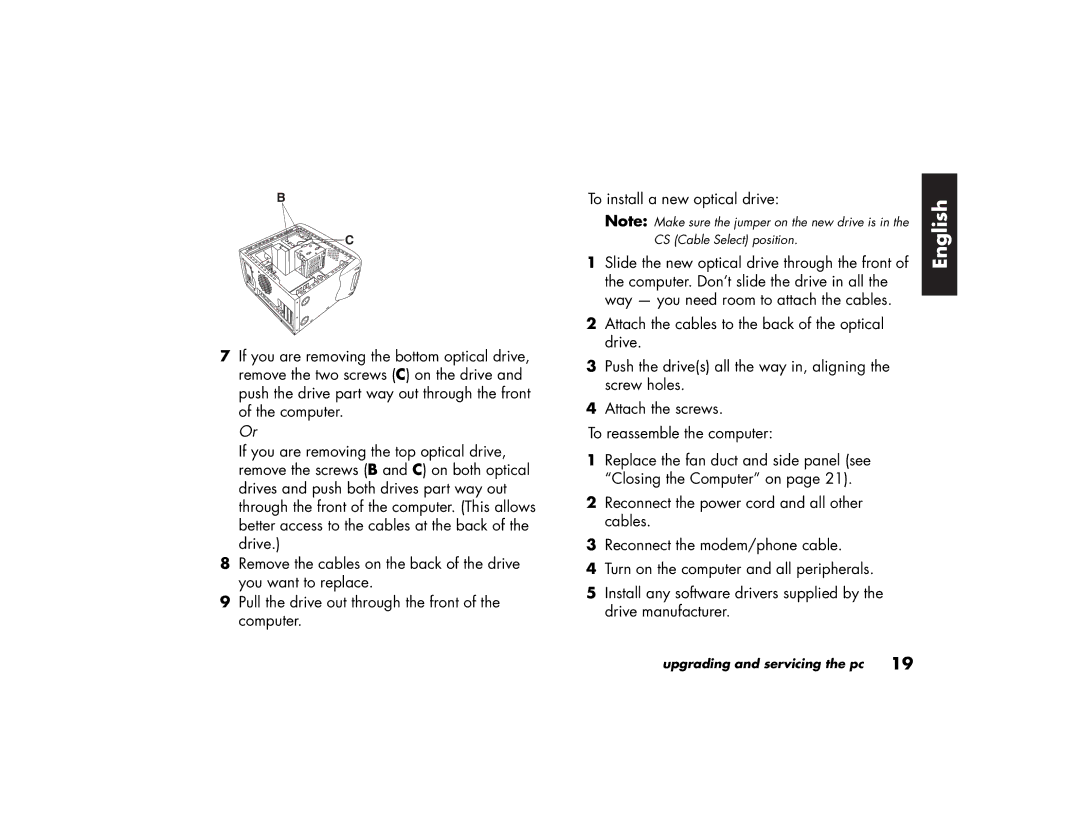
B
C
7If you are removing the bottom optical drive, remove the two screws (C) on the drive and push the drive part way out through the front of the computer.
Or
If you are removing the top optical drive, remove the screws (B and C) on both optical drives and push both drives part way out through the front of the computer. (This allows better access to the cables at the back of the drive.)
8Remove the cables on the back of the drive you want to replace.
9Pull the drive out through the front of the computer.
To install a new optical drive:
Note: Make sure the jumper on the new drive is in the CS (Cable Select) position.
1Slide the new optical drive through the front of the computer. Don’t slide the drive in all the way — you need room to attach the cables.
2Attach the cables to the back of the optical drive.
3Push the drive(s) all the way in, aligning the screw holes.
4Attach the screws.
To reassemble the computer:
1Replace the fan duct and side panel (see “Closing the Computer” on page 21).
2Reconnect the power cord and all other cables.
3Reconnect the modem/phone cable.
4Turn on the computer and all peripherals.
5Install any software drivers supplied by the drive manufacturer.
English
upgrading and servicing the pc | 19 |