Removal and replacement procedures
2.Turn the computer
3.Open the computer as far as possible.
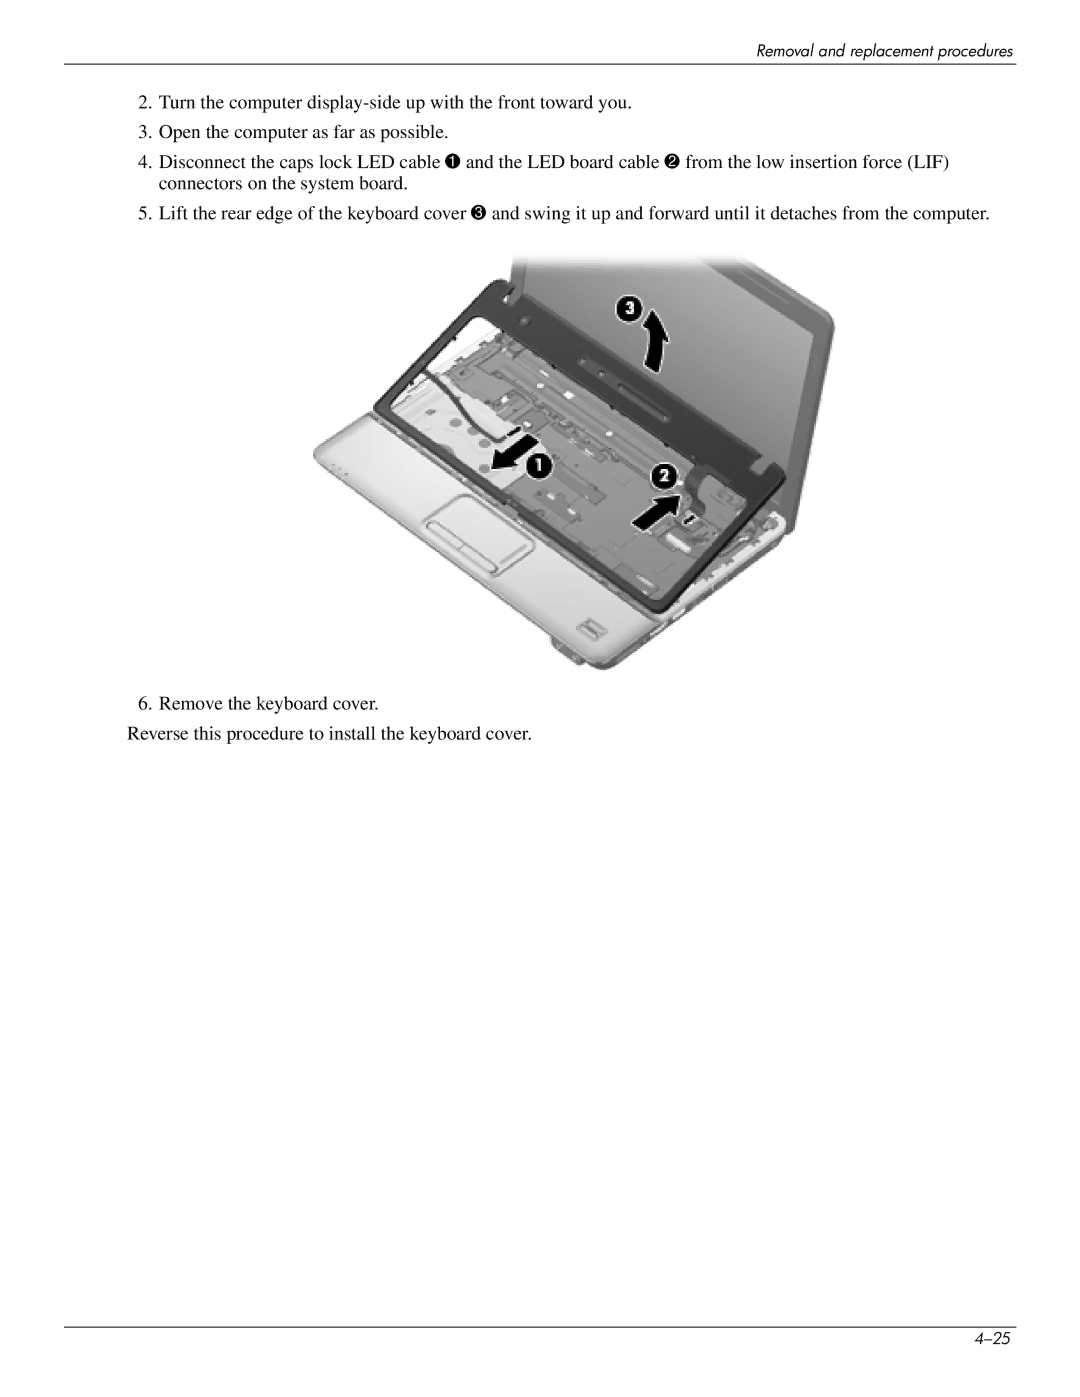
4.Disconnect the caps lock LED cable 1 and the LED board cable 2 from the low insertion force (LIF) connectors on the system board.
5.Lift the rear edge of the keyboard cover 3 and swing it up and forward until it detaches from the computer.
6. Remove the keyboard cover.
Reverse this procedure to install the keyboard cover.