Chapter 3
software” on page 6), you can also stitch panoramas automatically as you transfer them to your computer.
1.While in the ![]() Picture Capture Menu, use
Picture Capture Menu, use ![]() to highlight
to highlight ![]() Shooting Mode, then press
Shooting Mode, then press ![]() .
.
2.In the ![]() Shooting Mode menu, use
Shooting Mode menu, use ![]() to highlight either
to highlight either ![]() Panorama (left to right) or
Panorama (left to right) or ![]() Panorama (right to left), press
Panorama (right to left), press ![]() , then press
, then press ![]() repeatedly until you return to
repeatedly until you return to ![]() Picture Capture.
Picture Capture.
3.Press the Shutter button to take the first picture in the panoramic sequence.
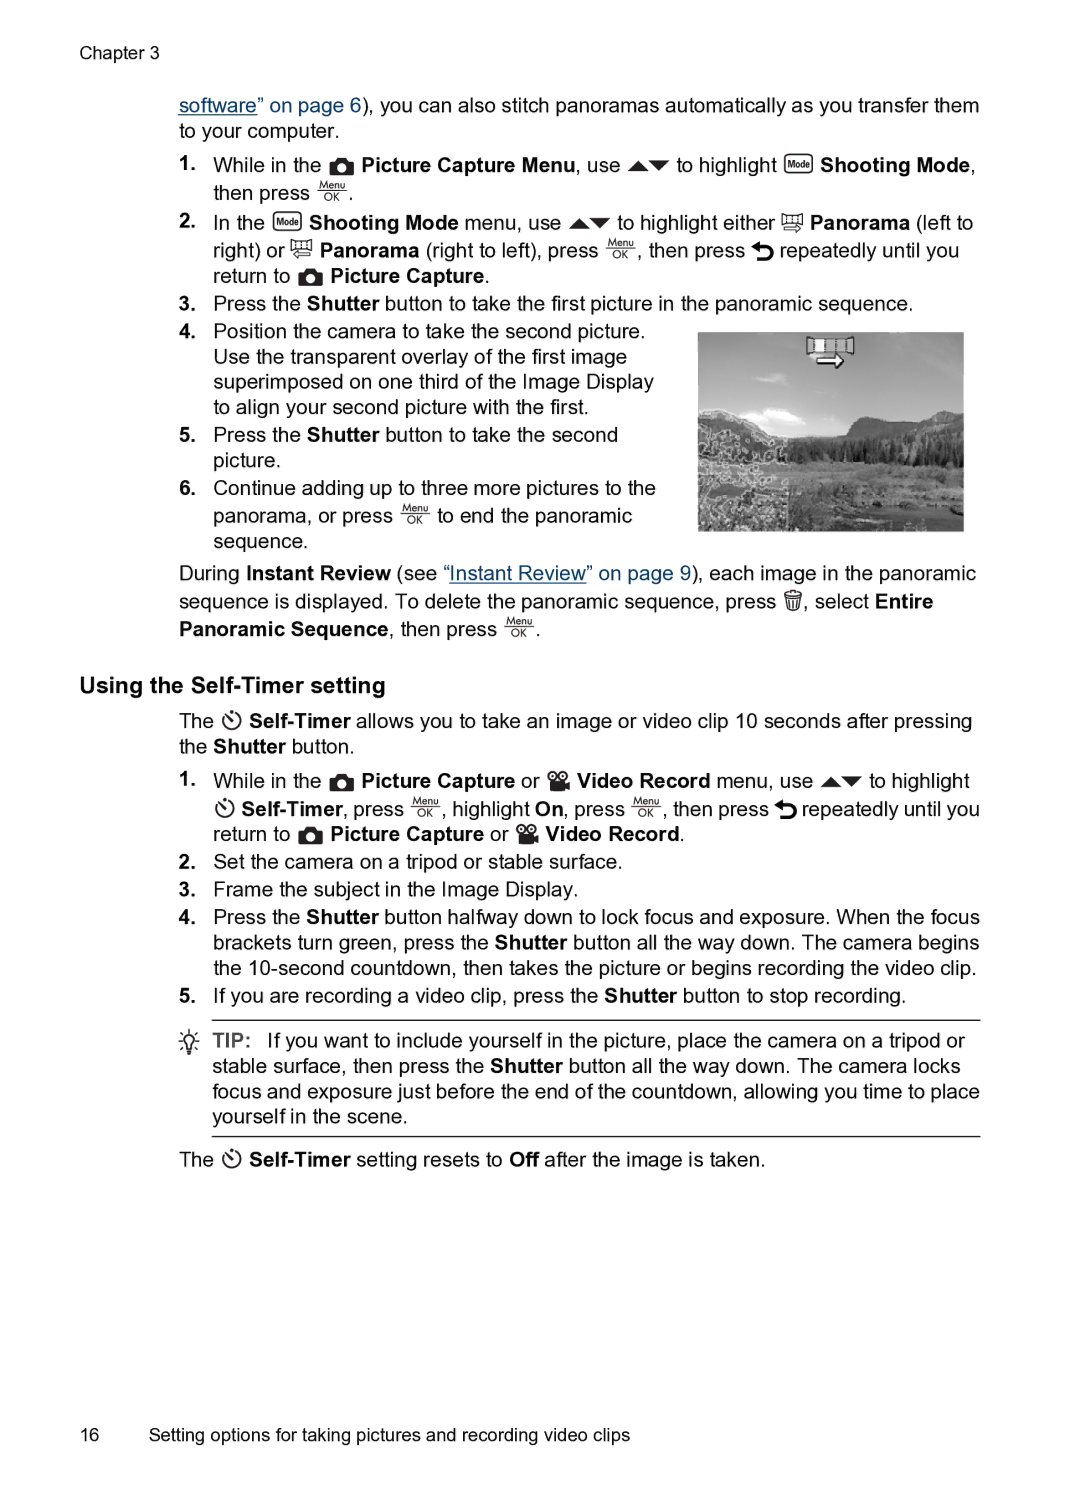
4.Position the camera to take the second picture. Use the transparent overlay of the first image superimposed on one third of the Image Display to align your second picture with the first.
5.Press the Shutter button to take the second picture.
6.Continue adding up to three more pictures to the panorama, or press ![]() to end the panoramic sequence.
to end the panoramic sequence.
During Instant Review (see “Instant Review” on page 9), each image in the panoramic sequence is displayed. To delete the panoramic sequence, press ![]() , select Entire
, select Entire
Panoramic Sequence, then press  .
.
Using the Self-Timer setting
The ![]()
1.While in the ![]() Picture Capture or
Picture Capture or ![]() Video Record menu, use
Video Record menu, use ![]() to highlight
to highlight
![]()
![]() , highlight On, press
, highlight On, press ![]() , then press
, then press ![]() repeatedly until you return to
repeatedly until you return to ![]() Picture Capture or
Picture Capture or ![]() Video Record.
Video Record.
2.Set the camera on a tripod or stable surface.
3.Frame the subject in the Image Display.
4.Press the Shutter button halfway down to lock focus and exposure. When the focus brackets turn green, press the Shutter button all the way down. The camera begins the
5.If you are recording a video clip, press the Shutter button to stop recording.
![]() TIP: If you want to include yourself in the picture, place the camera on a tripod or stable surface, then press the Shutter button all the way down. The camera locks focus and exposure just before the end of the countdown, allowing you time to place yourself in the scene.
TIP: If you want to include yourself in the picture, place the camera on a tripod or stable surface, then press the Shutter button all the way down. The camera locks focus and exposure just before the end of the countdown, allowing you time to place yourself in the scene.
The ![]()
16 Setting options for taking pictures and recording video clips
